Roasted Cauliflower
If you’re looking for the absolute best way to cook cauliflower, this is it! This Roasted Cauliflower recipe will give you florets with wonderfully caramelized golden edges, and a tender but not mushy texture. It’s good enough to enjoy on its own, or you can sprinkle on your favorite cheeses or herbs.
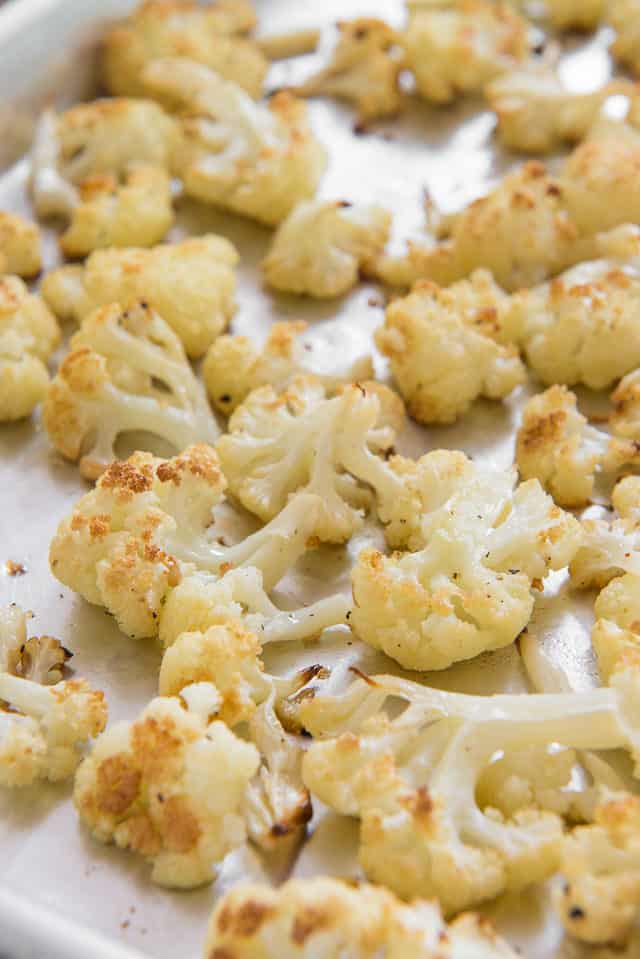
One of the secrets to loving vegetables is to find the best ways to cook them, and roasting is arguably the best way to make cauliflower.
Sure, I also love Cauliflower Rice, Cauliflower Mashed Potatoes, and other dishes, but I believe roasting is the king of all cooking methods when it comes to this cruciferous vegetable.
No joke, I sometimes eat this for breakfast along with some eggs, because I love it so much.
Sometimes I see recipes for roasted cauliflower on the internet that claim to be the best, but they have zero color or caramelization to them. But that to me is the whole point, and exactly the flavor we are going for!
Why You’ll Love This Recipe
The least “stinky way” to cook cauliflower – Much like Brussels Sprouts, this is a vegetable that can go “stinky” very easily, like if it’s steamed. But it’s not like that at ALL when it’s roasted. It has the most deliciously nutty and caramelized flavor.
Perfectly cooked – This method will give you golden brown color and flavor, along with a tender, but not dry interior.
Straight forward and versatile – Toss the cauliflower florets in sea salt, pepper, and fat (like olive oil or ghee), and it’s truly good enough on its own, with simple ingredients. It’s one of those easy recipes for weeknights that you can dress up or down as much as you want. Feel free to add your favorite cheeses, herbs, and spices.
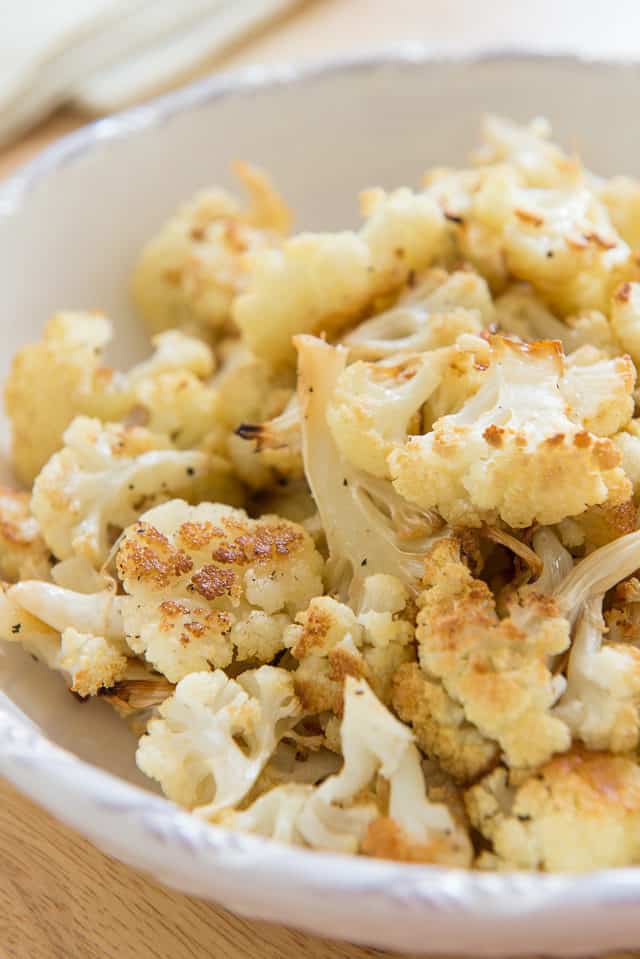
I’ve made roasted cauliflower hundreds of times, and I’ve played around with different roasting temperatures and times.
The method below is how I’ve settled as the optimal way to create the most browned and caramelized roast cauliflower possible in the oven.
Tips for the Best Results
Don’t overcrowd the pan – As you roast the cauliflower florets, their interior moisture will cook off. Allowing space between the florets allow that steam to cook off more easily. If the pan is too crowded, the pieces will steam each other instead of browning.
Make sure the pieces are the same size – It’s important to use uniform pieces of cauliflower, and I think small florets taste best. If the pieces are similar in size, they will cook more consistently.
Make sure the cauliflower isn’t wet – If washing the cauliflower before use, make sure to dry it well before roasting using paper towel or a tea towel. This will help it brown faster.
Toss partway through – It takes a little more effort to toss the florets around while baking, but it will give you much more even browning and cooking.
Step by Step Overview:
There are three main steps for how to make roasted cauliflower. First cut it up, then toss in seasoning, then roast!
Here’s how to cut cauliflower from the whole head into florets:
Begin by cutting sideways into the stem, then pull it off:
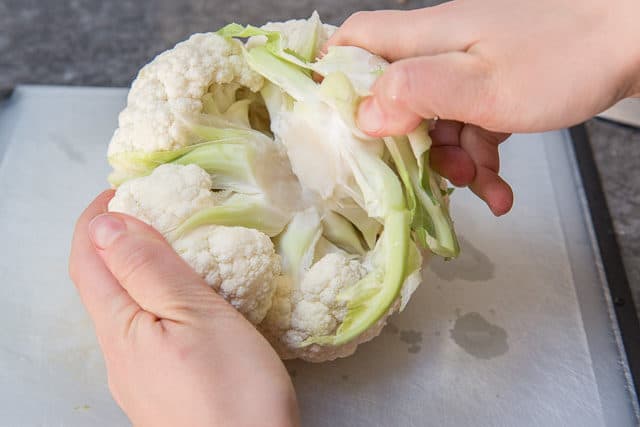
This will allow you to better see the florets, and you can cut them away from the center:
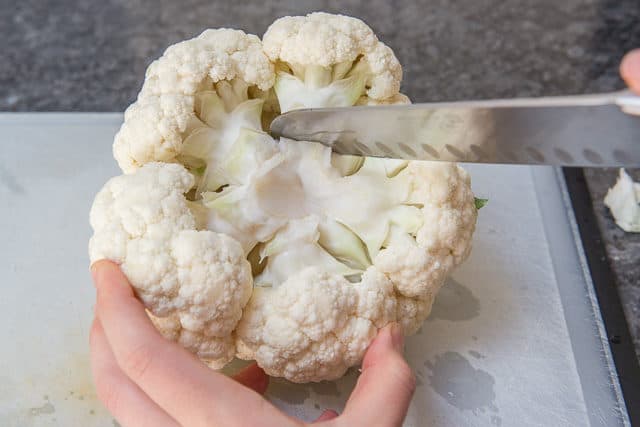
This will give you all the big florets, however they’re still too large for roasting:
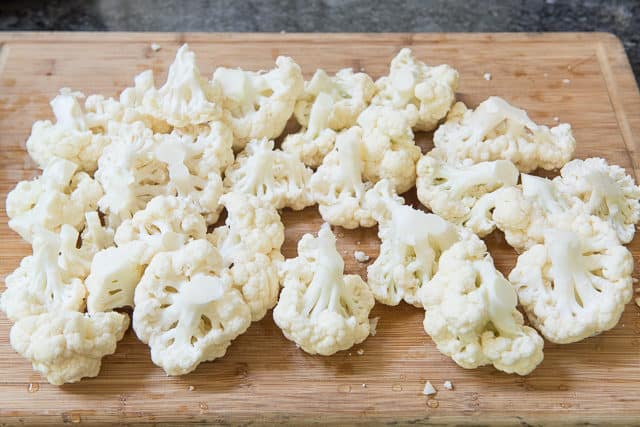
Cut some of the bigger chunks into halves or quarters, so you have more bite-sized pieces. Then place them in a large mixing bowl with some olive oil, ghee, or your cooking fat of choice:
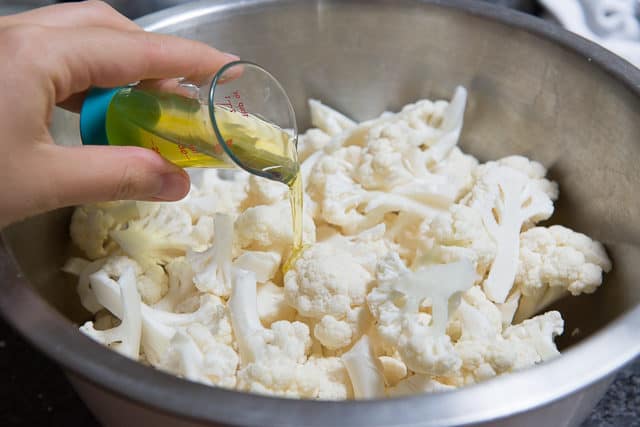
Season the florets generously with salt and pepper.
More Seasoning Ideas
While fresh cauliflower does have its own flavor that stands well on its own, it’s also the perfect vehicle for adding other flavors. Here are some of the variations I’ve tried and enjoyed.
Sazon seasoning – Toss in 1 teaspoon.
Lemon zest – Add the zest of 1 lemon.
Herbs – Try 1 teaspoon of oregano, thyme, or rosemary.
Everything Bagel Seasoning – Add 1 teaspoon before cooking.
Spices – Try up to 1 tsp of chili powder, curry powder, garlic powder, onion powder, or red pepper flakes.
I do not recommend adding fresh garlic cloves here, as they are very likely to burn.
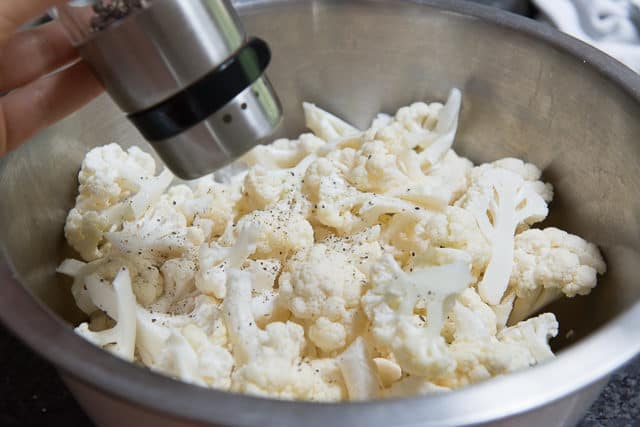
Toss everything together thoroughly with a spatula.
Toss in a bowl, not on the pan
Tossing the cauliflower with the fat in a large bowl, instead of on the sheet pan, is important.
It’s a nice idea to toss right on the pan to save yourself a dirty bowl, but it doesn’t coat the florets as well and evenly in the oil, which is important for browning.
Spread the florets out onto a sheet pan in an even layer. I do not use parchment paper or aluminum foil for lining, because I find that the cauliflower roasts better on an uncoated baking sheet.
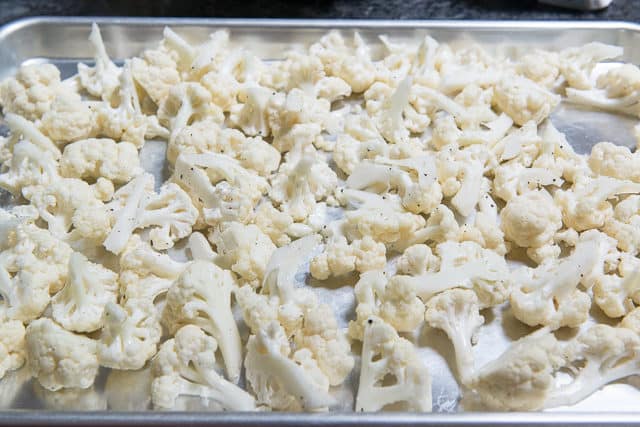
It’s important to arrange the vegetables in a single layer, not too crowded, otherwise they won’t brown properly.
Also try to settle them more on their flat sides, without too many stems sticking up in the air, otherwise those stems will be prone to burning.
How much cauliflower per pan?
A typical large cauliflower head weighs about 2 lbs and yield about 8 cups of raw cauliflower florets. I find this is just the right amount for one half sheet pan.
If you want to cook multiple heads of cauliflower, use multiple pans and rotate in the oven while cooking. More cooking time in the hot oven will likely be needed as well, due to all the rotation.
Roast the cauliflower in a high temperature 400F oven for 25 minutes, until the tips and edges are starting to brown:
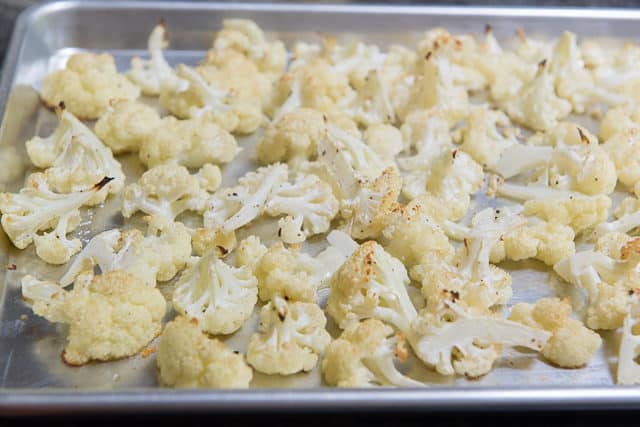
Toss all of the pieces around using a turner, and roast for another 10-15 minutes.
This time, the florets should be thoroughly browned all over:
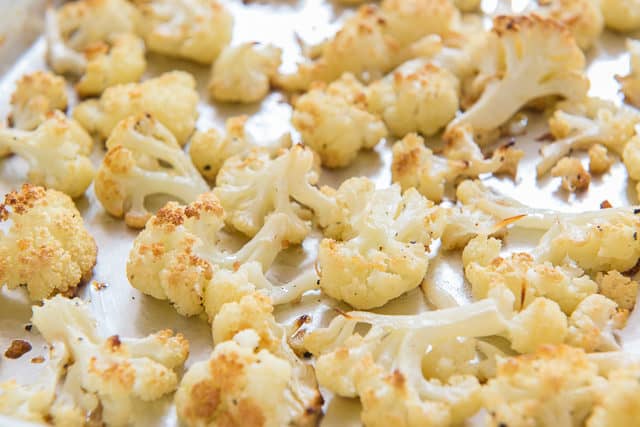
I love tossing this into a salad with this Roasted Pork Tenderloin, Lemon Vinaigrette, and leftover quinoa, for a hearty lunch or dinner.
It’s also good enough to eat on its own, provided it’s seasoned well with salt and pepper. Or try sprinkling on some parmesan cheese and a squeeze of fresh lemon juice. Enjoy!
What to Serve with this Side Dish:
Oven roasted cauliflower pairs well as a delicious side dish for virtually any main course meat, whether it’s beef, lamb, pork, or chicken.
Recipe FAQ and Tips
Yes, I simply reheat in the microwave until warm, but you can also rewarm it in a skillet on the stove, or in the oven.
Yes it can, but the texture won’t be as nice afterward. It’s still good though.
Keep in an airtight container in the fridge for up to 5 days. Know that leftovers can get a little stinky, and it’s just the nature of the vegetable.
It’s full of fiber and nutrients, it’s low carb, and fits with many eating lifestyles like Whole30, keto, paleo, vegan, and more.
Make-ahead Instructions
You can pre-cut the florets up to 3 days ahead of time, before roasting.
Did you enjoy the recipe? Please leave a 5-star rating in the recipe card below and/or a review in the comments section further down the page. Or, follow me on Facebook, Instagram or Pinterest!
Roasted Cauliflower
Ingredients
- 1 large head cauliflower*
- 3 tbsp extra virgin olive oil**
- 1/2 tsp salt
- 1/4 tsp black pepper
Instructions
- Preheat the oven to 400F.
- Wash the cauliflower, then trim and cut into florets.
- Dry the florets thoroughly using a kitchen towel.***
- In a large bowl, toss the florets with the olive oil, salt, and pepper. Really toss it thoroughly, so the oil is as evenly dispersed as possible.
- Scrape the cauliflower (and any oil from the bowl) onto a baking sheet, spreading it evenly in a single layer on the pan.
- Roast for 25 minutes, until the tips and edges of the cauliflower are starting to brown.
- Using a flat turner, toss all the pieces around and re-arrange in an even layer.
- Roast for another 10-15 minutes, until the cauliflower is brown and caramelized all over.
- Serve and enjoy!
Notes
Nutrition
Nutrition is estimated using a food database and is only intended to be used as a guideline for informational purposes.

10 Comments on “Roasted Cauliflower”
I want to try this can i use onion powder and pepper
Delicious!
This is such a great idea!
This is so good, and so easy!
Simple roasted veggies are the best! This is so yummy!
My favorite side dish!
I just did this last night with broccoli, so I’m loving the cauliflower option too!
There’s nothing like it, it’s so good!
Looks good and perfect Thanks!
This!!! This is the roasted cauliflower recipe I’ve been looking for. It turned out golden and perfectly cooked. Thanks Joanne!