Homemade Cherry Almond Granola
This Homemade Granola tastes so much better than anything you’d buy at the store! Freshness makes all the difference, and you can mix and match with your favorite dried fruits and nuts. Here I make a Cherry Almond Granola that’s ready in 45 minutes, but I share tips for customization below.
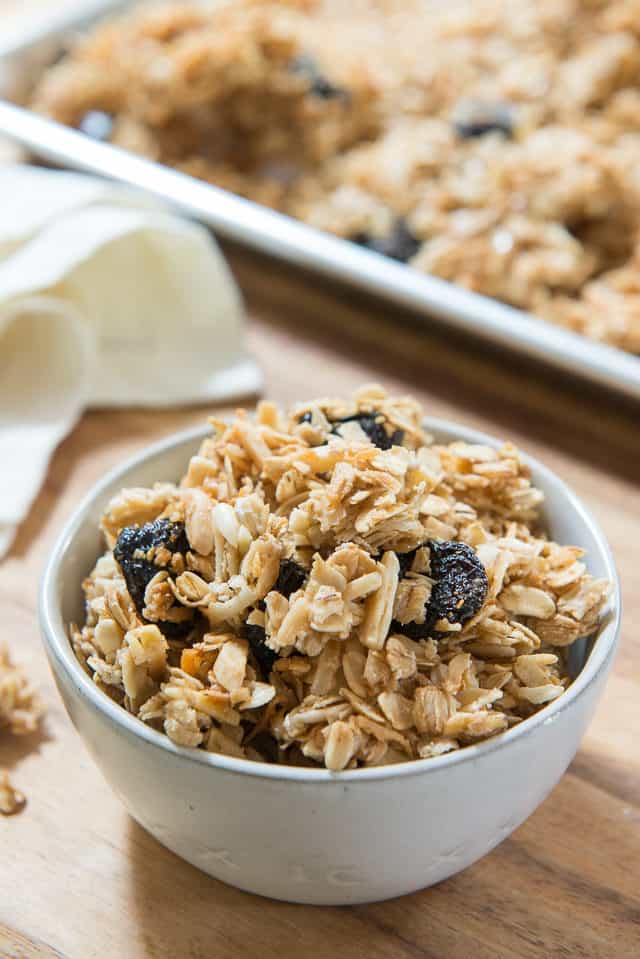
Granola is one of those recipes where once you make it yourself, it’s pretty hard to go back to buying it. It’s SO easy, tastes much better when it’s fresh, and is completely customizable to your tastes. Not only can you play with the mix-ins like the fruits and nuts you use, but you can also make it loose or in clusters.
This particular recipe strikes a nice balance between the two, and has both clusters and some loose bits, but I’ll put instructions in the recipe box for how to tweak it to your liking. This is the kind of granola that’s perfect for enjoying with a bowl of yogurt or as cereal, but we also keep it around for snacking on the go.
If you’re looking for a granola bar instead, I love these Chocolate Chip Granola Bars.
Nuts You Can Use
Here are some of my favorite nuts to use for homemade granola. This is not an exhaustive list. You could do something like a Peanut Chocolate Chip granola for instance, or do fancy nuts like Brazil Nuts.
- almonds
- cashews
- macadamia nuts
- pecans
- pumpkin seeds
- sunflower seeds
- walnuts
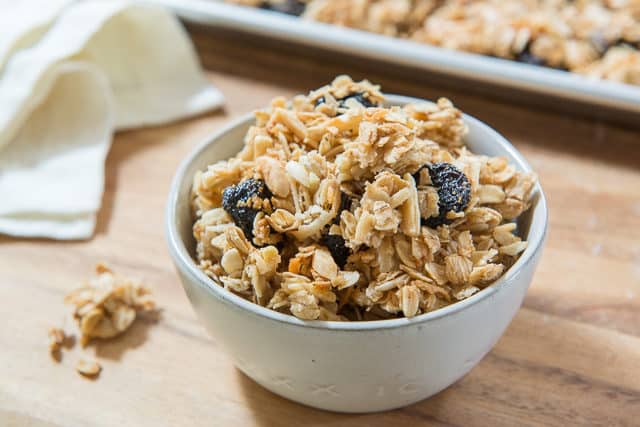
Dried Fruits You Can Use
Here are my favorite dried fruits to use for homemade granola. However, there are certainly more fruits that you can try here. The sky is the limit!
- apricots
- apples
- blueberries
- cranberries
- cherries
- raisins
- strawberries
Step by Step Overview:
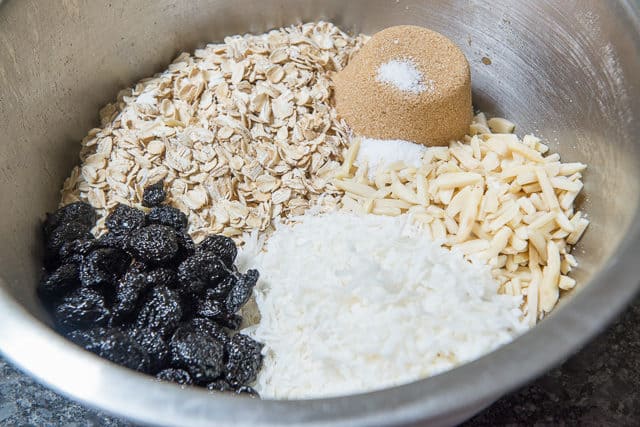
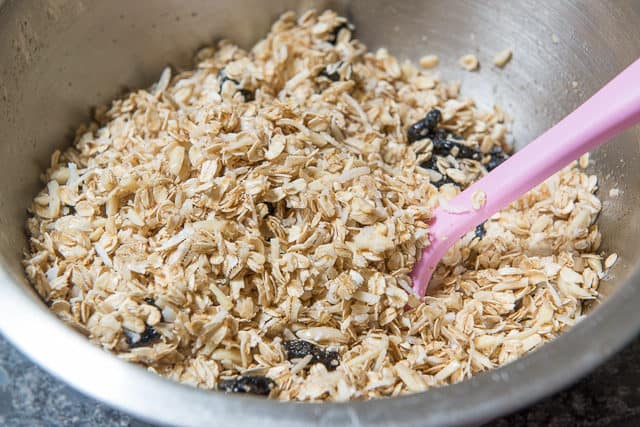
In a large bowl, combine old-fashioned rolled oats, dried cherries, slivered almonds, unsweetened coconut, brown sugar, and salt:
No Need to Pre-Toast the Nuts
I talk many times on the blog about how important it is to toast nuts to bring out the best flavor and texture. However, toasting is not necessary here, as the oven time will sufficiently toast the nuts.
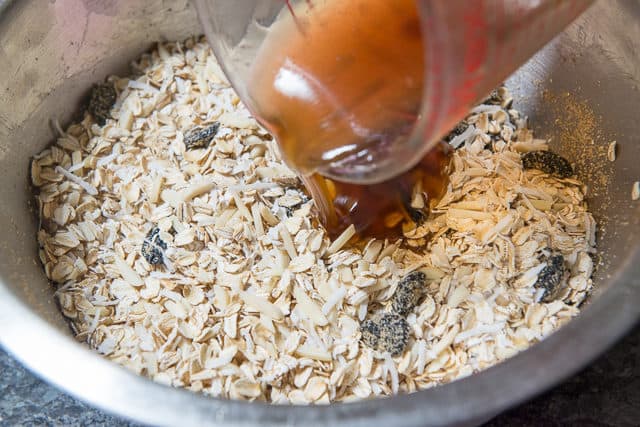
Once the dry ingredients are well-mixed, whisk to combine maple syrup and the oil of your choice, then pour it all over the oat mixture:
What Kind of Oil to Use
You can truly use just about anything here. Melted butter is one of my favorite options for the best flavor, but I’ve also had good success with coconut oil and olive oil.
Toss everything around for a good minute or two, until all of the oats are evenly coated in the liquid:
Now add a large egg white to a clean bowl, and whisk by hand for about 30 seconds, until frothy:
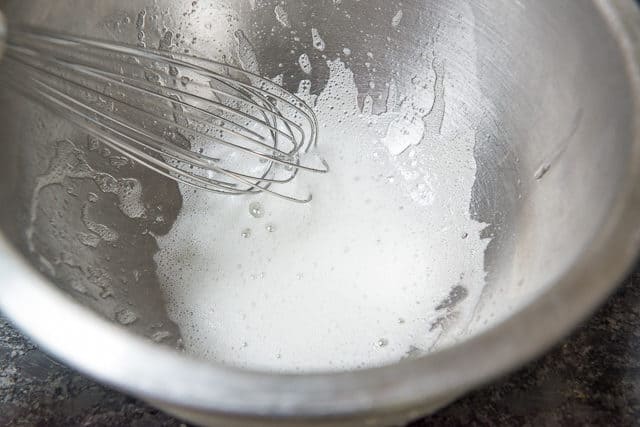
Why the egg white?
Adding whipped egg white is how to make granola clusters and clumps instead of a loose granola. If you’ve ever noticed whipped egg white in sugared pecan recipes made in the oven, it’s the same principle. The protein in the egg white helps everything stick together better.
Side note: you can also sub honey or brown rice syrup for the maple syrup for a more clustered-texture, but I like the flavor of maple syrup the best, which is why I use the egg white to bind.
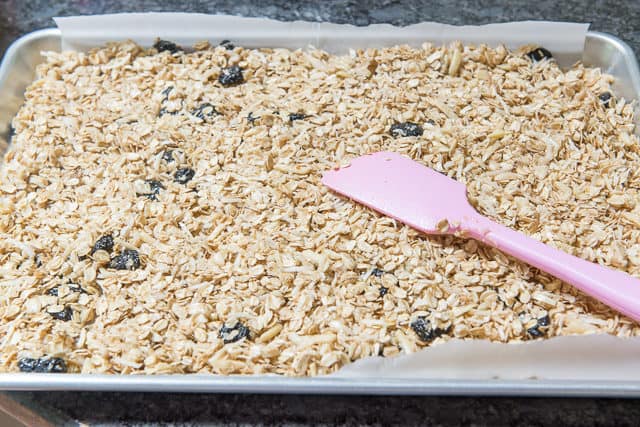
Stir the whipped egg white into the oat mixture, then spread it out onto a parchment paper lined sheet pan:
Bake for 40 minutes, until toasted and golden brown:
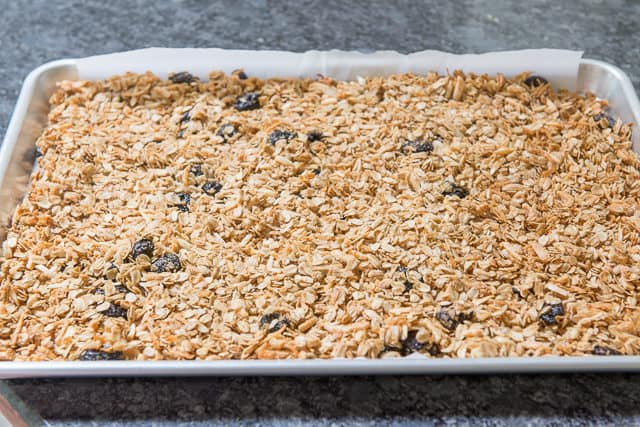
Note that I do not stir at all during baking, otherwise this will disturb the formation of those clusters.
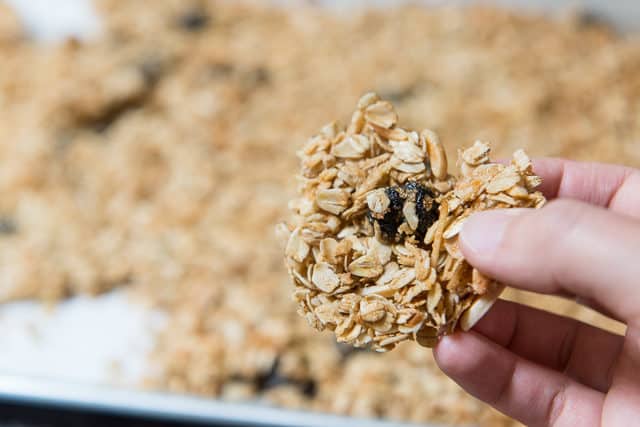
Let your homemade granola cool completely, then you can break it into chunks. You should get really big pieces, like this:
The granola will keep at room temperature for at least two weeks. Just make sure to store it in an airtight container, otherwise it will absorb moisture from the air and get soggy.
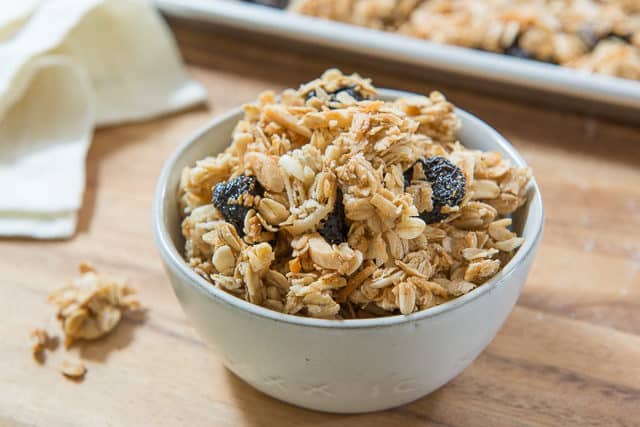
How to Serve
This Cherry Almond Granola is a very snackable granola, and can be eaten as is in pieces. However, you can also enjoy it cereal-style in a bowl with milk, or on top of yogurt. Pair it with Poached Eggs and Hash Browns to round out a hearty breakfast.
These Raspberry Energy Bites are another favorite on-the-go snack. Enjoy!
Recipe Tips and FAQ
Let cool completely, then store in an airtight container at room temperature for up to 2 weeks.
Yes. Store in an airtight container in the freezer for up to 3 months. I find I can actually eat the granola straight out of the freezer, but to warm up further, simply leave at room temperature for 30 minutes.
So long as you’re using gluten-free verified oats, then yes.
Did you enjoy the recipe? Please leave a 5-star rating in the recipe card below and/or a review in the comments section further down the page. Or, follow me on Facebook, Instagram or Pinterest!
Homemade Granola
Ingredients
- 3 cups old-fashioned rolled oats*
- 1 cup sliced or slivered almonds
- 1 cup shredded unsweetened coconut
- 3/4 cup dried cherries
- 1/3 cup brown sugar
- 1/2 tsp salt
- 1/4 cup pure maple syrup
- 1/4 cup oil**
- 1 large egg white
Instructions
- Preheat the oven to 300F.
- In a large bowl, stir to combine the oats, almonds, coconut, cherries***, brown sugar, and salt.
- In a separate bowl, whisk to combine the maple syrup and oil.
- Pour the liquid into the oat mixture, and toss to coat.
- In a clean bowl, whisk the egg white for about 30 seconds until it’s frothy, and any egg white clumps have been broken up.
- Stir the egg white into the oat mixture.
- Spread the granola onto a parchment paper-lined sheet pan and bake for 40 minutes. If you would like a looser, more evenly toasted granola, stir everything around halfway through baking. For more clusters, leave the granola to bake for 40 minutes undisturbed.
- Let the granola cool completely on the pan, then break into clusters. Enjoy!
Notes
Nutrition
Nutrition is estimated using a food database and is only intended to be used as a guideline for informational purposes.
Post updated with photos, writing, tips, and recipe in August 2018. Originally published January 2012.

37 Comments on “Homemade Cherry Almond Granola”
Thanks you for the straight up recipe without all the preamble. Also, the egg white tip is valuable.
Thank you! Im glad you enjoyed!@
Thanks for sharing this wonderful easy recipe. So delish! Easy, and great tasting.
Thank you Gin! Glad you enjoyed!
I made this using butter for the oil and honey instead of maple syrup. It was simple to make and quite tasty. However, the cherries got quite hard. I’ll definitely make this again, but I’ll wait to put the fruit in until at least the halfway point of baking or perhaps even after the baking.
That’s helpful to hear. I wonder if it depends how “juicy” the cherries are beforehand because I haven’t had that problem come up. I will add a note to the recipe. Thank you.
Thank you for your response. I have made this several more times and waited until it came out of the oven to add the cherries. The results were perfect.
This is THE BEST GRANOLA EVER!!!! Can’t get enough of it
I have made this recipe 3x and it is so easy and tasty! I have experimented and mixed in some peanut butter with the oil and have also used honey in place of maple syrup. Have also sprinkled some chocolate and butterscotch chips on top after baking.
I put the cherries in before baking, as directed. They turned out hard and tasted burnt. It was icky. will add them after the granola comes out of the oven next time.
I had the same experience.
I just made up a batch. I’m using a smaller rectangular pan and it looks like I might get 3 panfuls of granola. I added a capful of vanilla to the warm oil and maple syrup and cinnamon to the oat mixture. It is baking and the kitchen smells so good! I made this granola so I can use it for my Açaí Bowks. Thank you for this great recipe!
Kids love this!
We seriously eat granola every morning on our yogurt parfaits. Great recipe!
I could eat this on yogurt or just as a snack every day!
I love how fresh this is! So much better than buying a bag of who know how old granola is from the store.
Perfect day starter! Yummy!!
Love how easy this is. My husband would love this!
There is nothing like homemade granola!
Homemade granola is the best! And this recipe makes those clusters I love!