Hash Browns
I’ve tested many methods for making homemade Hash Browns, and this is the best way to make crispy shredded potatoes that aren’t gummy or mushy. The secret is to rinse away and remove excess starch from the potatoes and dry them thoroughly before cooking.
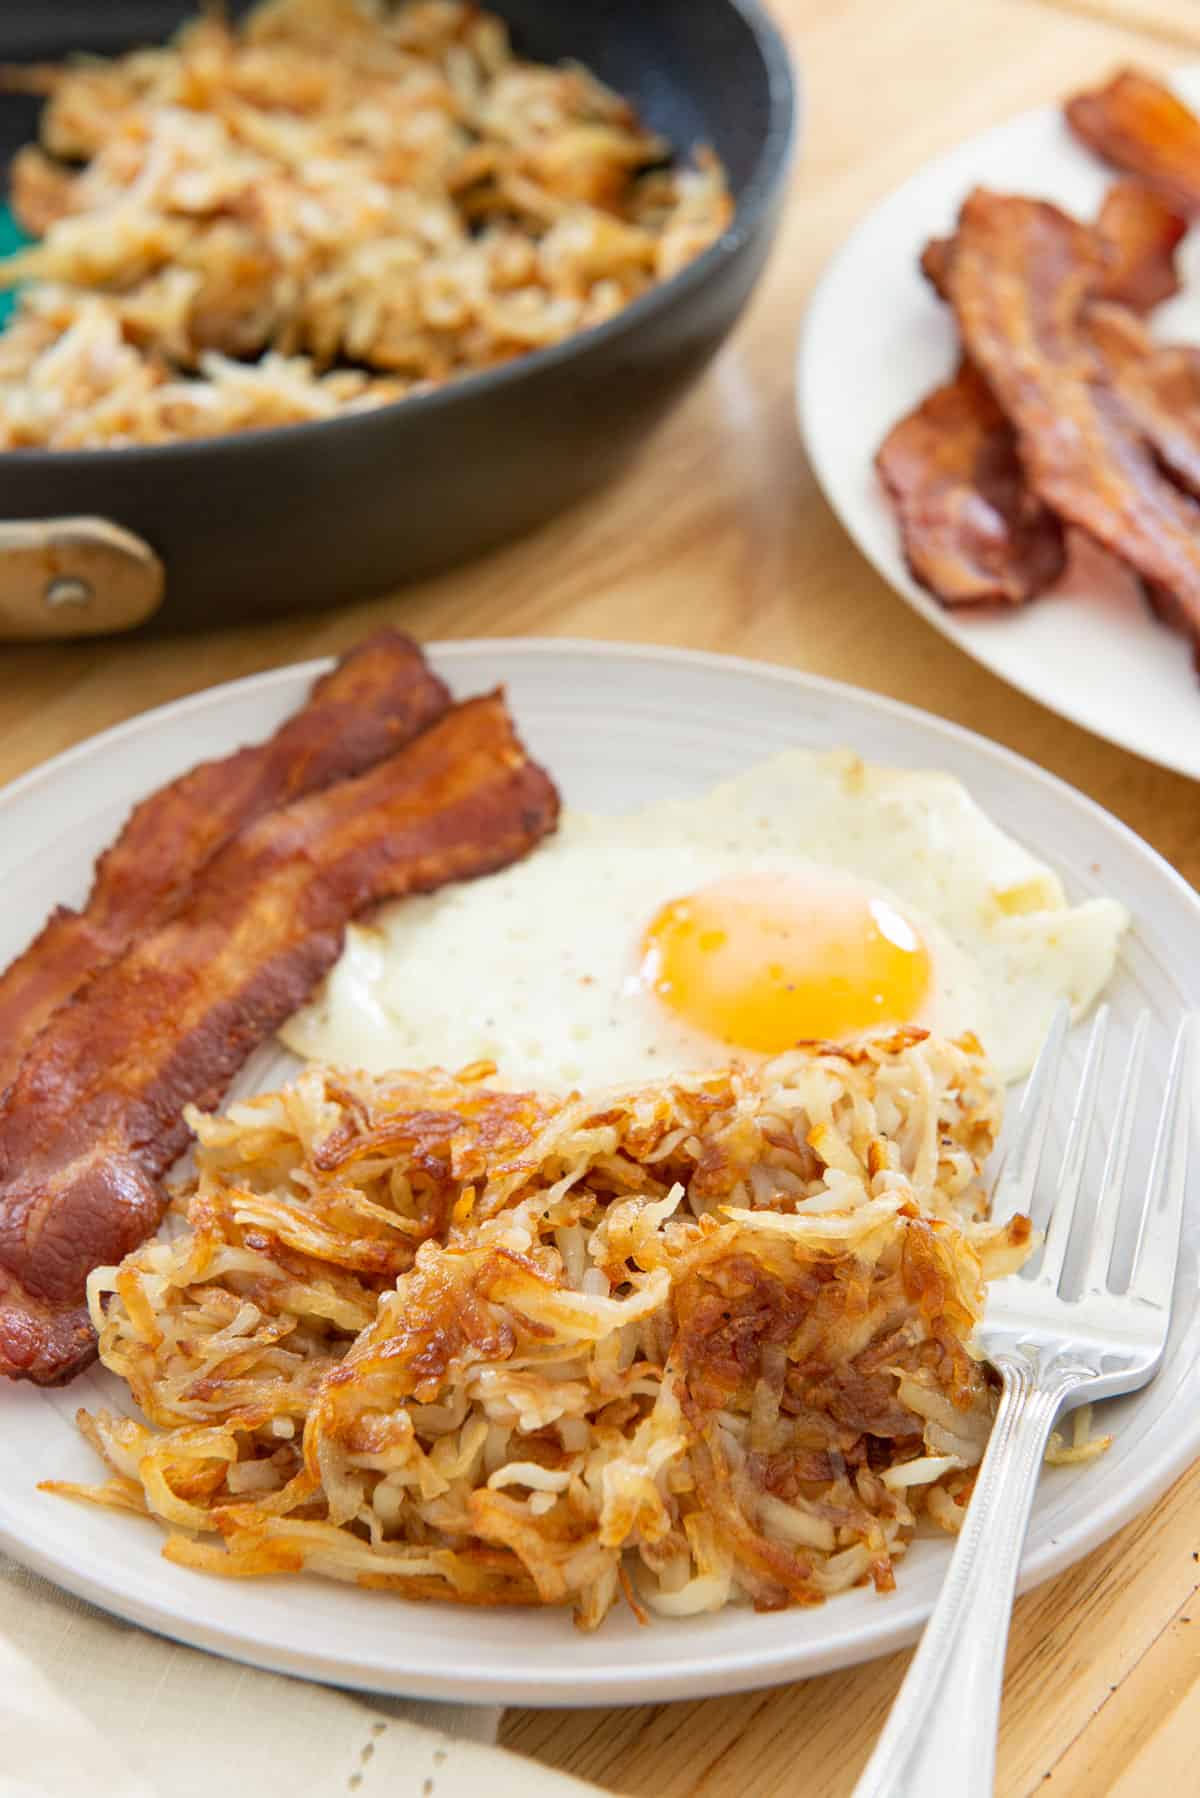
There’s a reason hash browns are one of the most popular American breakfast dishes, and there is no better pairing for eggs and Bacon. Whether it’s on the side of a classic Omelette, healthy Salmon and Eggs, or Poached Eggs, this is the kind of staple recipe that I make on a weekly basis.
While the bagged hash brown products in the freezer section may be slightly more convenient, I’ve always been a stickler for making them from scratch. The pre-bagged stuff doesn’t taste nearly as good as homemade hash browns made from scratch, with fresh potatoes (and yes, I’ve tried several different brands of the pre-made stuff).
The same goes for the diner. They often use low quality oils in their cooking, and you can taste how much better the shredded potatoes are when they’re homemade.
Tricks We’ll Use for Crispy but Tender Potatoes
Removing excess starch – We’ll rinse away excess starch and also soak the potatoes to give us a crispier end result. This is the biggest secret for how to make hash browns that have that perfect texture, and this is the same technique we use for Homemade French Fries.
Drying the shredded potatoes before cooking – In order for any food to brown, the moisture must cook off first. By drying the potatoes with a kitchen towel, you give yourself a better starting point for a crispier end result. This is incredibly important too!
Using hot fat in a nonstick skillet – I like to cook in butter in a nonstick skillet, which will give you a crispy but tender end result. You may also use other kinds of fats, like bacon grease, ghee or olive oil.
Stirring less – Once we get the shredded potatoes in the pan, we let it sit for a good 4-5 minutes. It’s hard to not stir, but this really gives the potatoes a chance to get a deep browning and robust crunch.
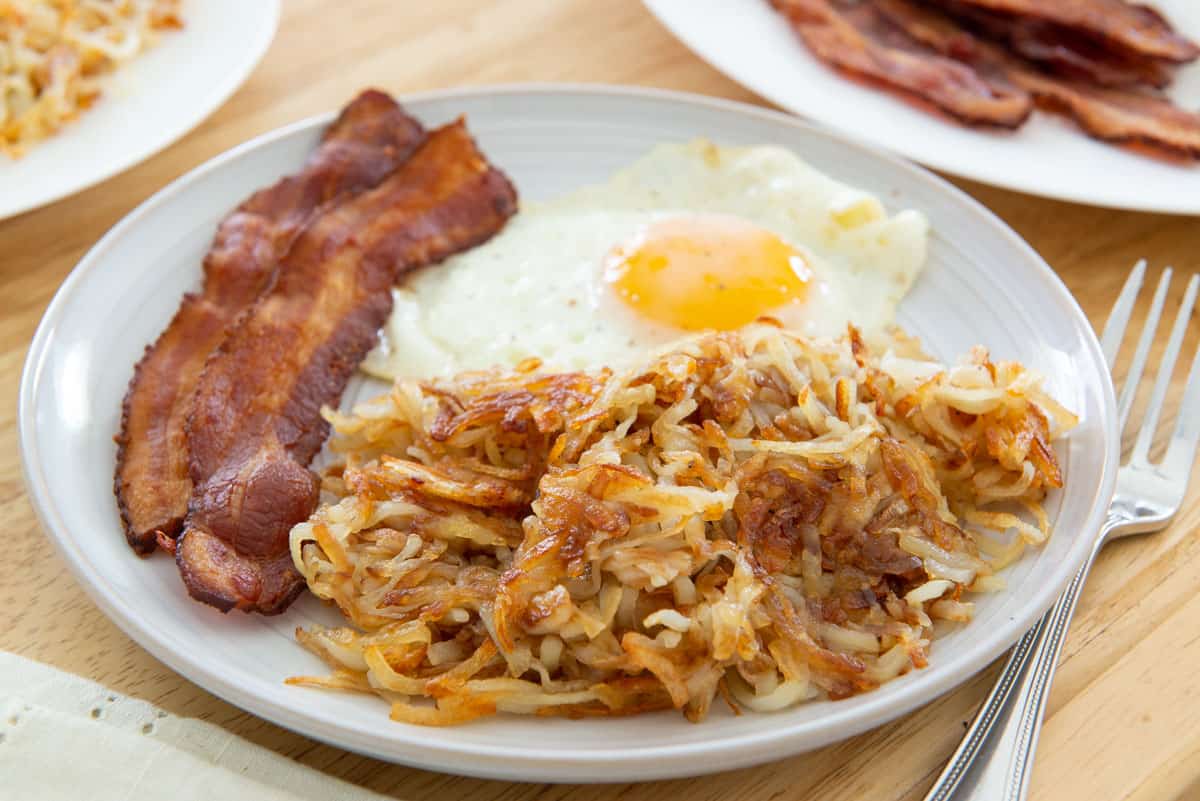
The Best Potatoes To Use
For the best texture, use starchy potatoes like the russet variety, which have a dry and starchy structure that’s perfect for crisping up. There’s a reason that russets are also the default choice for French Fries. Waxy potatoes like Yukon gold, red, and boiler should be avoided.
Step by Step Overview:
Hash browns are made by peeling and shredding russet potatoes, soaking and rinsing them, then cooking in a skillet. It takes about 30 minutes total, and I’ll usually get some bacon in the oven while I’m cooking. See —> How to Cook Bacon in the Oven.
Shred the Potatoes
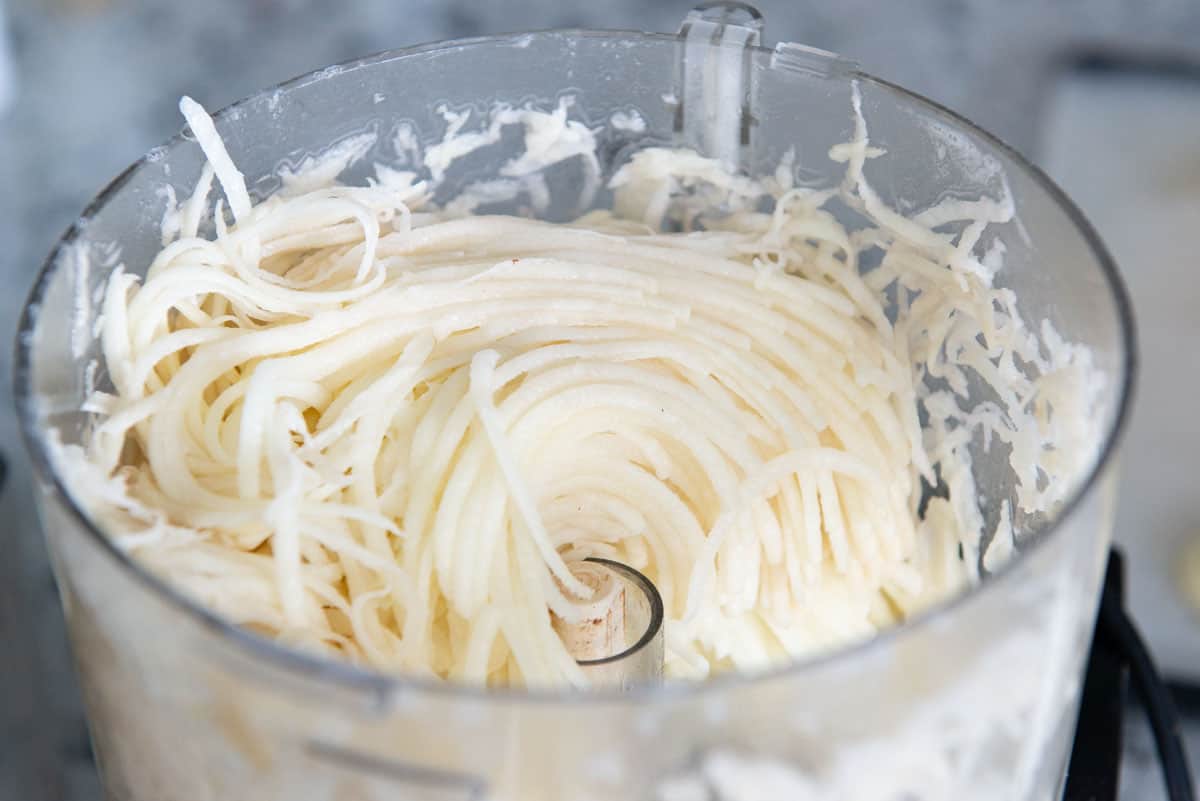
While I do own some handheld shredders, nothing is easier or faster than using the shredding disk on a food processor. If you don’t have a food processor, get one! This is the newer model of the one I have (affiliate), I’ve owned it for 10 years and I use it nearly every day of the week. If you don’t have one, you can use a handheld tool like a box grater, but it will take much longer.
Peel 3 russet potatoes and quickly shred them with the disk:
Hold the Shredded Potato in Water to Prevent Browning
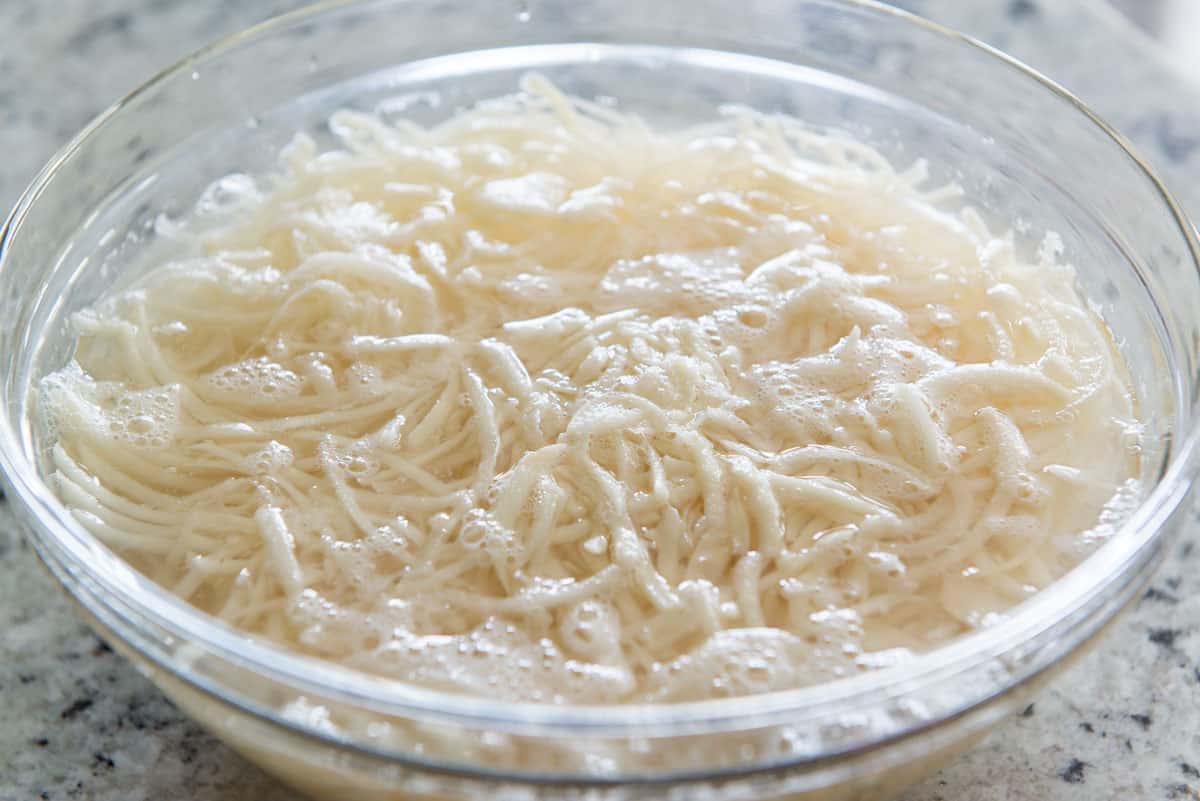
Immediately move the potatoes to a big bowl of cold water, to prevent browning. The water will be a bit murky and foamy from all the starch:
Rinse the Excess Starch Off
Drain and rinse the shredded potatoes thoroughly with cold running water:
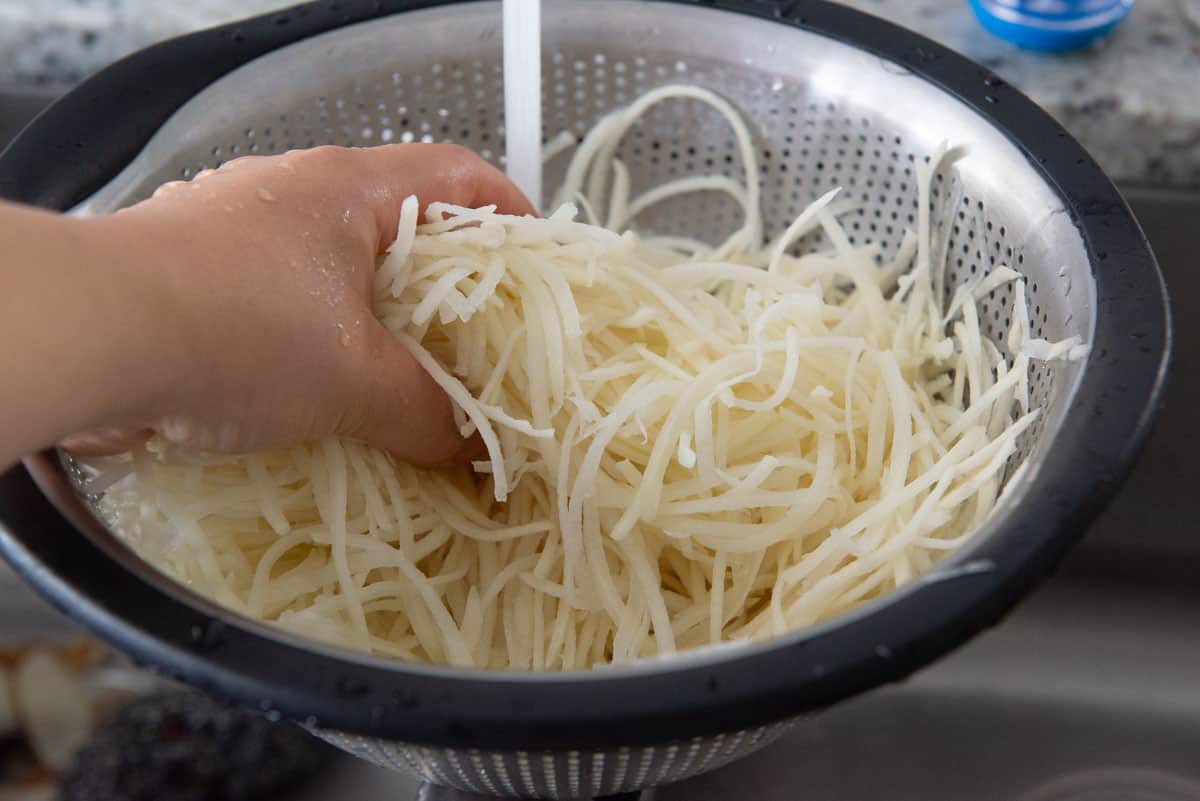
Soak for 10 Minutes to Pull Out More Starch
Put the potatoes back into a large bowl of fresh cold water, and soak for 10 minutes, to allow more starch to come out.
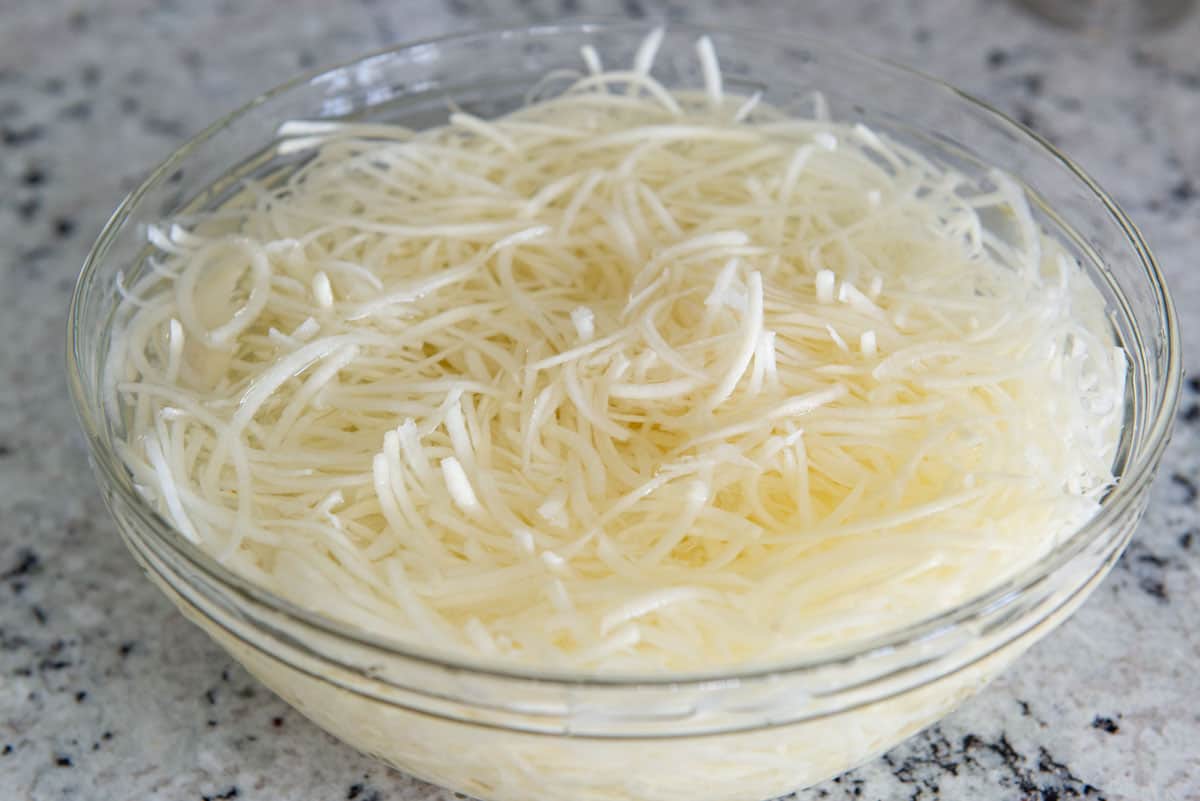
Do you really need to soak for 10 minutes?
YES!! I tested simply rinsing the starch off, and the hash browns turned out much more gummy. So plan ahead to have that 10 minute soak. It makes a big difference.
Drain and rinse the grated potatoes again, and squeeze out as much water as you can with your hands.
Towel Dry the Potato for Superior Crispiness
Transfer the shredded potatoes to a kitchen towel. Wring out any water you can, and press down well, drying them as much as possible. Make sure you use an actual towel here, as paper towel will not be strong enough to wring the excess water out.
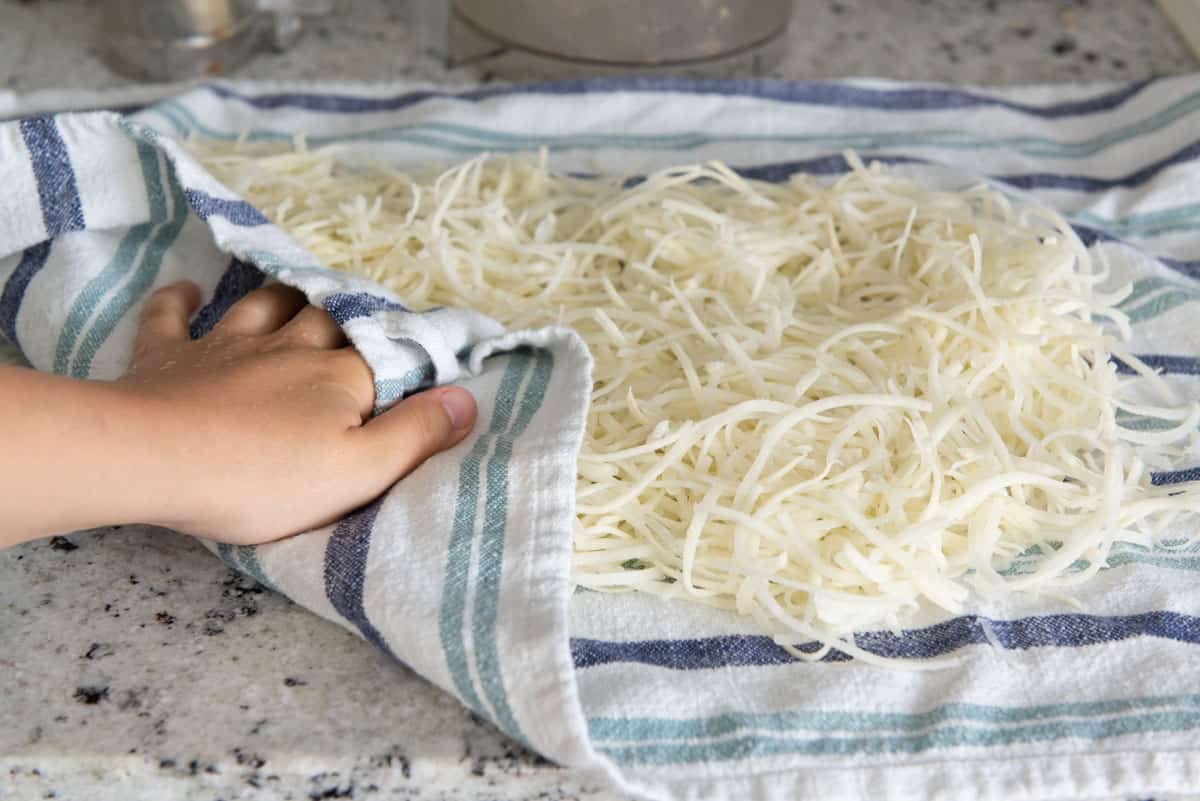
The potatoes will not brown until the excess moisture has cooked off, so that’s why it’s really important to get rid of as much water as possible before cooking. This is absolutely essential for crispy potatoes.
Cook!
Heat a large nonstick skillet over medium heat, and melt 2 tablespoons of butter:
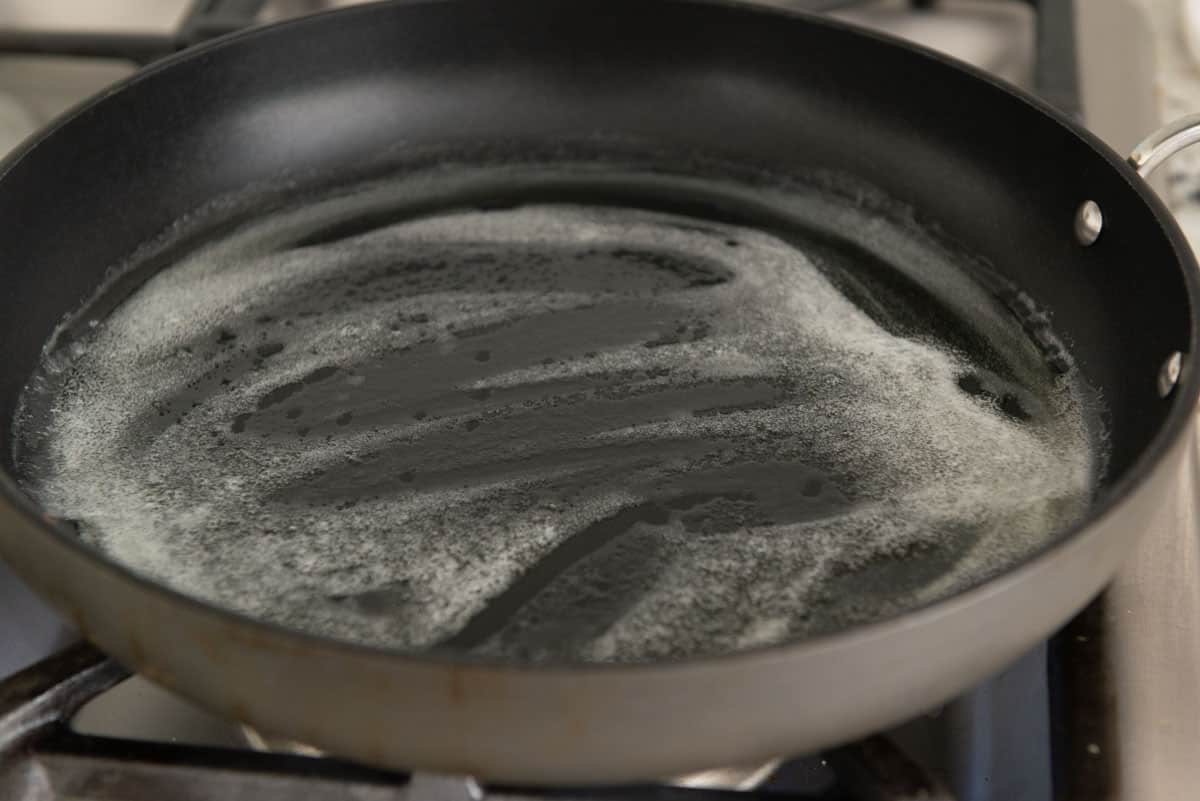
Butter gives you that classic, rich flavor.
Don’t want to use butter?
You can use other types of fat here, like bacon grease, ghee, olive oil, or duck fat. Bacon grease is my second favorite. Like butter, it has so much flavor. Try to avoid flavorless oils like vegetable oil.
Add the towel-dried potato shreds to the non-stick skillet in a single layer, making sure you don’t overcrowd the pan:
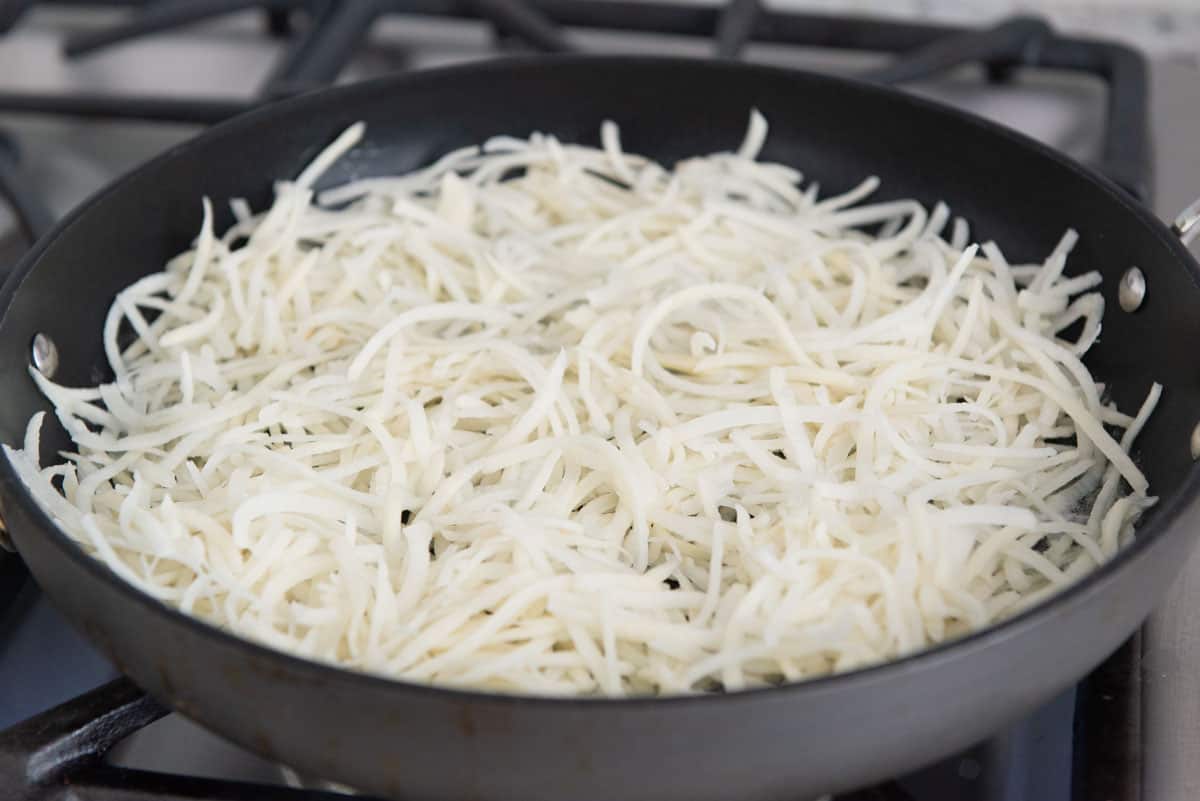
Depending on how many people you want to feed, you may need to have two skillets going at the same time.
Now is the time to add any seasonings that you wish. I usually do just kosher salt and black pepper, but you can also add garlic powder, onion powder, paprika, cayenne pepper, or whatever you’d like. Smoky chipotle powder is also a delicious addition. I recommend up to 1 teaspoon of added spices.
Let them brown (resist the urge to stir)
Let the potatoes sit for 4-5 minutes without stirring or flipping, until the bottom has turned golden brown:
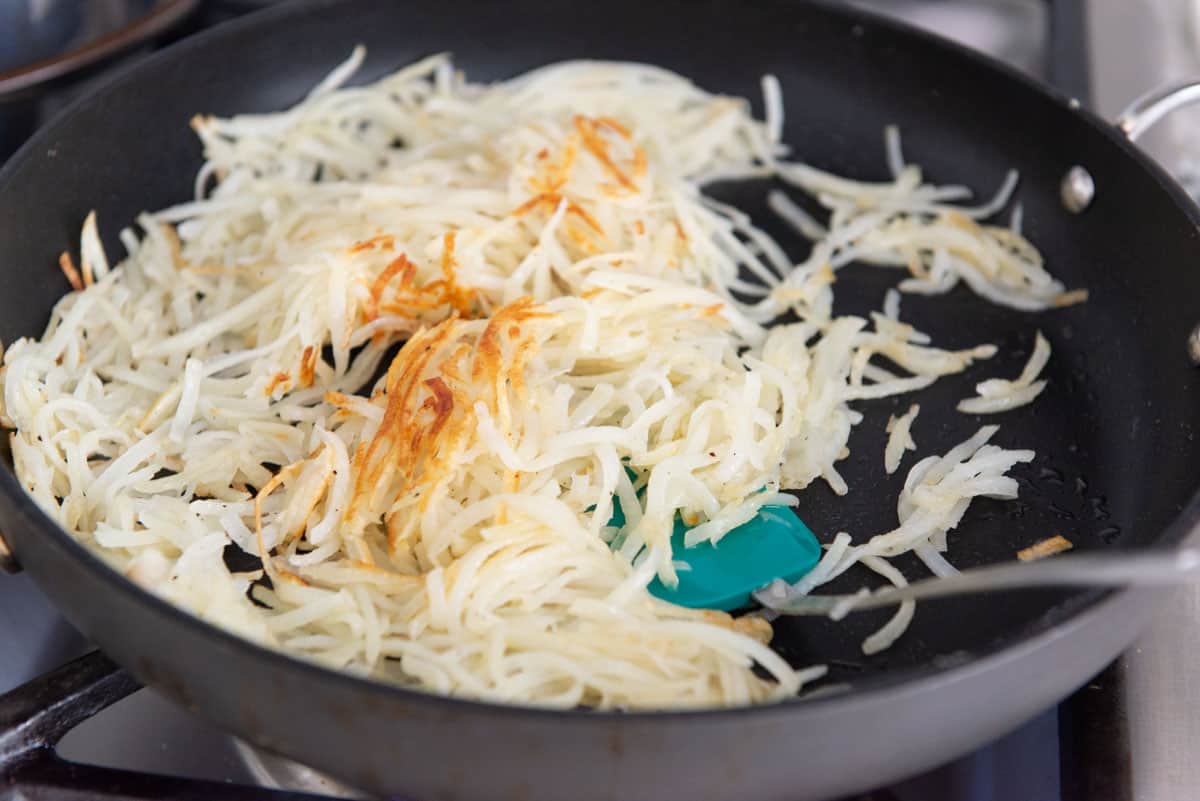
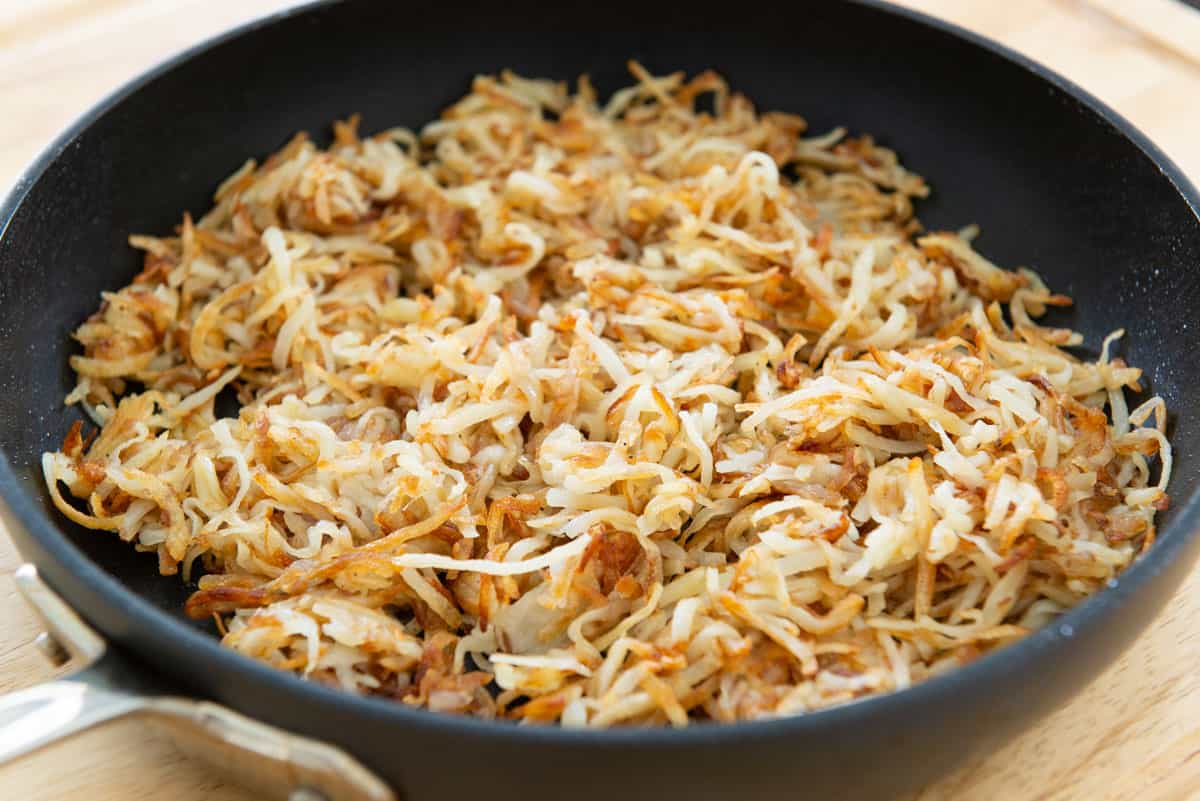
Then you can stir and continue cooking for another 15 minutes, stirring every 5 minutes or so, until the potatoes are tender, and crisped and browned on most sides:
How to Serve
Serve your homemade hash browns promptly, as potatoes tend to become less tender when they’re cold, and you want to keep them crisp as well. For this reason, it is advantageous to serve your golden hash browns in a hot skillet right at the table. A cast iron skillet will hold heat the longest.
If you need to hold them while you’re cooking something else, keep in a 250F oven for up to 15 minutes. After that, you risk the hash browns drying out.
Enjoy your breakfast with Poached Eggs, and may I suggest adding these crispy hash browns to a Breakfast Burrito for a heavenly way to start the day.
For more of my favorite hearty breakfasts, try Potato Cheddar Frittata, Bacon Cheddar Waffles, and Sweet Potato Hash. Enjoy!
Recipe FAQ and Tips:
Place in an airtight container to prevent the potatoes from absorbing off flavors, and keep in the fridge for up to 5 days.
Absolutely! You can freeze for up to 2 months. Store in an airtight container so the potatoes don’t dry out. To thaw, leave in the fridge overnight, or add an extra couple minutes to reheating cook time.
You can reheat in the microwave, but they won’t be crispy like when you made them. If you want to re-crisp them, cook in a nonstick skillet over medium heat for 5-8 minutes.
Did you enjoy the recipe? Please leave a 5-star rating in the recipe card below and/or a review in the comments section further down the page. Or, follow me on Facebook, Instagram or Pinterest!
Hash Browns
Ingredients
- 3 russet potatoes (2 pounds), peeled
- 8 tbsp butter divided
- 1/2 tsp salt
- 1/4 tsp black pepper
Instructions
- Using the shredding disk of a food processor, shred the potatoes and immediately put into a big bowl of cold water in between shredding batches, to prevent browning.
- Rinse the shredded potatoes in a colander, then put back into a big bowl of cold water. Soak for 10 minutes, then drain and rinse again.
- Squeeze as much water from the potatoes as you can with your hands, then transfer to a kitchen towel and wring out the potatoes even more, soaking up any moisture that you can.
- Unless you have a really large skillet, like 14", I recommend using two nonstick skillets to cook (I use a 10" and a 12"). Heat each one over medium heat, and melt 2 tbsp of butter in each pan.
- Split the shredded potatoes between the two pans, and season each batch with 1/4 tsp salt, and 1/8 tsp black pepper.
- Let the potatoes sit in the pan for 4-5 minutes, without stirring, until the bottom has browned, then start tossing the potatoes around to start cooking the other side.
- Add another 2 tbsp of butter to each pan, and cook for an additional 15 minutes, stirring/flipping every 5 minutes or so, to continue cooking and browning the hash browns.
- Do a final taste test for seasoning, and add more salt and pepper as needed. Serve promptly, while warm. Enjoy!
Notes
Nutrition
Nutrition is estimated using a food database and is only intended to be used as a guideline for informational purposes.

9 Comments on “Hash Browns”
TAYLOR, The way you describe it is amazing, I tried it at home, and it was perfect.
Thank you Beth! So glad you found it helpful!
Best hash browns recipe I found, with all the tips and tricks I was looking for, thank you!
I’m so glad you found this one helpful! Thankyou!
Turned out great! I had some bacon grease saved and added some butter to make a huge pan. Nice and crispy and tasty. Served with over easy eggs and sourdough toast. Thanks.
Very Good!
Just one quick thing. To reheat try heating them in a hot air fryer instead of more grease. They still come out very crispy. If you cook bacon in the oven try cooking the whole package or more at one time. One slice if it’s thick sliced and two together if thin sliced. It sure speeds up breakfast time in the mornings. Roll the rest of it in paper towels and put it in a zip lock bag and keep in the fridge till you need it.
This was my first time soaking the potatoes and they turned out the BEST ever. Thank you for the tips.
Thank you for all the specifics to making hash browns a success when making from scratch. You had a lot of great pointers I wouldn’t have thought of before.