Homemade Mozzarella Sticks
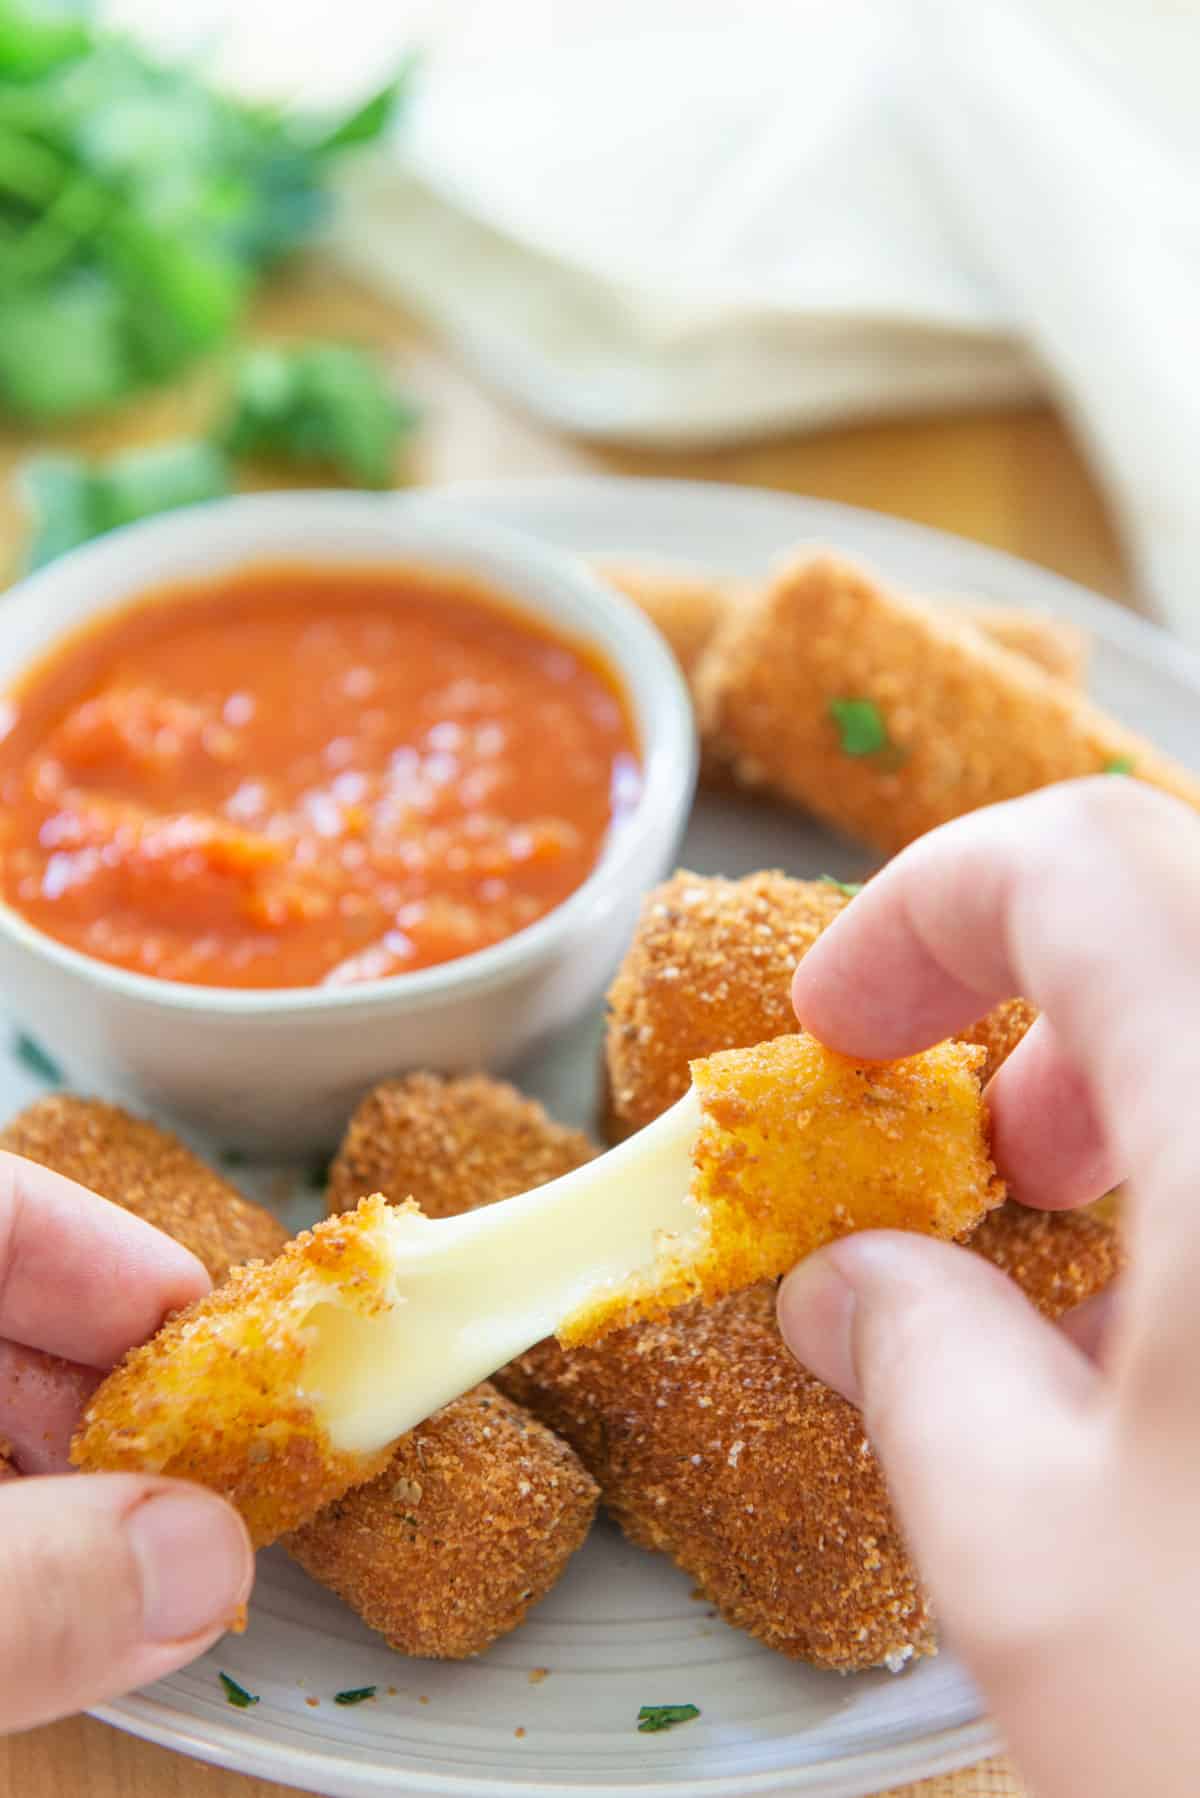
There are few things more delicious than Homemade Mozzarella Sticks, freshly made in your kitchen. They are shockingly easy to make, and a wonderfully ooey gooey snack! The secret is to freeze the cheese sticks before frying, which ensures that the cheese doesn’t leak out before the shell gets golden and crispy.
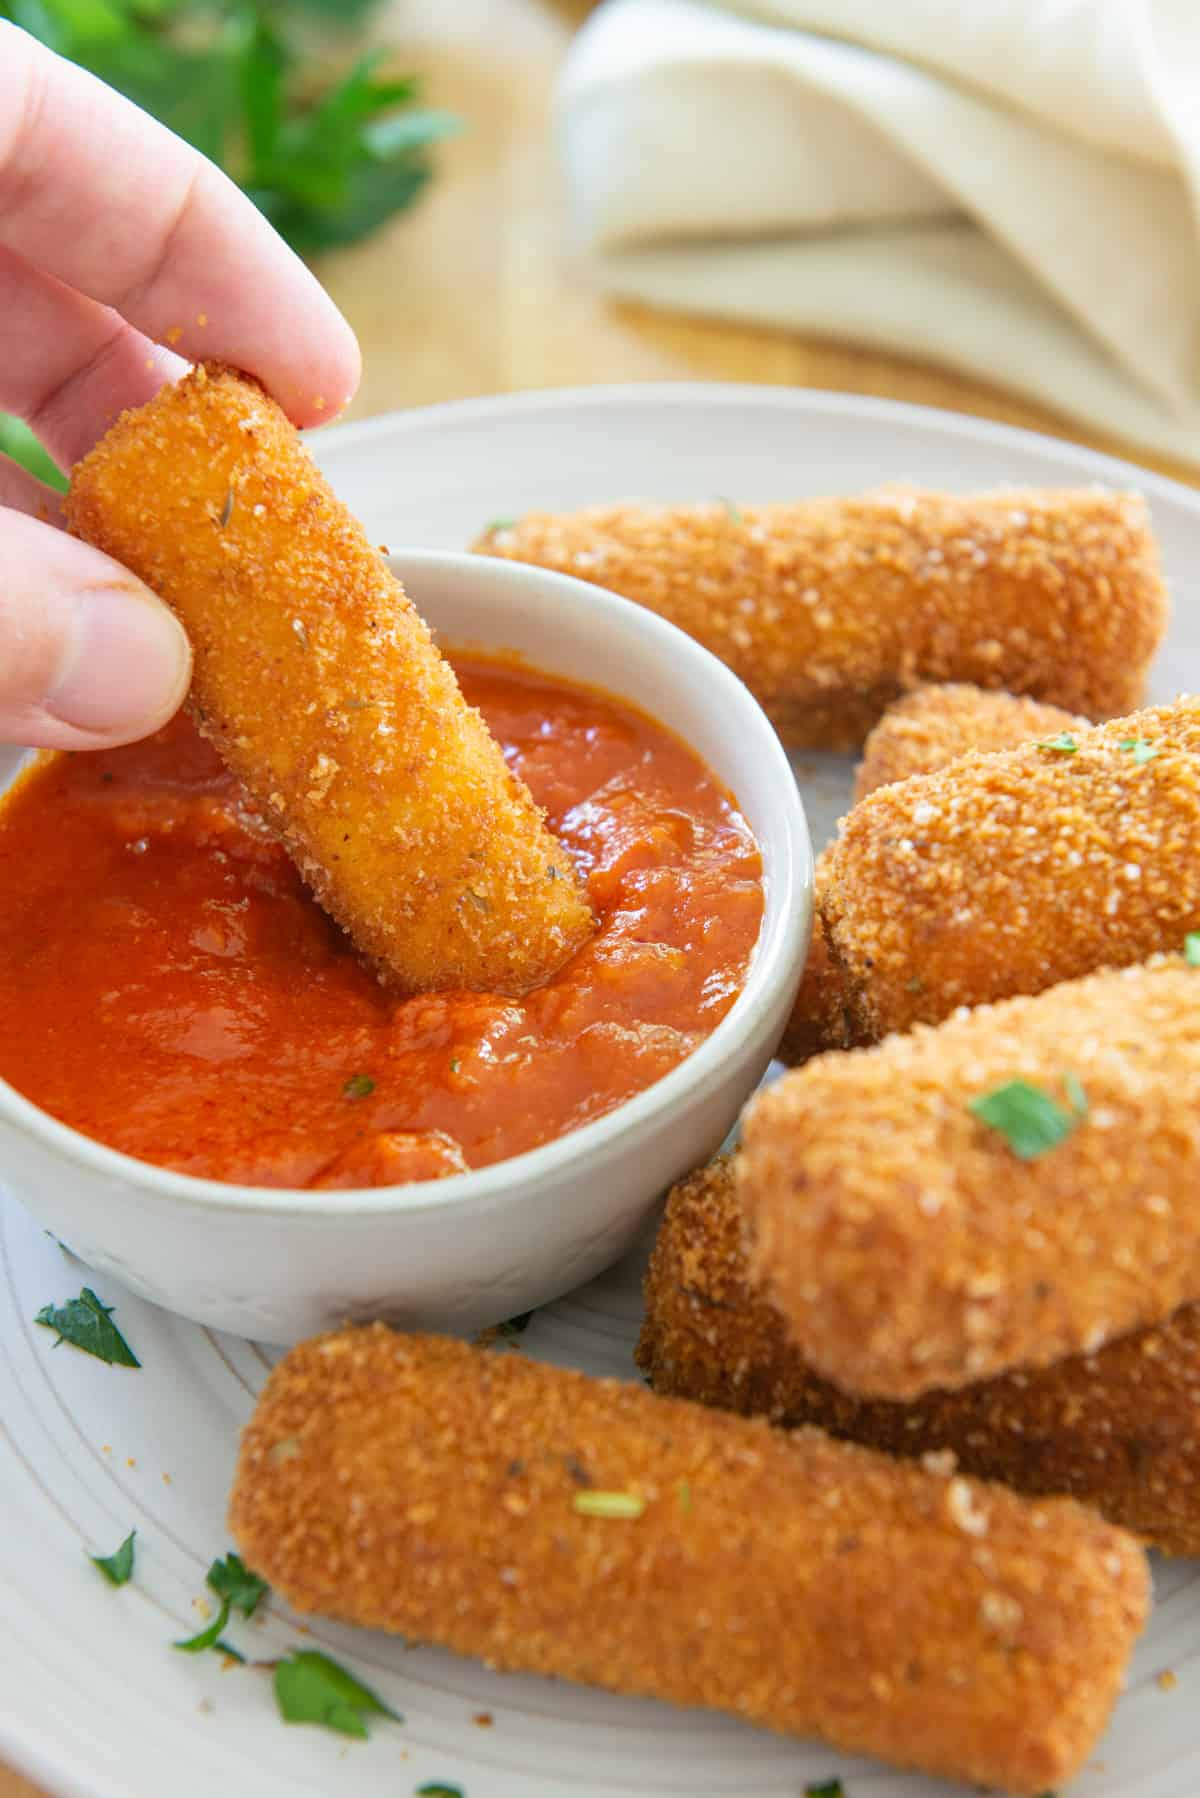
I’ve always loved the ooey gooey stretchiness of a mozzarella stick, and admit that the frozen boxes of pre-made cheese sticks were a nostalgic part of my childhood.
Store-bought ready-made foods are convenient, but such substitutes can never compare to the flavor and crunch of your own homemade mozzarella sticks made from scratch. Fortunately, they are really easy to make yourself, but there are a few essential techniques to incorporate when making these. I’ve included these steps in this method and recipe, including a minimum double coating, and freezing before cooking.
Why This Recipe Is the Best
No leaking cheese during cooking – We will bread these enough that the shell protects the cheese from the hot oil. We’ll also freeze the cheese sticks before frying to bring the temperature of the cheese down before cooking.
Freezing for even cooking – We will freeze the breaded mozzarella sticks for two hours before cooking, which will get the cheese super cold before frying. This allows the shell to properly brown and crisp before the cheese gets overcooked.
Make-ahead friendly – Every time I make a batch of these, I always leave half of them in the freezer for another time. Then all you have to do is deep fry a batch when you want to enjoy them. They are completely make-ahead friendly.
Simple, delicious, no nonsense – The only ingredients here are mozzarella cheese, Italian breadcrumbs, and egg. Fry it in tallow, or your favorite frying fat, and they are ready to go. I love serving the fried mozzarella sticks with warm marinara sauce for dunking.
Tips for Best Results
Consider a triple layer coating – A double coating is essential to prevent cheese from leaking out, but I have found I prefer a triple layer coating, which gives a supremely robust crunch. I have a picture down below showing you the comparison.
Cut the cheese sticks smaller than you think – When cutting the block of mozzarella into sticks, cut them smaller than what you think you want, because between the breading and cooking, they will expand in size quite a bit.
Keep hands separate during breading – You’ll want to have one hand only for the egg bowl, and one hand only for the breadcrumb bowl, in order to keep the breading and your hands from getting clumpy. I photographed both with my left hand because I had to take a picture with my right hand, but once I was done, you bet I switched to keeping the two working hands separate.
How to Make Them Step-by-Step:
- Cut a block of mozzarella cheese into sticks.
- Bread the cheese sticks with egg and Italian bread crumbs.
- Freeze for 2 hours.
- Fry.
Let’s break it down!
Cut the cheese 😉
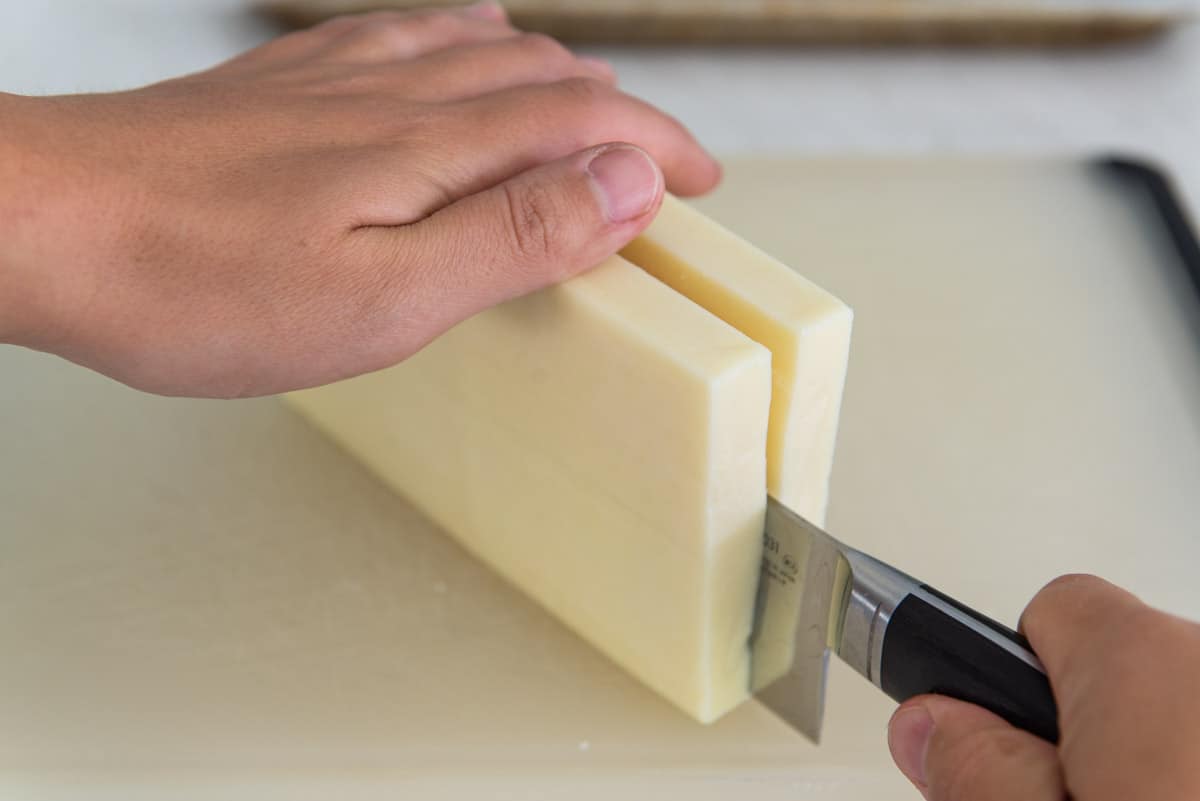
Slice a block of whole milk mozzarella down through the center:
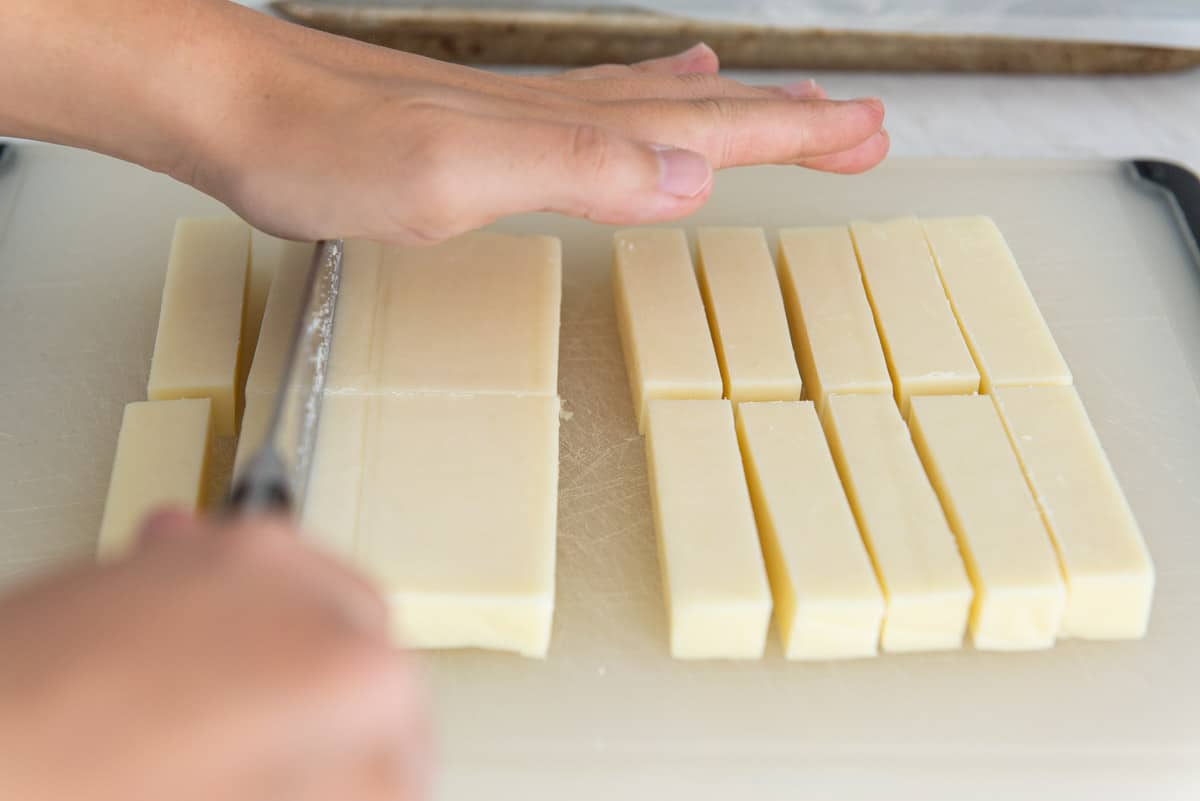
Then cut those halves into sticks a few inches tall and about 1/2″ thick:
Tip: You can also use string cheese
I have tested this recipe using sticks of string cheese, and it worked well. Personally, I prefer the texture of block mozzarella cheese, as it’s a bit more “stretchy” while the string cheese was more of a wet gooeyness. Block cheese is also easier to bread.
But an advantage of string cheese is you have pieces that are already uniform in size. Just cut them in half in the center to create smaller pieces. Also make sure that you’re using real mozzarella cheese, and I recommend whole milk instead of part skim milk mozzarella.
Bread the Cheese
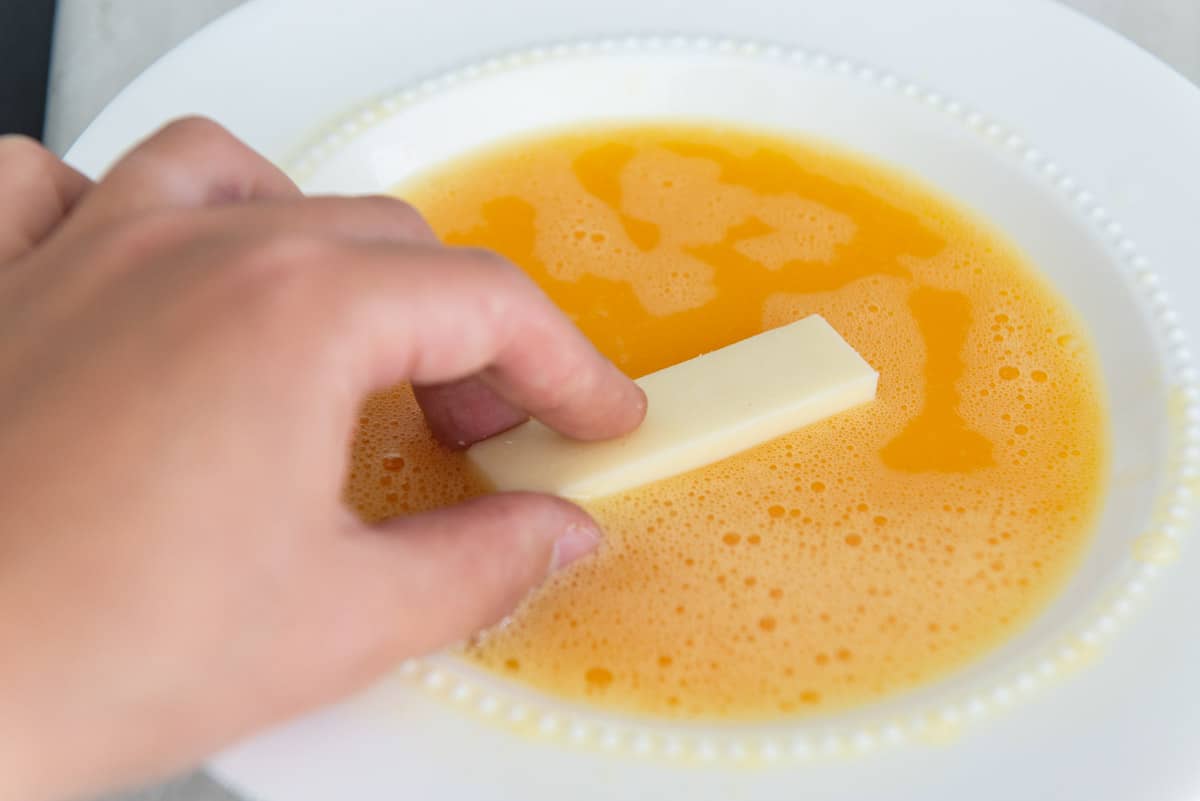
Whisk an egg with salt and a touch of water, then dip each cheese stick into the egg mixture to coat:
Then dip each piece into a bowl with the Italian bread crumb mixture:
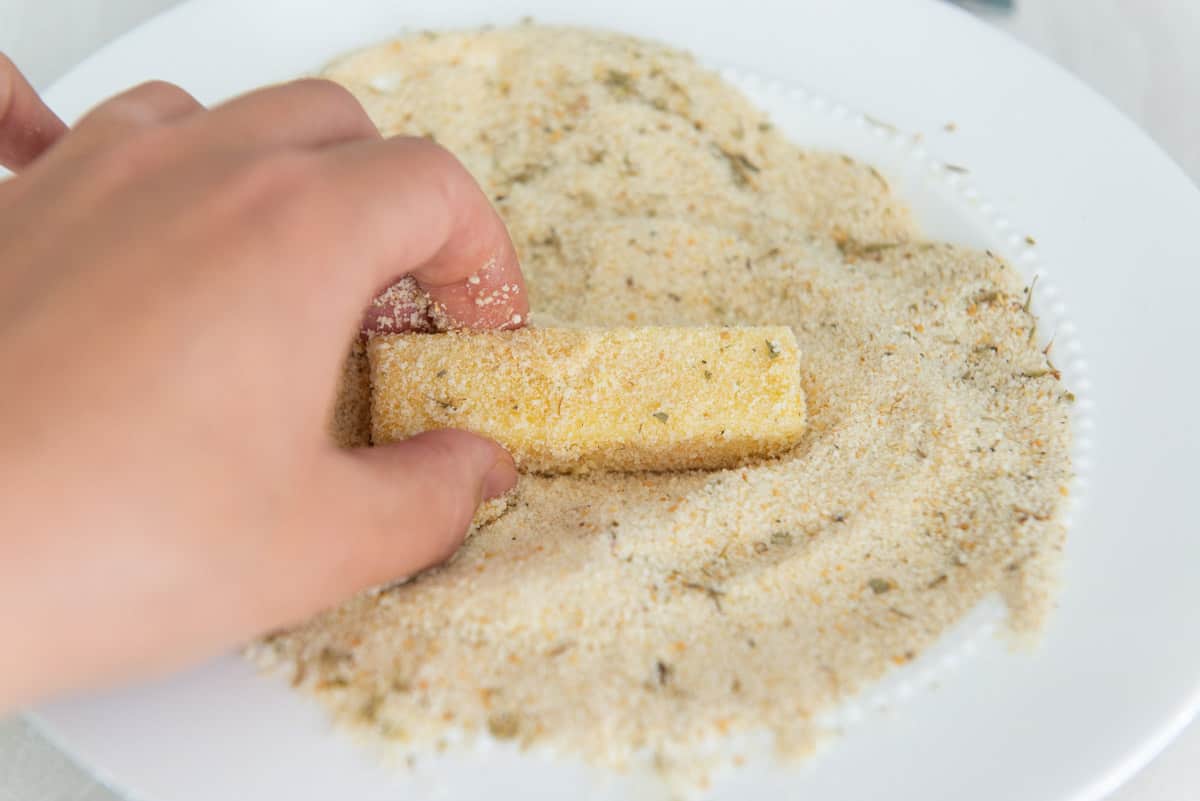
I like to buy Italian bread crumbs that are already seasoned, but if you only have plain or regular bread crumbs, I have instructions in the recipe box for adding your own seasonings, like garlic powder, onion powder, black pepper, and other Italian seasoning ingredients.
How many coats?
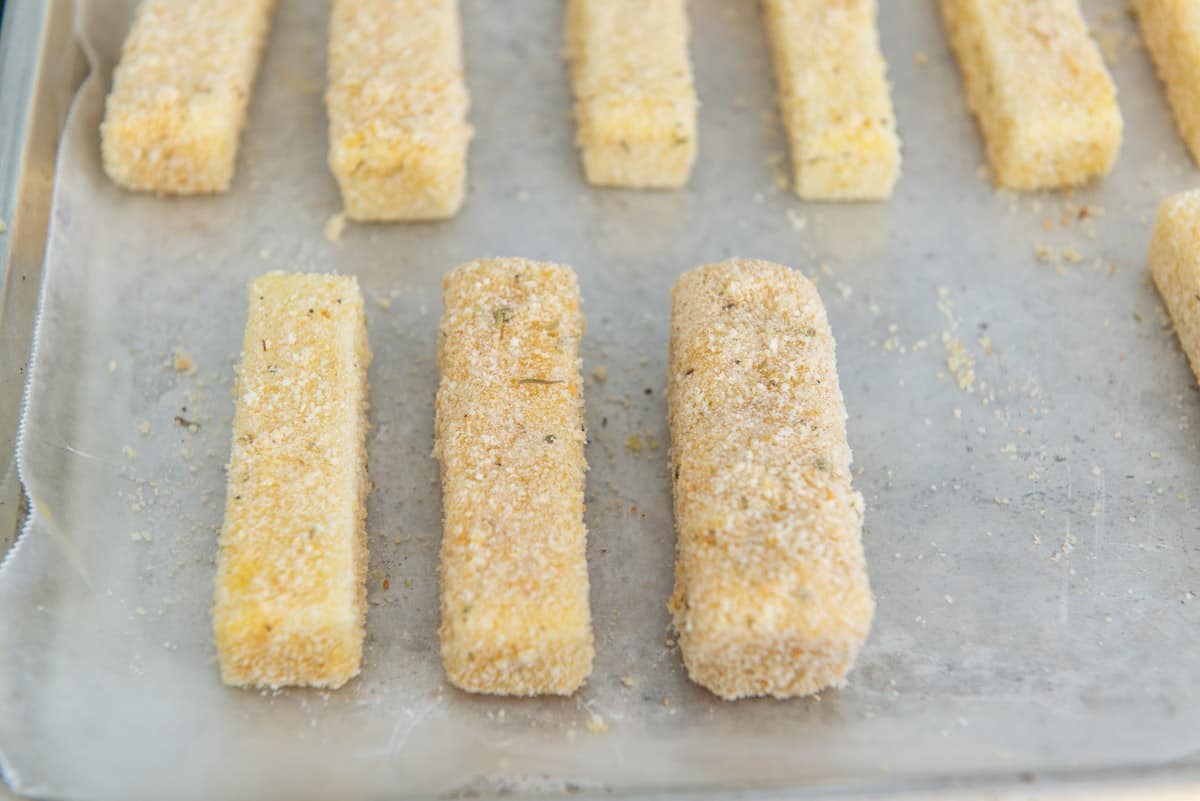
I recommend you repeat this breading process at least twice, so you get a thick enough coating on the outside. But I actually prefer to do three coats for a really robust crispy shell, and to ensure that no cheese oozes out during cooking.
Here is a photo from left to right of 1 coating, a second coating, and a third coating:
Freeze them for later
Freeze the mozzarella sticks right on the tray in a single layer for at least two hours. This is absolutely essential and this step should not be skipped, otherwise the cheese will melt too quickly in the fryer, before the shell has a chance to set.
Make-ahead Instructions
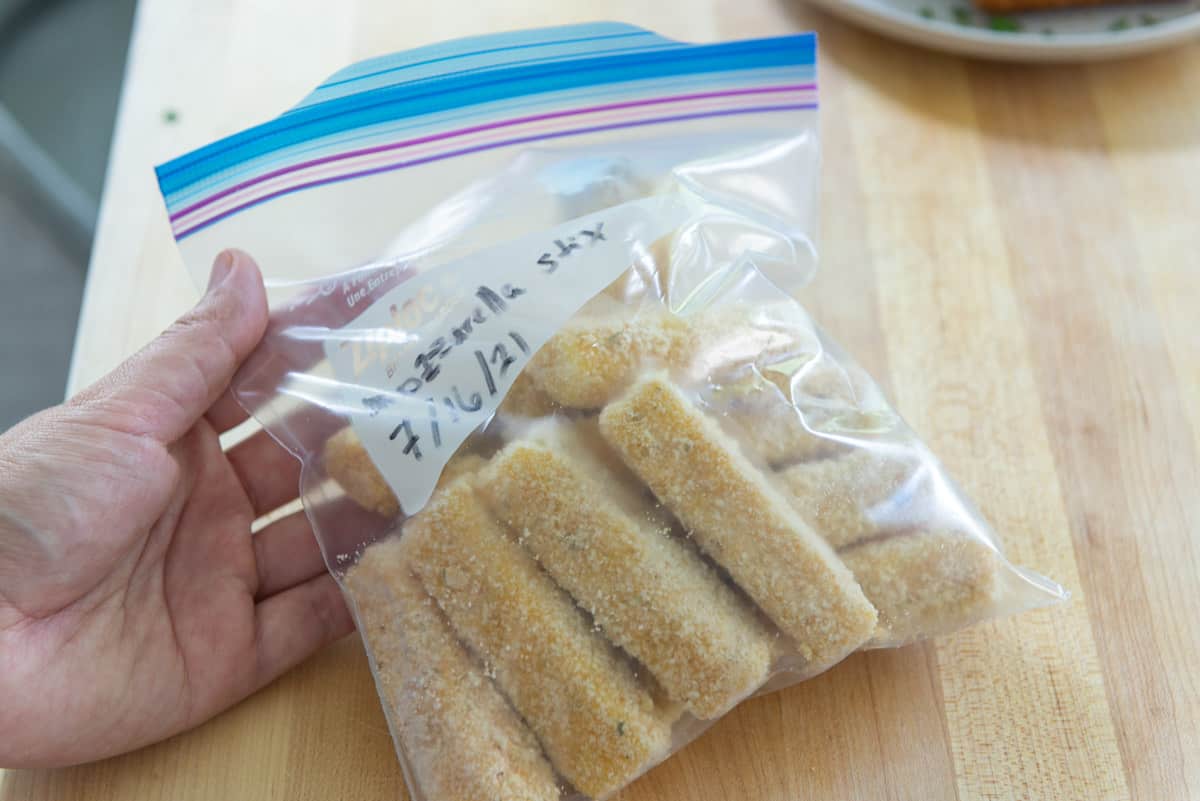
I always bag some of the frozen mozzarella sticks and save them for later. Write the date on the bag, and store them for up to 2 months. Simply deep fry your mozzarella sticks whenever you’re ready to eat.
Deep Fry to Cook
Heat a few inches of your frying fat of choice in a saucepan or a dedicated fryer. I used to own a deep fryer, but I found it annoying to clean and now simply use a heavy-bottomed saucepan, checking the temperature with a thermometer. This is what I do for all my deep fried recipes, like Homemade French Fries, Fried Chicken, Coconut Shrimp, and Homemade Corn Dogs.
What Cooking Fat do I Recommend?
I highly recommend using tallow, which will give you a far better flavor than industrial oils like vegetable oil or canola oil, and is also much healthier. Tallow is a more stable fat that tolerates high heat frying with the least amount of oxidation. I do not recommend olive oil, as the smoke point is too low.
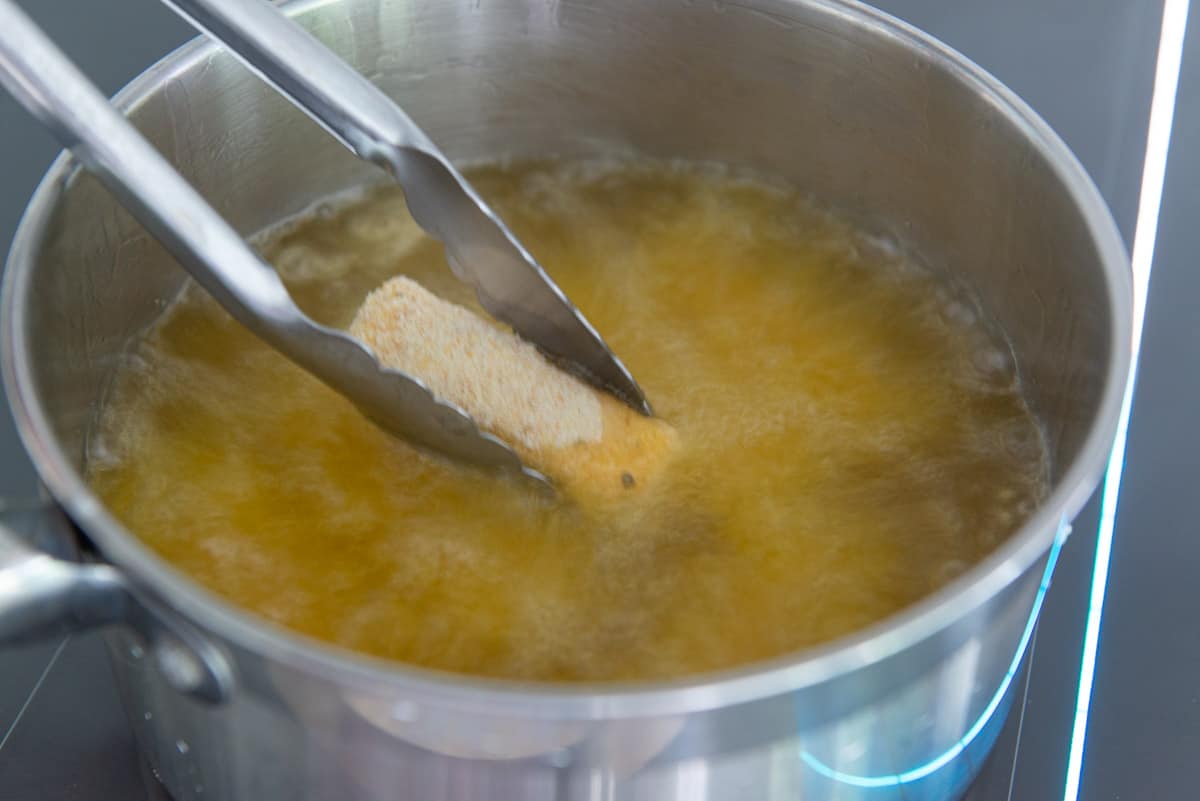
Once the oil temperature is 365F, deep fry the mozzarella sticks, lowering each coated cheese stick gently but quickly, one-by-one:
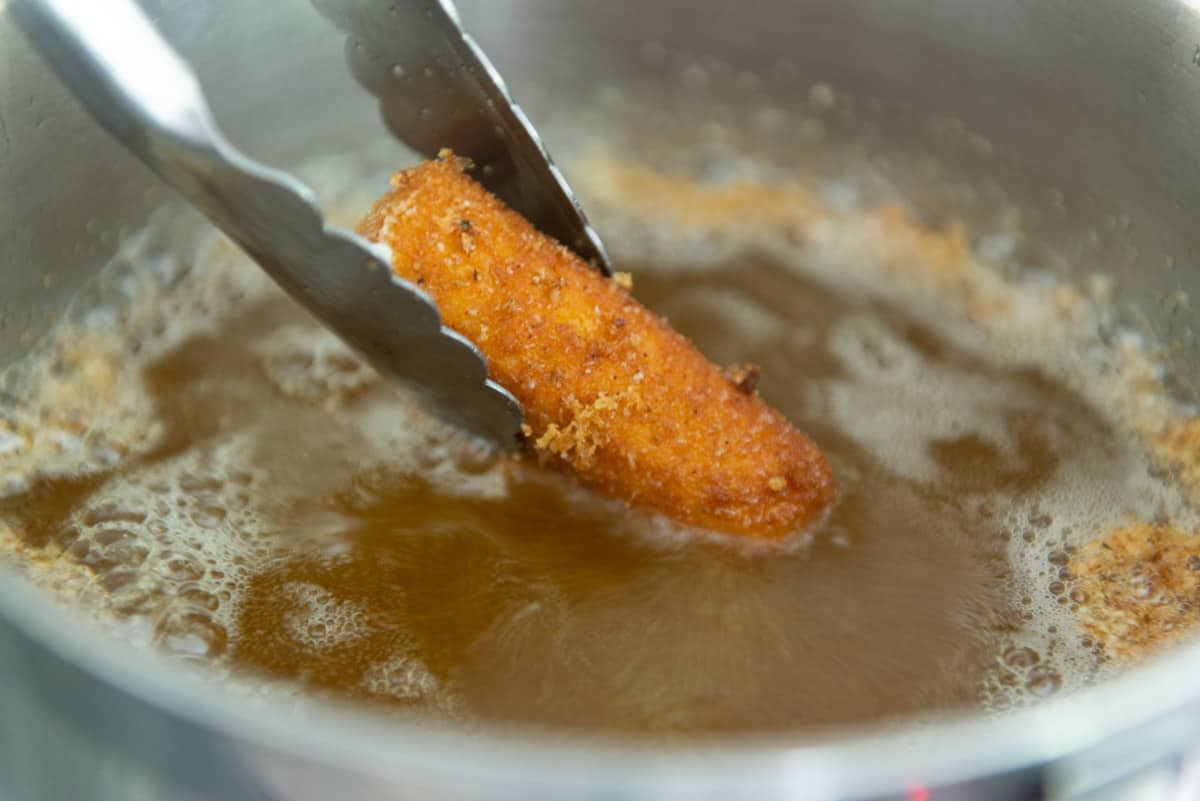
Cook for about 2 minutes, until golden brown. You’re really going for color here, more than anything. This golden color is perfect:
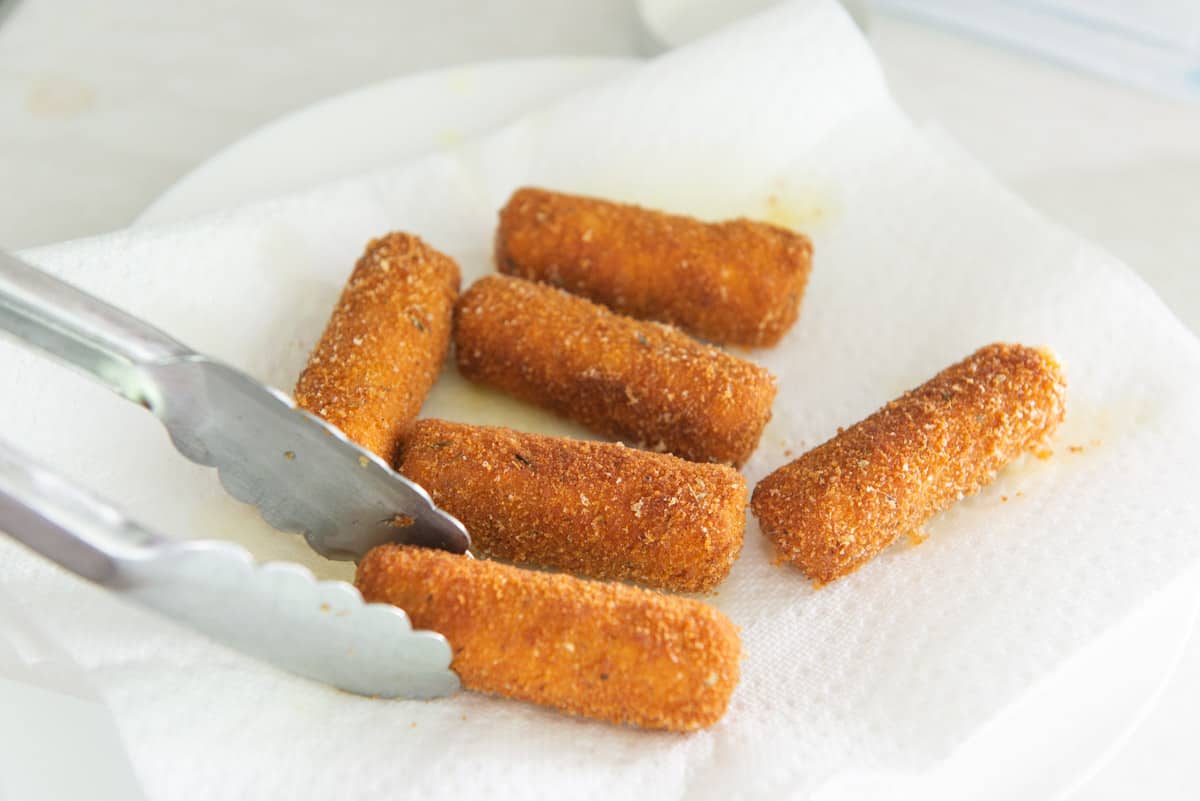
Let the mozzarella sticks drain briefly on paper towels:
How to Serve Them
A small bowl of marinara sauce on the side of your mozzarella cheese sticks is classic, because then it tastes like pizza in another form, but you can also try Nacho Cheese Sauce, Aioli, or ranch dressing.
Rosa alfredo, which is a cross between tomato sauce and alfredo sauce, is my favorite dipping sauce of all. Time is of the essence for enjoying these, as you want them to be hot and crispy on the outside, and gooey in the middle, so eat promptly.
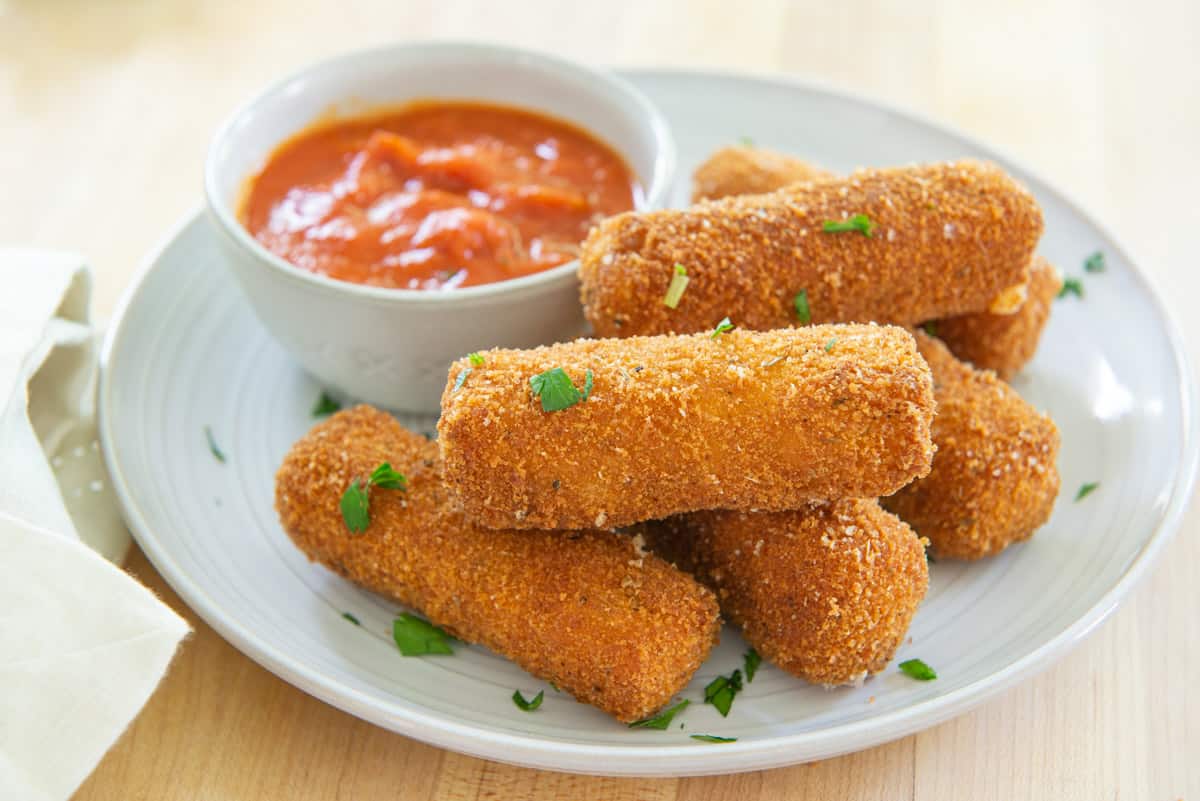
Because they freeze so well, I like to only make however much I can enjoy in one sitting, because they definitely taste best fresh.
What to do with the used cooking oil?
One benefit of using tallow instead of fats like soybean oil or peanut oil, is it’s stable enough that it can be reused again and again. I simply filter it to remove the crumbs and sediment from the cheese sticks, then use it for another deep fried recipe next time, such as Fried Calamari or Potato Croquettes.
FAQ and Expert Tips
Yes, store in an airtight container for up to 2 months in the freezer.
Place them in a 350F oven for 10 minutes, until hot and crisp. Because the cheese sticks have already been fried, they actually reheat nicely.
You can keep them in the fridge in an airtight container for up to 5 days, or in the freezer for up to 2 months.
Technically yes, but the texture will be wildly different. They will not have the same crunch if you don’t deep fry them. Most of the reason deep frying is unhealthy is because junky oils like soybean oil or corn oil are used. You can fix this by using a healthful and stable frying fat like tallow.
Did you enjoy the recipe? Please leave a 5-star rating in the recipe card below and/or a review in the comments section further down the page. Or, follow me on Facebook, Instagram or Pinterest!

Homemade Mozzarella Sticks
Ingredients
- 16 oz block whole milk mozzarella cheese*
- 3 large eggs
- 3 cups Italian style bread crumbs**
- salt
- tallow (beef fat)*** (or other deep frying fat of choice)
Instructions
- Cut the block of cheese into 1/2 inch thick sticks, a few inches tall (see blog photos). I had 20 pieces.
- Place the eggs in a bowl with 1/4 tsp salt and 1 tablespoon of water, and whisk to combine. Place the bread crumbs in a second bowl next to the eggs.
- Take a cheese stick and dip it into the egg, letting the excess drip off. Then coat it in the bread crumbs, shake off the excess, and place on a tray. Repeat with the remaining cheese sticks.
- Once each cheese stick has been breaded, take each one through the egg and bread crumbs again for a second coating, at a minimum. I prefer to bread the cheese sticks three times for a more robust shell, but two coats is sufficient to prevent the cheese from leaking during cooking.
- Freeze the mozzarella sticks, on the tray, for at least for two hours.
- Heat the tallow or frying fat of choice to 365F, using either a deep fryer or a heavy bottomed 8" saucepan monitored with a thermometer. You want the fat to come a few inches up the sides of the pan.
- Fry the mozzarella sticks in batches**** for about 2 minutes, until golden brown.
- Let the cheese sticks drain briefly on a paper towel, then serve promptly with marinara or your favorite dunking sauce. Enjoy!
Notes
Nutrition
Nutrition is estimated using a food database and is only intended to be used as a guideline for informational purposes.
Post updated with new photos, copy, and tips in September 2021. Originally published February 2013.

66 Comments on “Homemade Mozzarella Sticks”
Awesome recipe, but recommending the use of tallow I’m not sure. It’s loaded with cholesterol and not a great choice for lots of people.
Totally agree, Fried foods should not be used by everyone! I am against many seed and vegetable oils as they are so inflammatory, Thats is why I chose Tallow for this one but it certainly isnt perfect either
Followed the recipe only difference used what I had on hand which was vegetable oil. Turned out awesome. Will never buy store bought again. Thank you so much for an awesome recipe!!
I know, we can never go back! Thanks Tammie!
Have you tried it on an air fryer?
Can I use vegetable oil?
Yes, that will work.
These came out perfect!! I used whole milk Galbani mozzarella sticks and cut them in half, fried in canola oil 6 at a time. They were beautifully golden and not greasy at all. I’ll be making them a lot! Thank you for the triple dipping and freezing tip! It makes all the difference.
Hi, I was wondering if you have to reapply the egg between coats? As in, put the first layer of breadcrumbs on, then do you have to egg it again?
Also, can this recipe be made in an air fryer, or must it be fried in tallow/some sort of oil?
Followed to a T. Had my deep fryer thermometer to 365. In the freezer 2 hrs.
Mine turned very brown after 30 seconds and still very cold inside.
Did I do something wrong?
Do you have an instant read thermometer that you can double check the oil with? It sounds like you have an automatic fryer holding the temperature, and sometimes the temperatures can fluctuate a lot. I used to own one but now use my instant read in a pot because it’s more accurate. Let me know.
These turned out soooo good, it’s the first time I have tried making these at home and I was so happy at how easy they were.
I did some with 2 coatings of breadcrumbs and some with 3, but next time will definitely do 3 coatings as per the recipe to save the cheese coming out during frying.
Would these work in an Air Fryer?
I’m going to try them in my air fryer. 390 degrees for 5-6 minutes, shaking them at 3 minutes. I’m going to coat the basket with olive oil and lightly spray the cheese stick before air frying. Hope this helps
What brand of Tallow do you use? I checked for Tallow, but there are so many different brands, I don’t know which to choose!
Fatworks is my absolute favorite and the highest quality I’ve found. A few places sell it but I order so much that I usually get it direct from their website.
can you use an air fryer? if so at what setting and how much to preheat and at what temp and how long (lots of questions) this recipe is very easy and i love them but i wanted to be a little heathier in using an air fryer 🙂
This works so good and I love how it has that crunch to it I would recommed trying this one more time
I love to try it
I have tried these once and hope to one day try them again. It is easy and they were so good. Thank you for this recipe.
Tried it at home. The First attempt was not successful but I got better. Cheers to the good content. Thank you.
i made these and they were SO good! i changed some things up tho. i didn’t have time to freeze them and they still tasted amazing, and i don’t have an air fryer so i just fried them in vegetable oil! everyone in my family loved them and asked for more!!