Homemade Pierogies
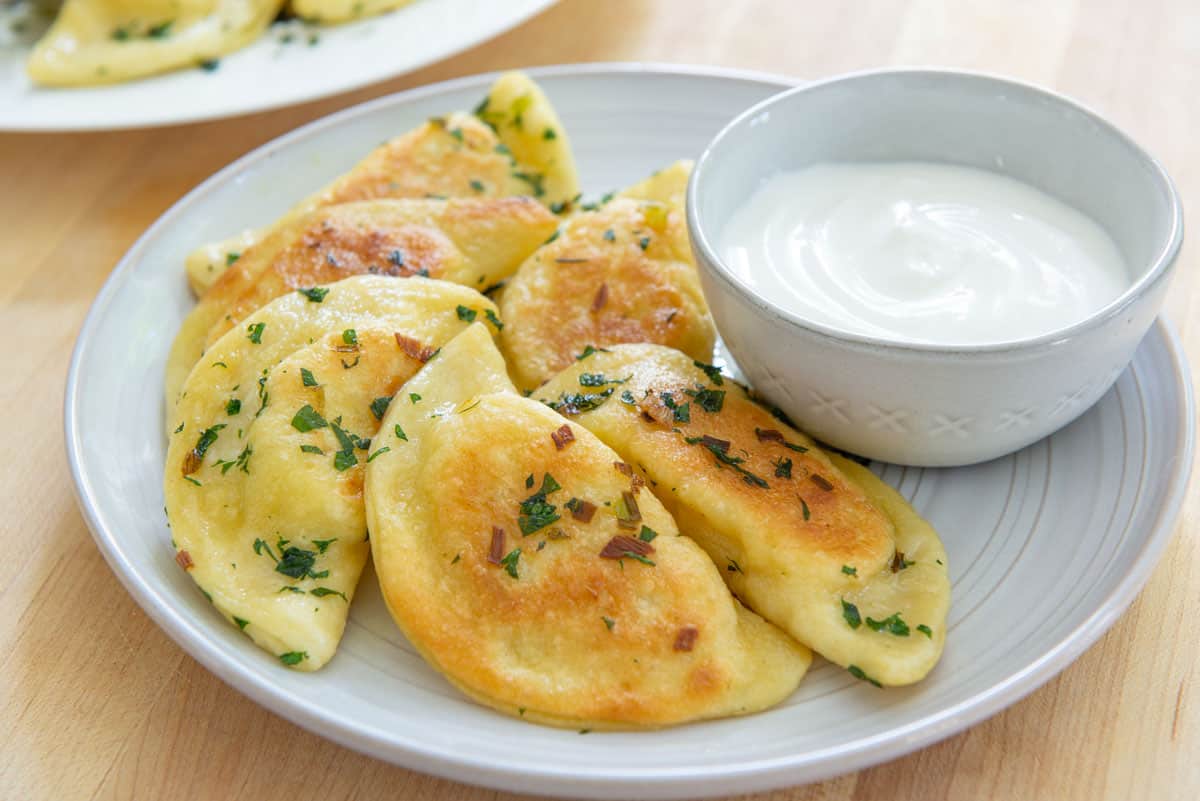
Homemade Pierogies are pure comfort! These filled dumplings have a crisp but tender dough and a creamy mashed potato filling. They are a delicious treat to make, and both make-ahead and freezer friendly.
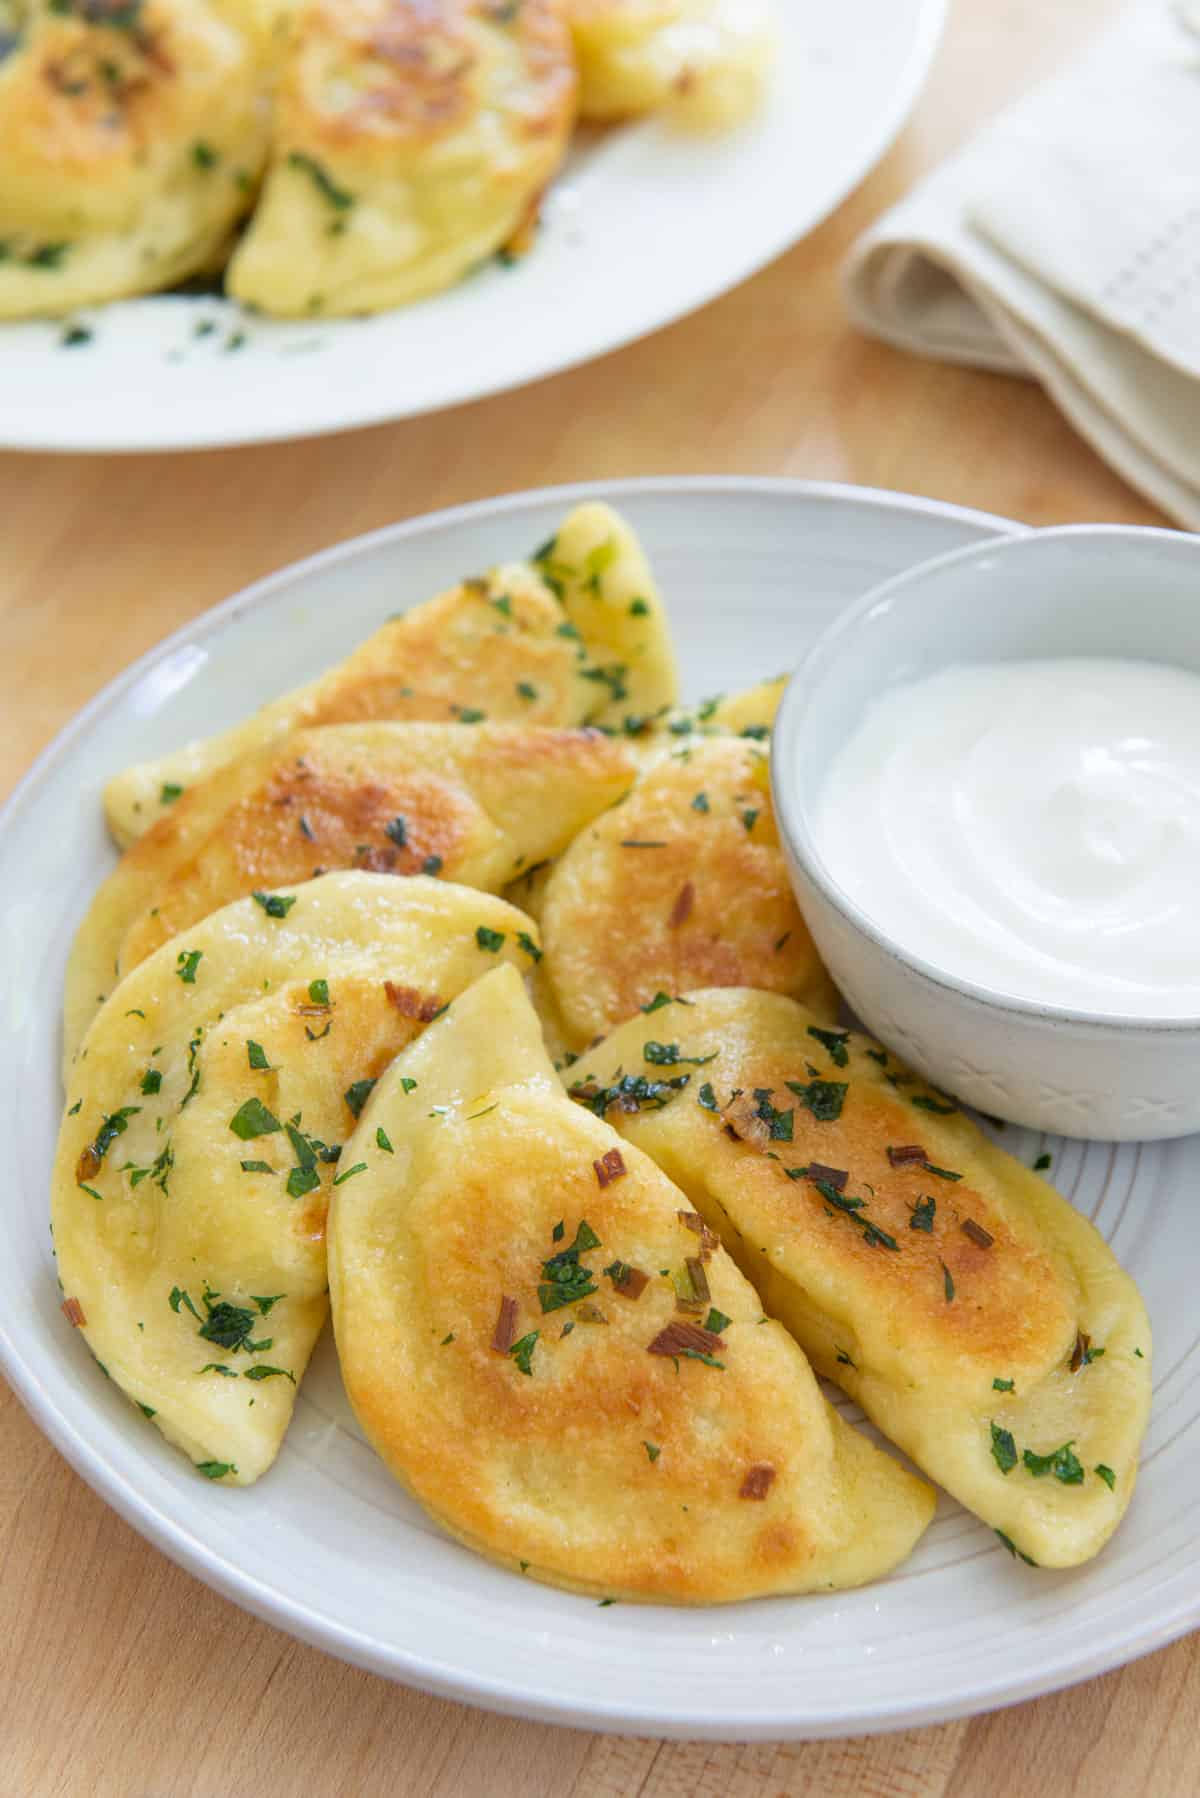
Every culture has their dumpling, and while I grew up eating my mom’s Asian Dumplings, my Polish husband has pulled me over to the greatness of Polish dumplings: pierogies.
Pierogies are mashed potato filled dumplings originating from Eastern Europe, and they can be flavored with all sorts of ingredients. Even though I see the value in tradition, I love playing around with flavor variations. The recipe I’ll share today is a more basic filling, but I’ll also share ideas below for more fillings you can try.
What’s Great About This Recipe
The dough is easy to work with – This dough is both strong and tender. It’s easy to roll out and cut circles, and to fill and crimp the pierogies.
The dough tastes great – With a full cup of sour cream in the pierogie dough, the dumplings have a great flavor and tenderness. The dough is just as good as the filling!
Freezer friendly – I always make a big batch, then freeze some of the pierogies for later. I share how to prep them for freezing.
The filling is customizable – I’ll share how I like to prepare the mashed potato filling, but I’ll also share other ideas for ingredients you can put inside. You can also used leftover mashed potatoes here.
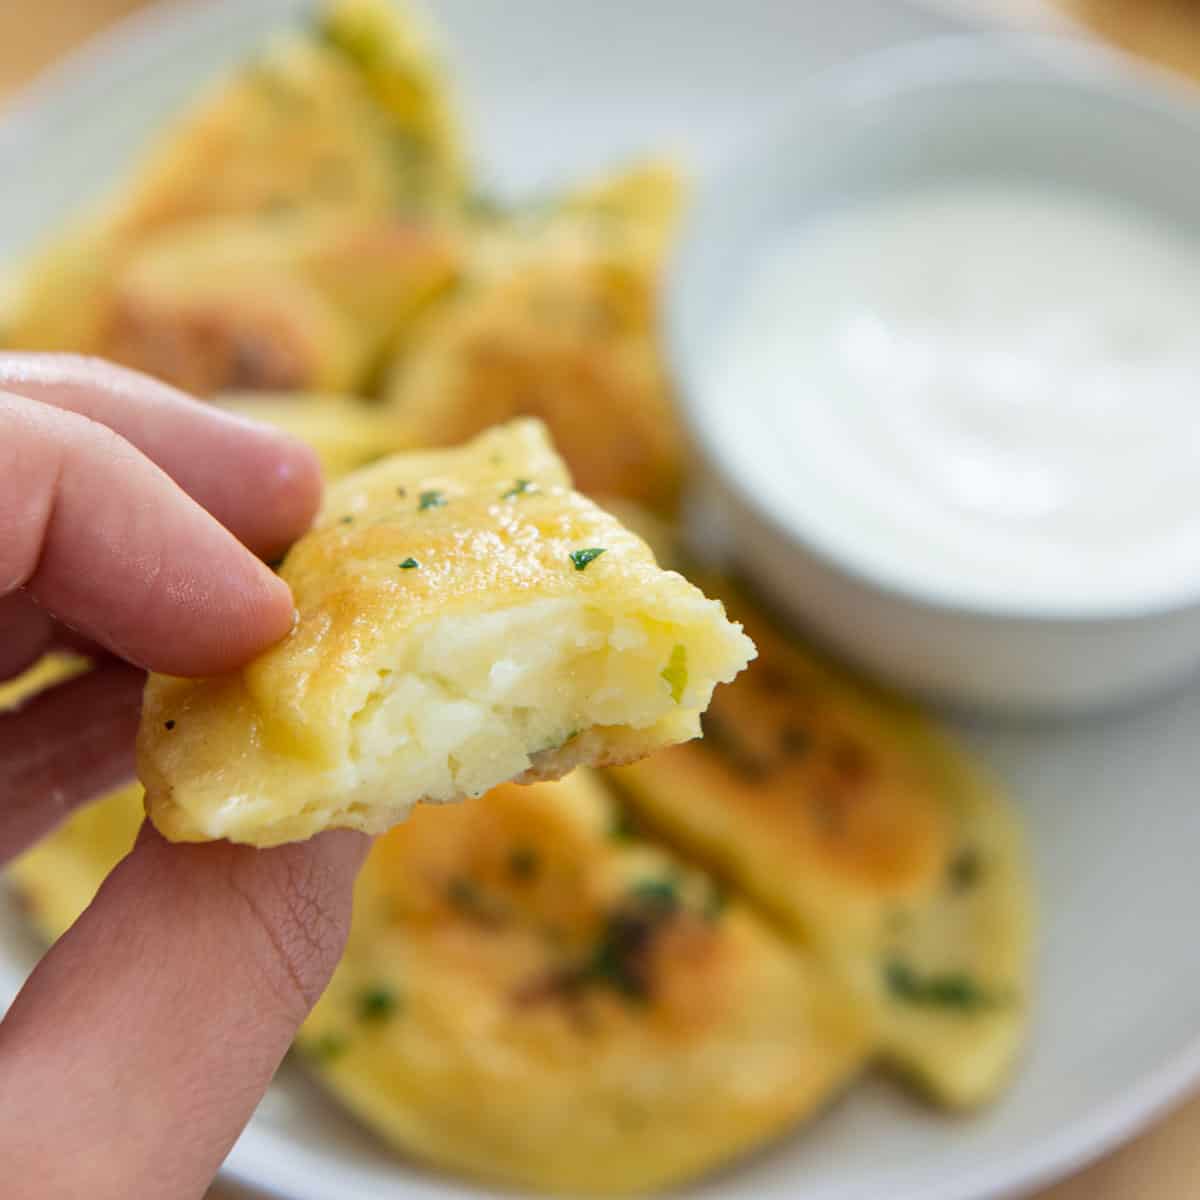
Another nice thing about this recipe is that no food processor is needed! The simple dough is made by hand in a bowl.
Key Ingredients
Russet potatoes – For the best creamy filling, I recommend russet potatoes here, which is a “starchy” potato instead of waxy. I also use these potatoes to fill my Potato Croquettes, and they’re the standard choice for Homemade French Fries and Hash Browns.
Sour cream – We add this in two places! First, in the dough for tenderness and flavor, but also in the mashed potatoes, which makes them tangy, rich, and creamy.
Scallions or onion – I always like some sort of onion-type component for pierogies, since it’s complimentary to the other ingredients. Think about sour cream and onion potato chips…these are a classic combination together!
Step by Step Instructions
To make the pierogies, first you’ll want to make the dough, then prepare the mashed potato filling. Roll the dough out, cut circles, and fill with the mashed potato filling, crimping to close. Then they’re ready to cook!
Make the Dough
In a large bowl, whisk to combine flour, baking powder, and salt. Make a well in the center, and add sour cream and eggs.
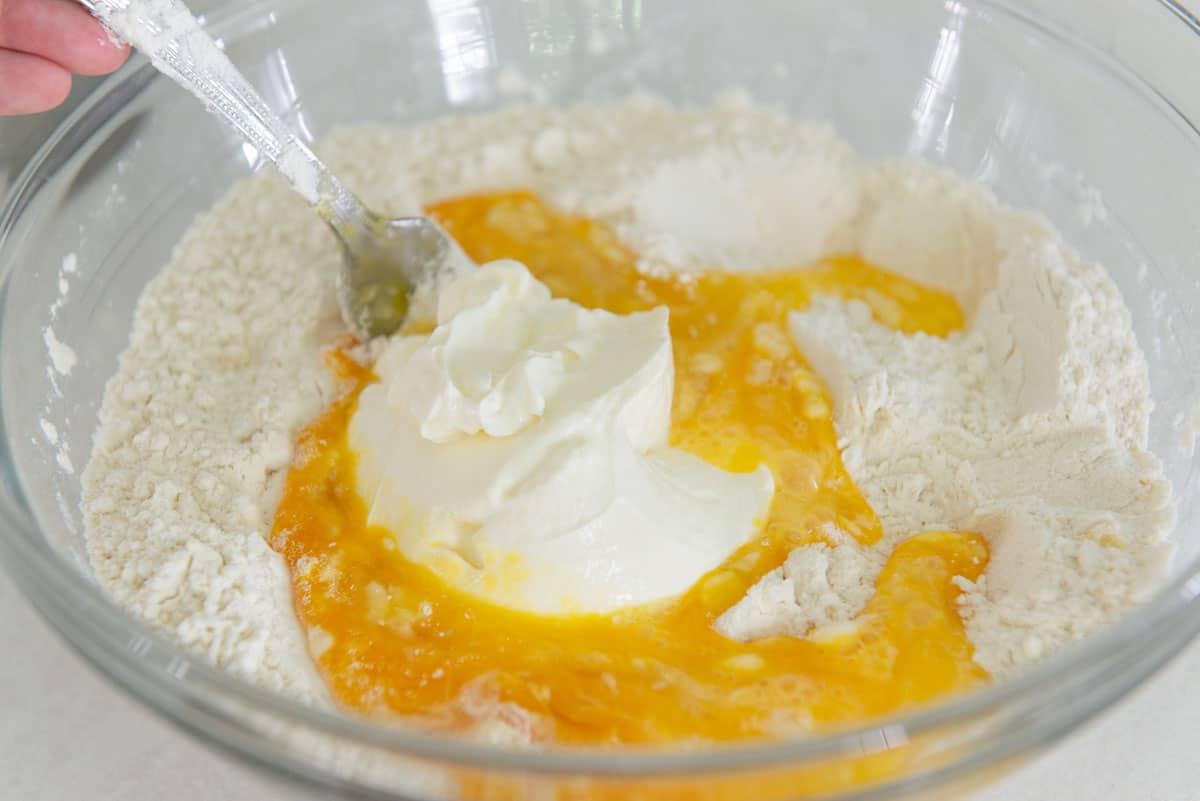
Stir together to combine with a fork or spatula, then dump the dough onto the counter and knead the dough for a minute or two, working to shape it into a ball.
It will look shaggy, and that’s okay. Just make sure the ingredients are evenly distributed, with no obvious wet spots that aren’t well-mixed.
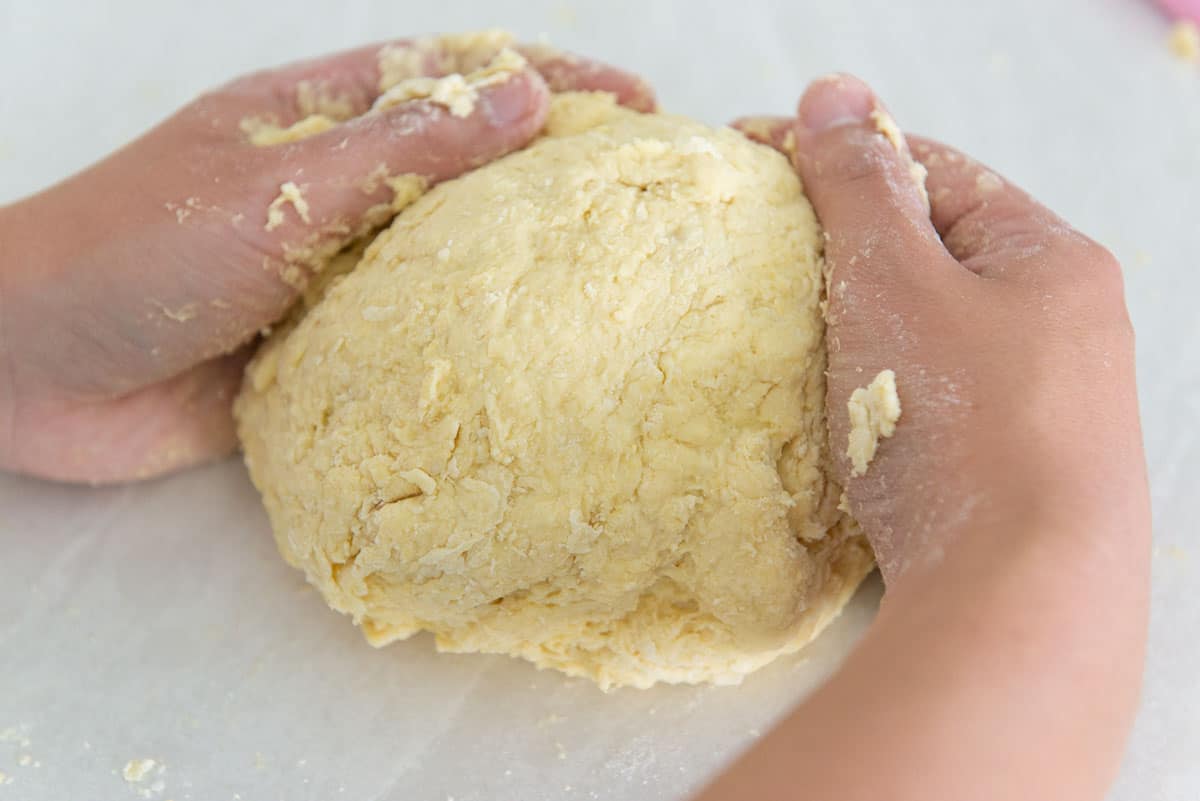
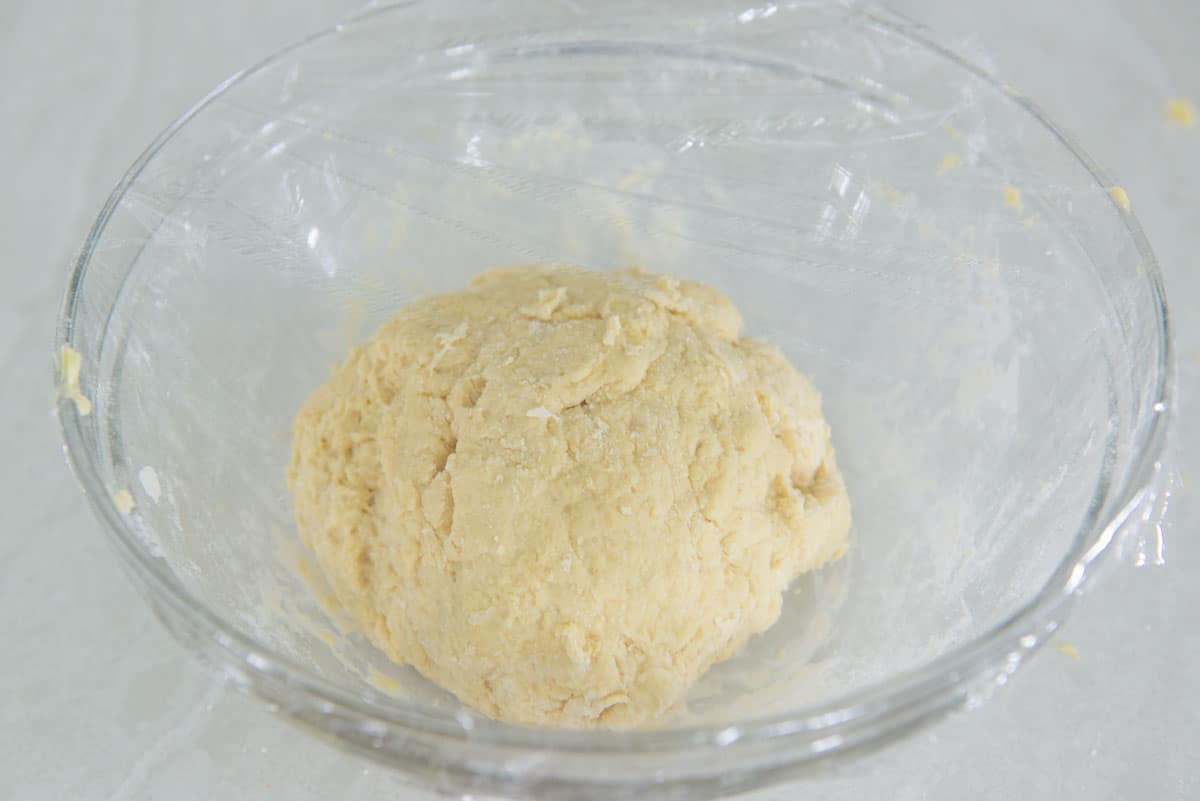
Transfer the soft dough to a bowl and cover with plastic wrap. Place in the fridge for at least 4 hours, and up to 1 day ahead of time.
I have tried rushing the recipe and skipping the rest period, and the dough is definitely more difficult to work with. This is why I recommend the refrigeration period for best results.
Make the Mashed Potato Filling
While you can absolutely use leftover mashed potatoes for your filling, I always use this as a chance to make leftover mashed potatoes for another meal!
This batch of pierogies will use a very small amount of mashed potatoes, about one standard russet potato worth of filling.
Since we’re doing the work anyway, I find it worthwhile to make a larger quantity, saving extra mashed potatoes for another meal. However, in the recipe card, I’ve included the amounts you’ll need if you don’t want any leftovers.
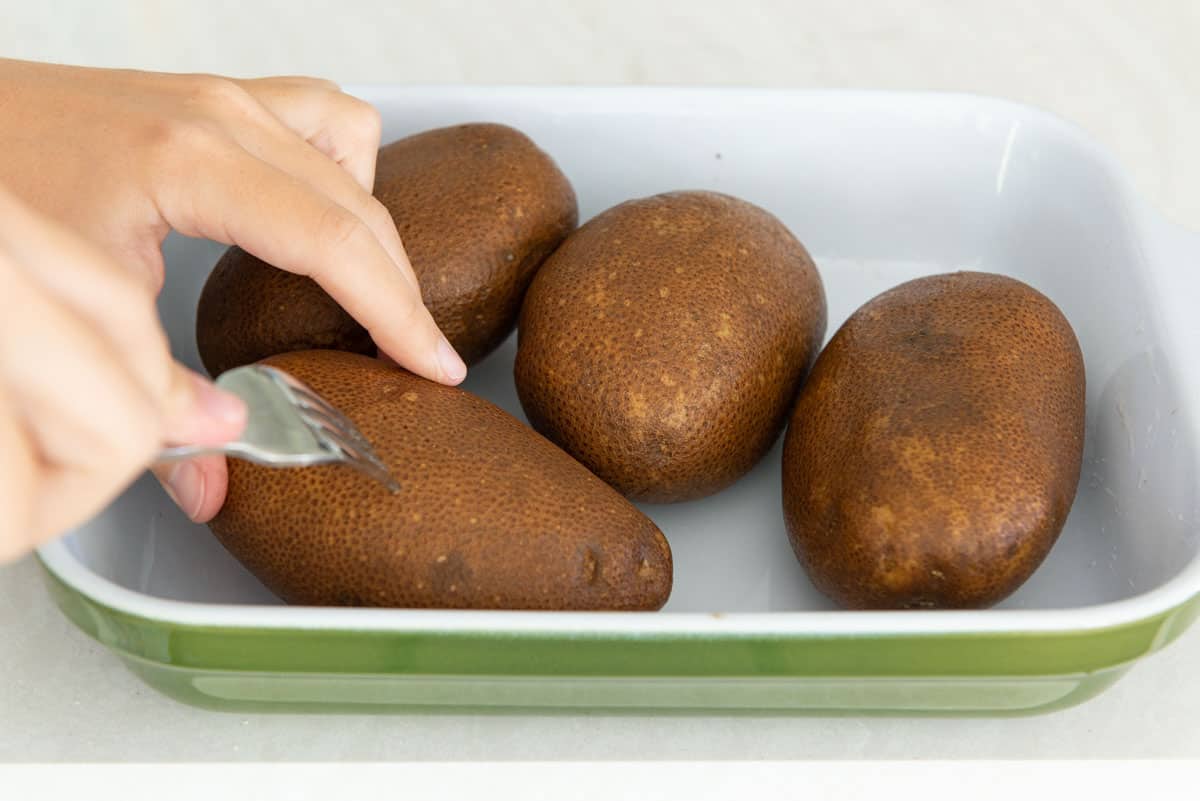
I like to cook the russet potatoes in the microwave, though you can bake them if you prefer.
Prick the potatoes all over with a fork, then microwave for about 10 minutes, until fork tender.
Peel the skin and place the potatoes in a bowl with sour cream, butter, garlic, sliced green onions, salt, and black pepper:
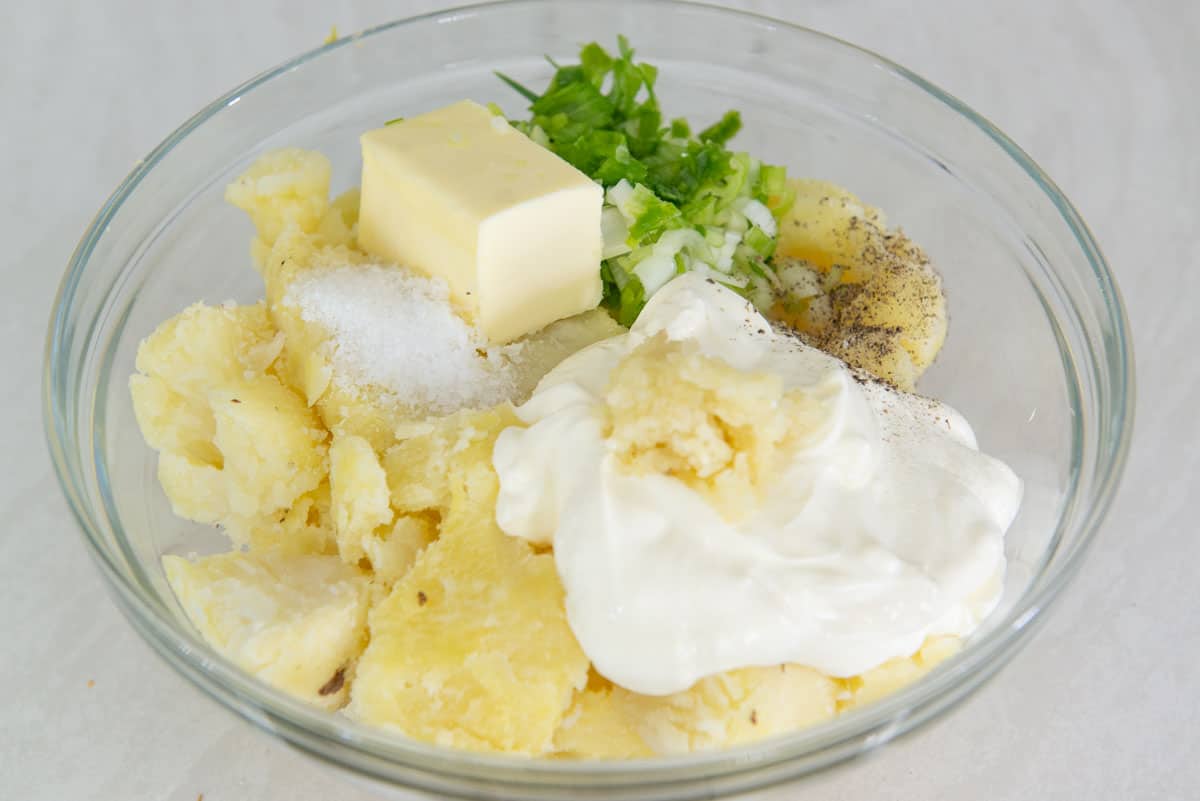
Mix and mash well with a fork or potato masher to combine:
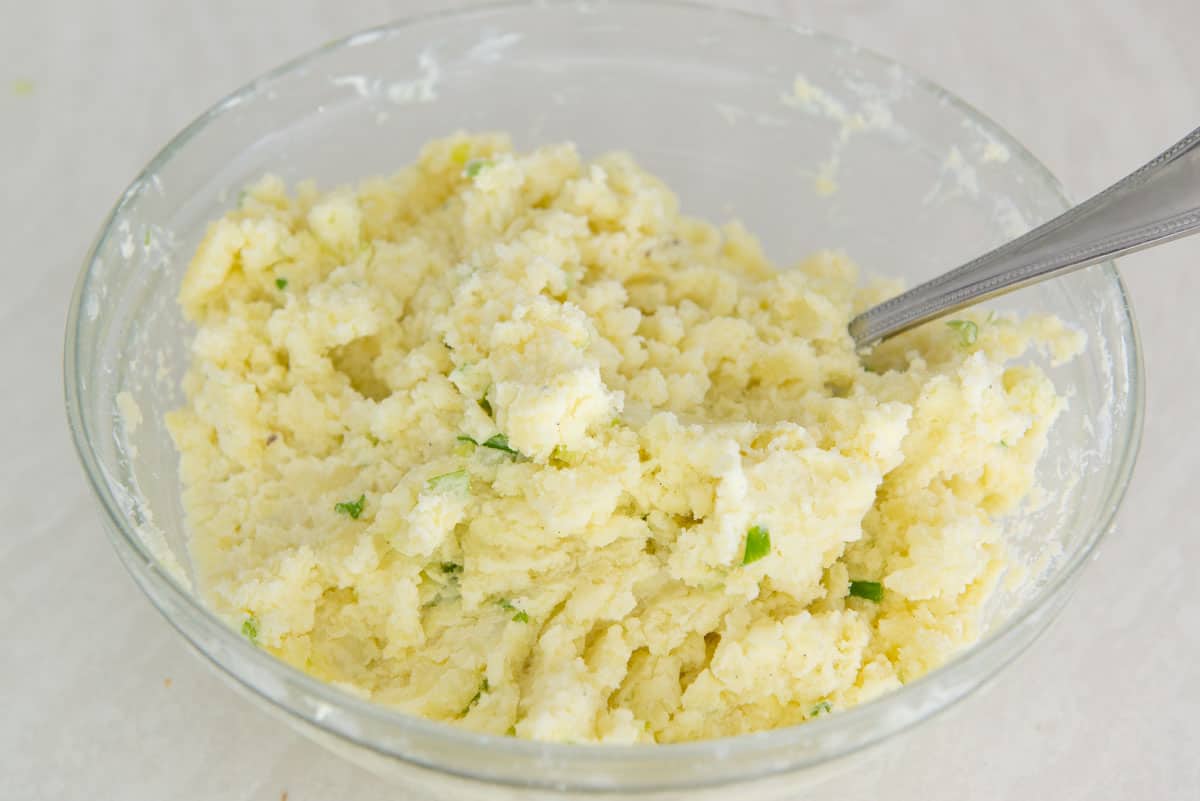
Keep the mashed potatoes covered in the fridge until the dough is thoroughly chilled and you’re ready to assemble.
More Filling Ideas:
The mashed potato filling can be customized with many different ingredients, and you can go traditional or untraditional with pierogi fillings. Here are a few ideas:
- Sauteed baby bella mushrooms
- Bacon bits (see How to Cook Bacon in the Oven)
- Sauerkraut
- Sauteed spinach
- Herbs like rosemary, thyme, etc.
- Ground meats (cook them first)
- Cheeses – Cheddar cheese is another favorite
Assemble the dumplings
After the dough is sufficiently chilled, place it onto a lightly floured surface or countertop.
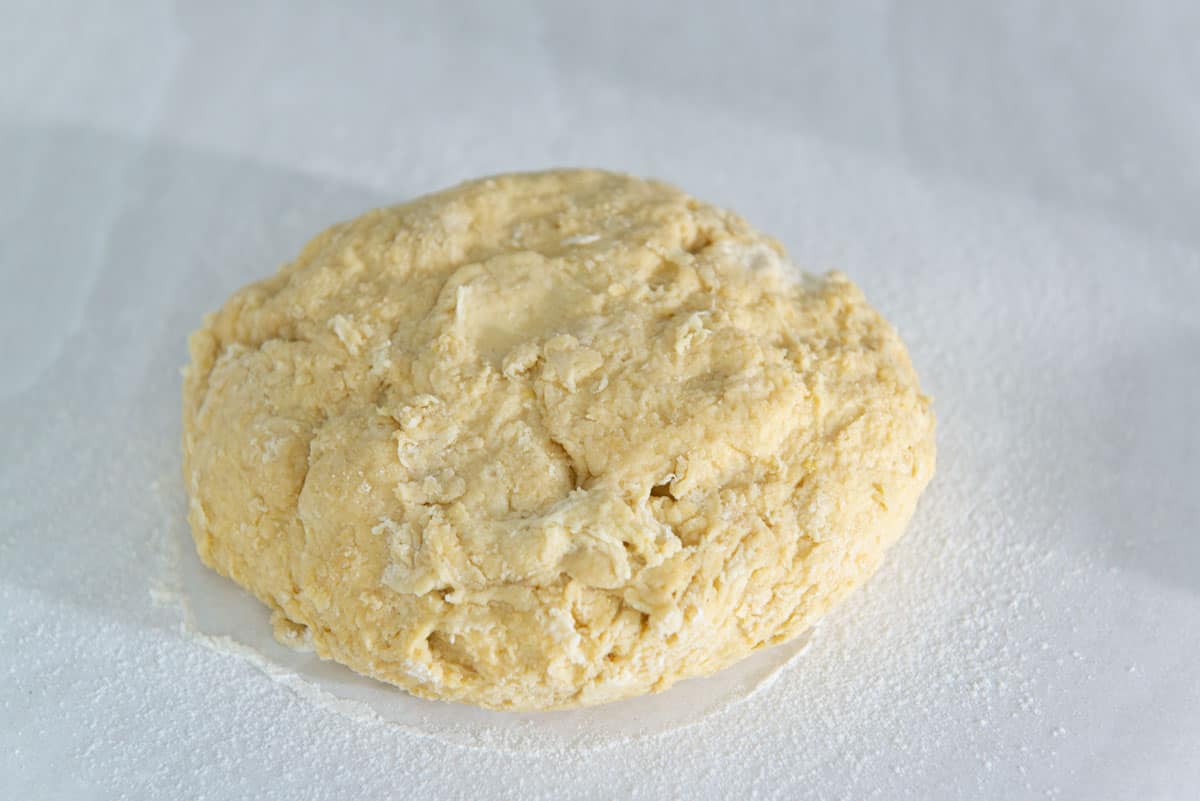
Though it looks shaggy, you should find that it rolls out into a very smooth dough. Just make sure you keep the dough and the rolling pin well floured to prevent sticking.
Roll the dough out to 1/8″ thickness, then use a 3″ biscuit cutter to cut circles by pushing straight down.
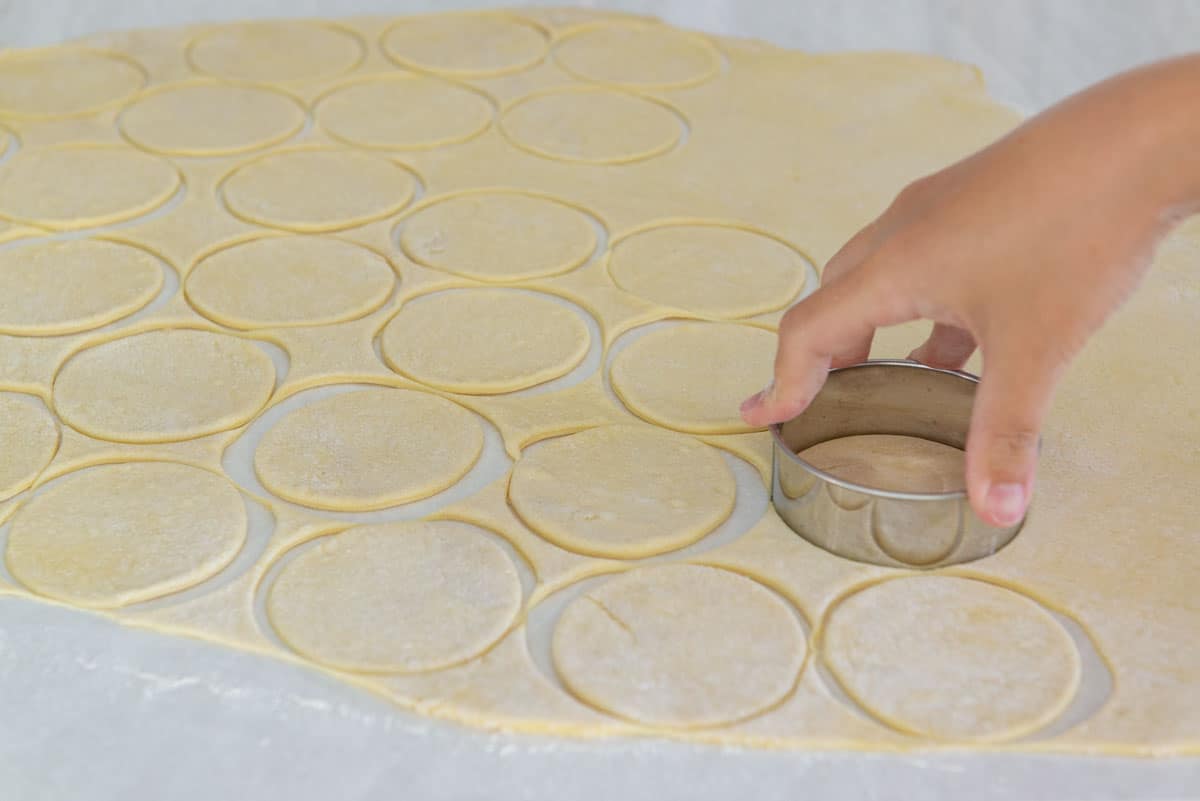
Keep in mind that when you boil the pierogies, they will expand and end up larger than how they are uncooked.
Take a small spoonful of the cheesy potato filling and place it onto the circle.
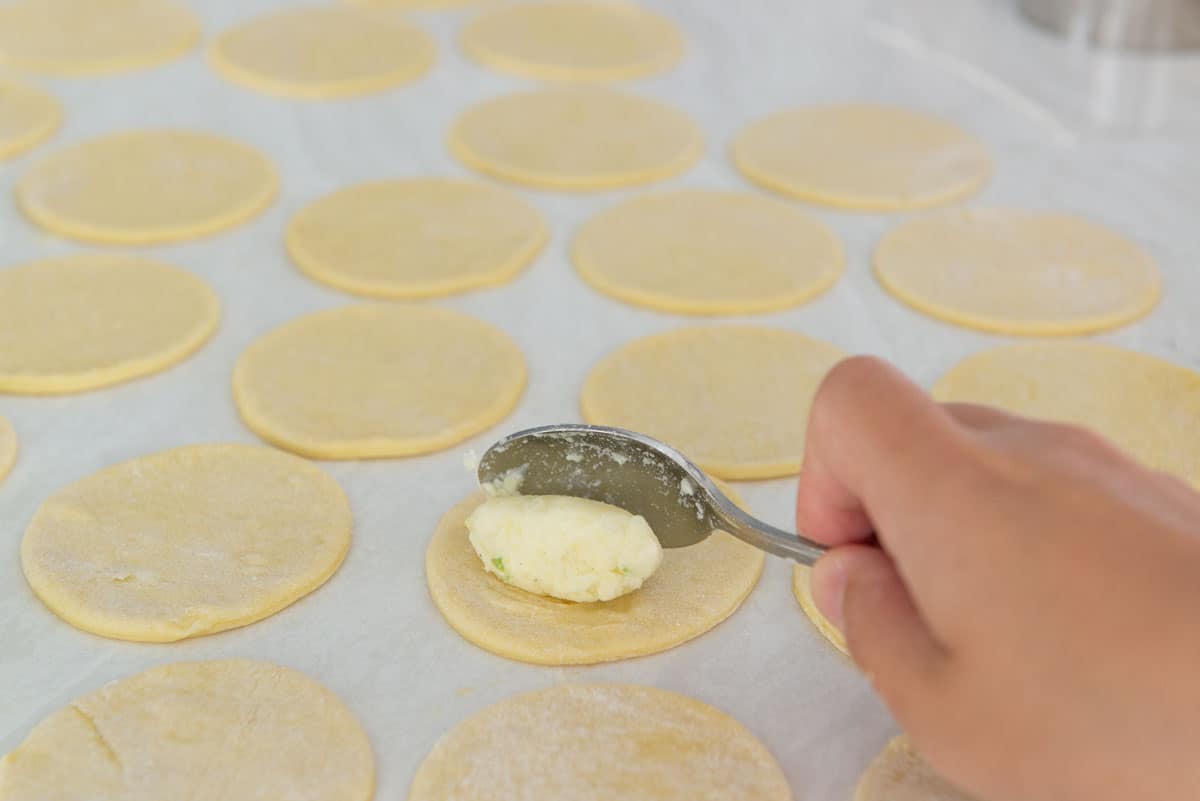
Tip: Make sure you do not overfill the pierogi. I know how tempting it is to get as much as possible in there, but you want to make sure you can get a proper seal on the dumpling.
Fold the dough circle over and crimp with your finger all the way around.
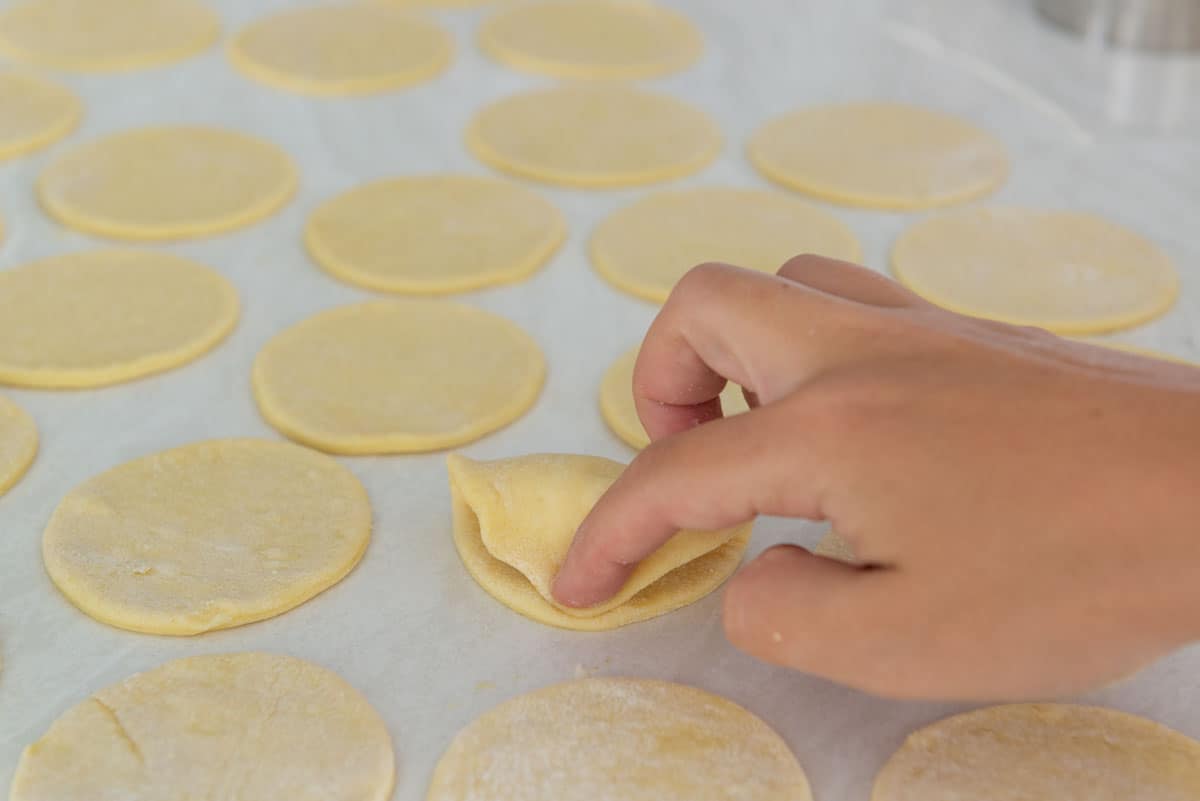
I tested using water and egg to create a better seal, and found that the best seal used nothing extra.
If you find that the dough won’t seal, you may need to brush off extra flour from the inside, or make sure your hands are not too sticky by drying them thoroughly, then dipping your fingertips into flour, being careful not to get flour inside the dumpling.
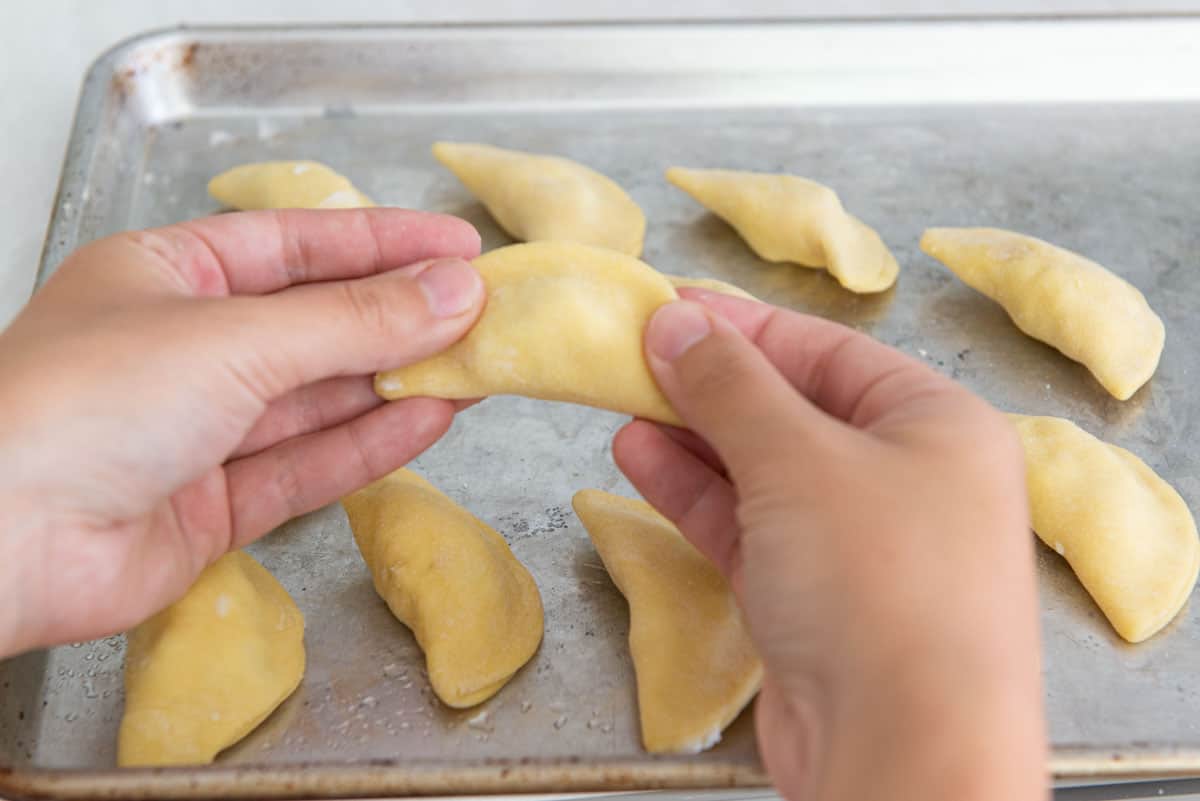
If you desire, you can also crimp the edges with a fork to make it decorative, but do not rely on crimping alone to seal the dough.
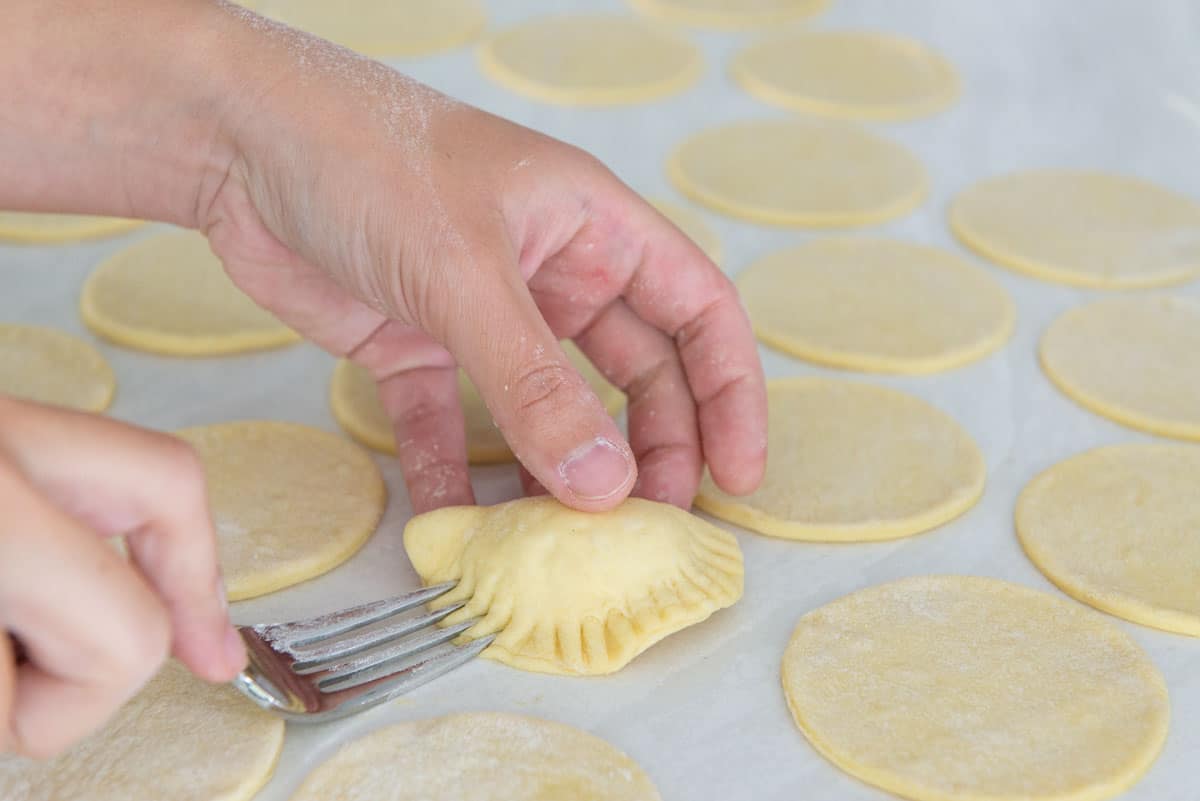
Place the sealed dumplings on a sheet pan as you make them.
How to Freeze Some for Later
If you’d like, now is the time when you can freeze the pierogies for later.
Place the baking sheet into the freezer for at least 30 minutes, uncovered, then place the pierogies in a plastic freezer bag, labeling it with the date.
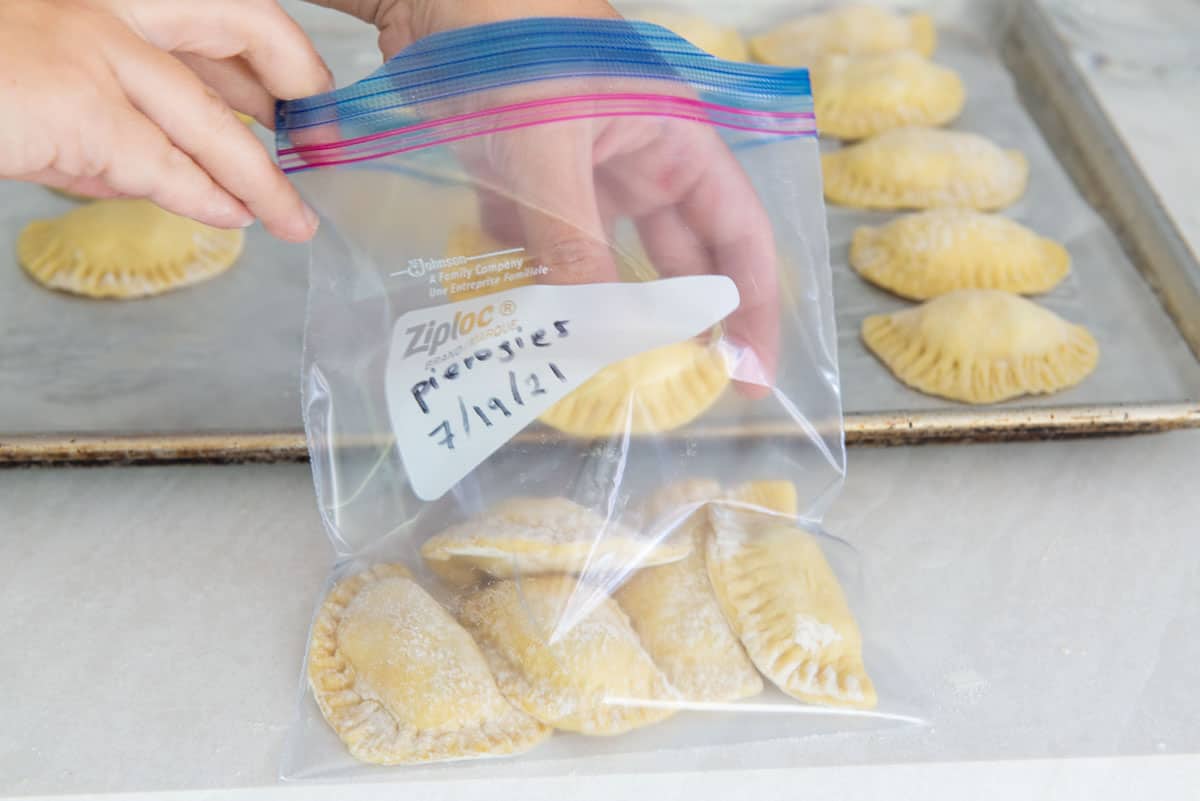
Freezing before placing them in the bag is essential for not having the dumplings stick to each other. This is key, because later when you want to cook the pierogies, you can simply place them straight into boiling water.
Time to Cook!
Bring a large pot of salted water to a boil, and season it with a couple tablespoons of salt, like you would a pasta water. Drop in the pierogies:
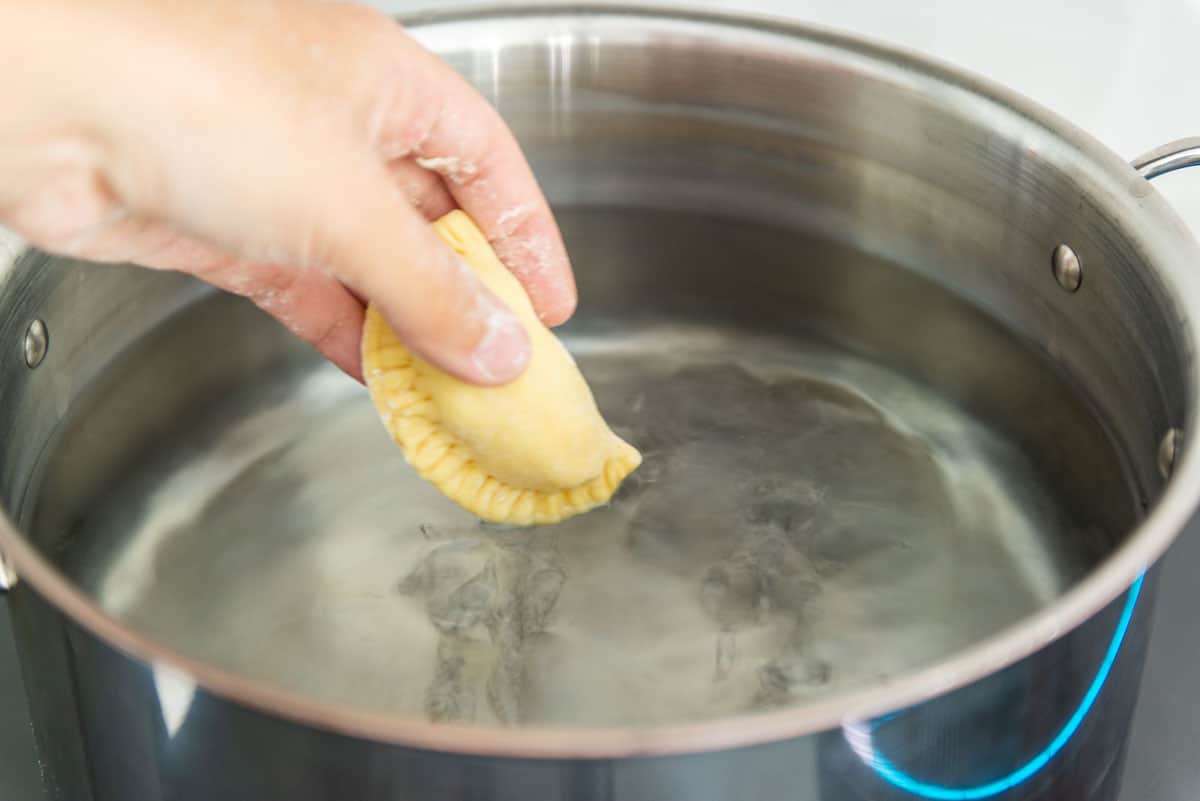
You can add as many as you like here, though I try not to add more than what can float in a single layer.
Cook the pierogies for 3 minutes, until they are all floating on top of the water.
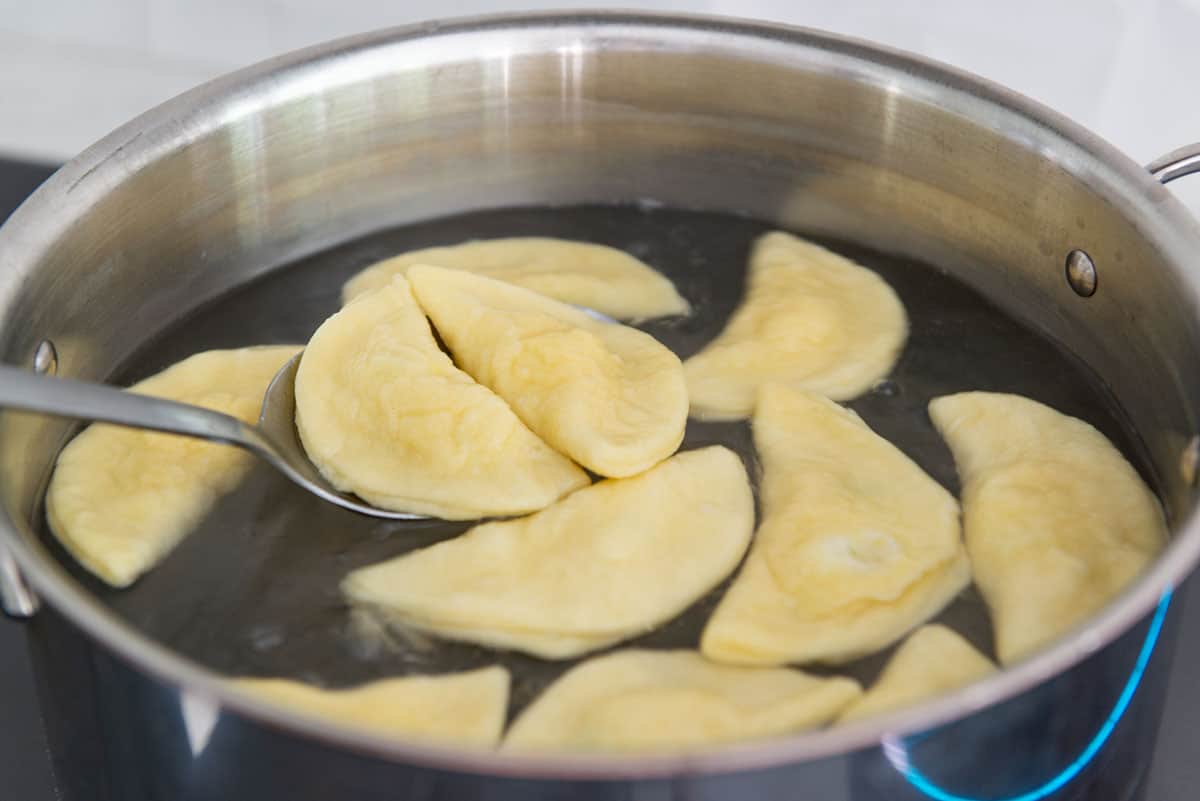
Remove the dumplings with a slotted spoon, or drain the dumplings well in a colander.
Then, I recommend pan frying them in a large skillet. This is the best way to cook pierogies, because it gives you both a tender and crisp exterior.
I do this in some butter or olive oil, scallions, and parsley in a nonstick skillet over medium heat:
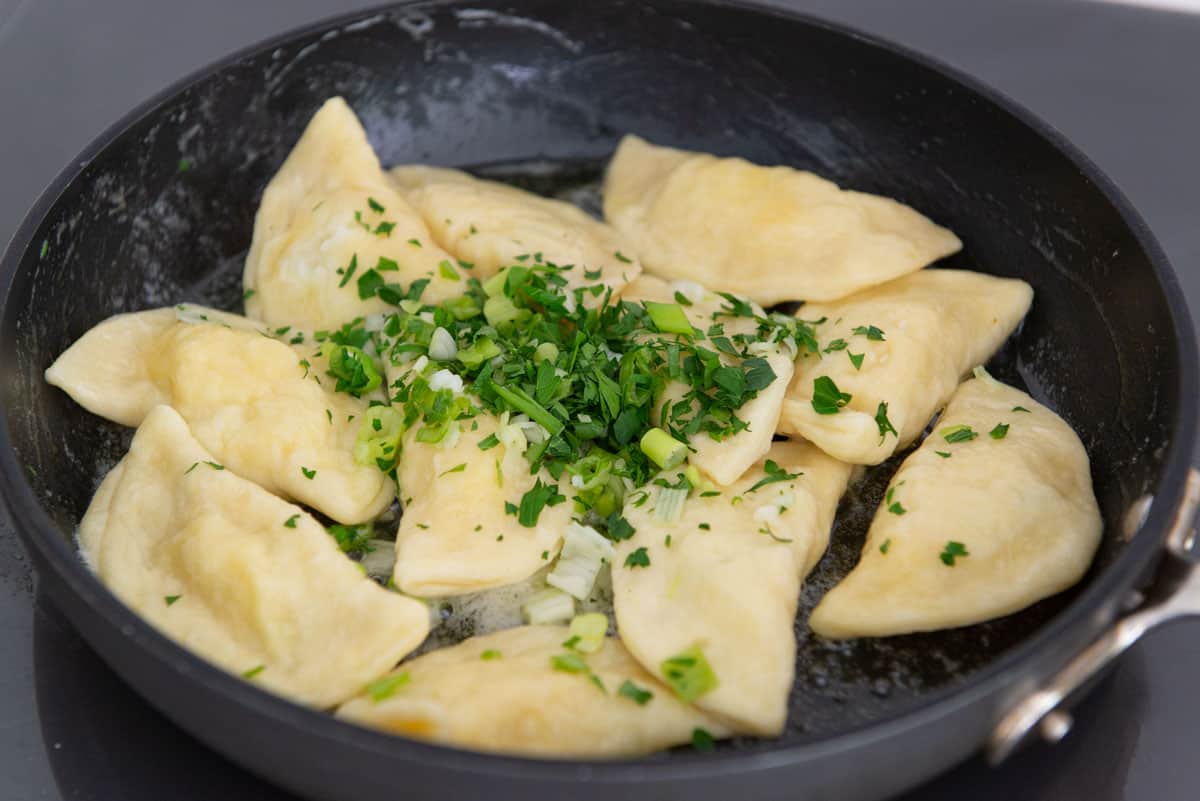
Fry for about 2-3 minutes on each side, until golden brown.
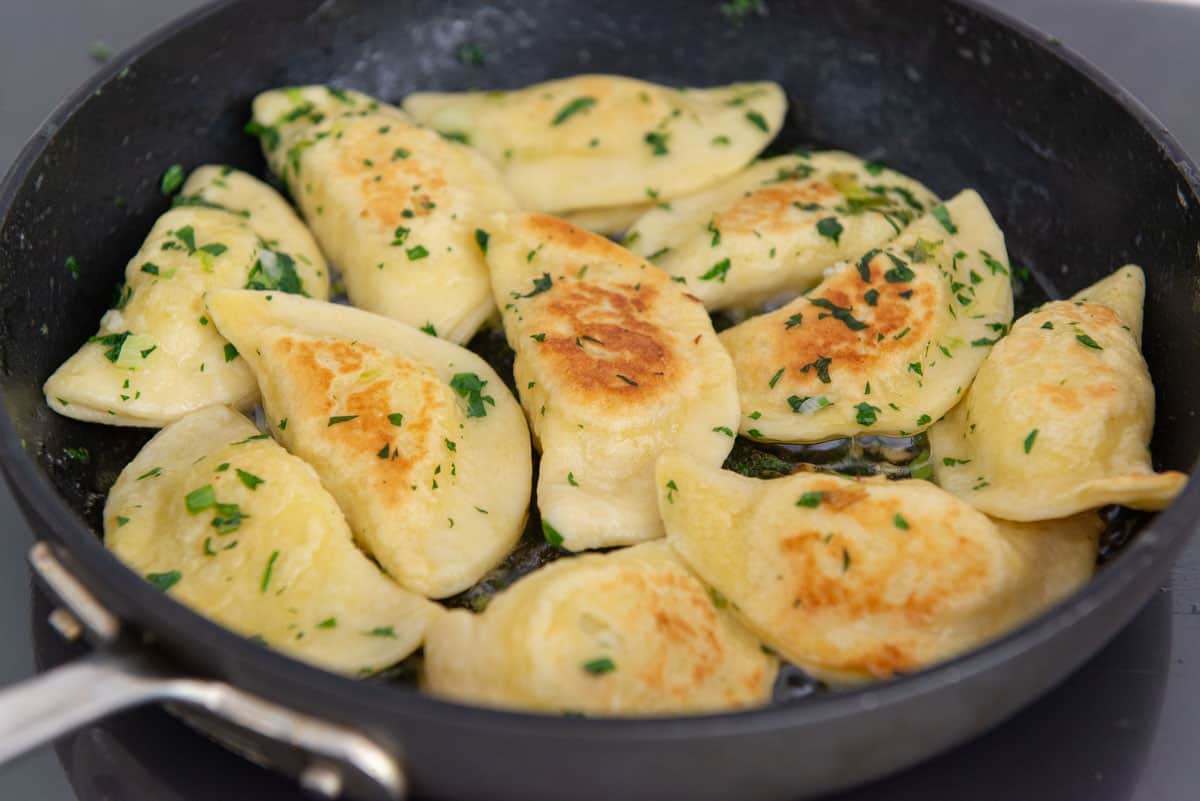
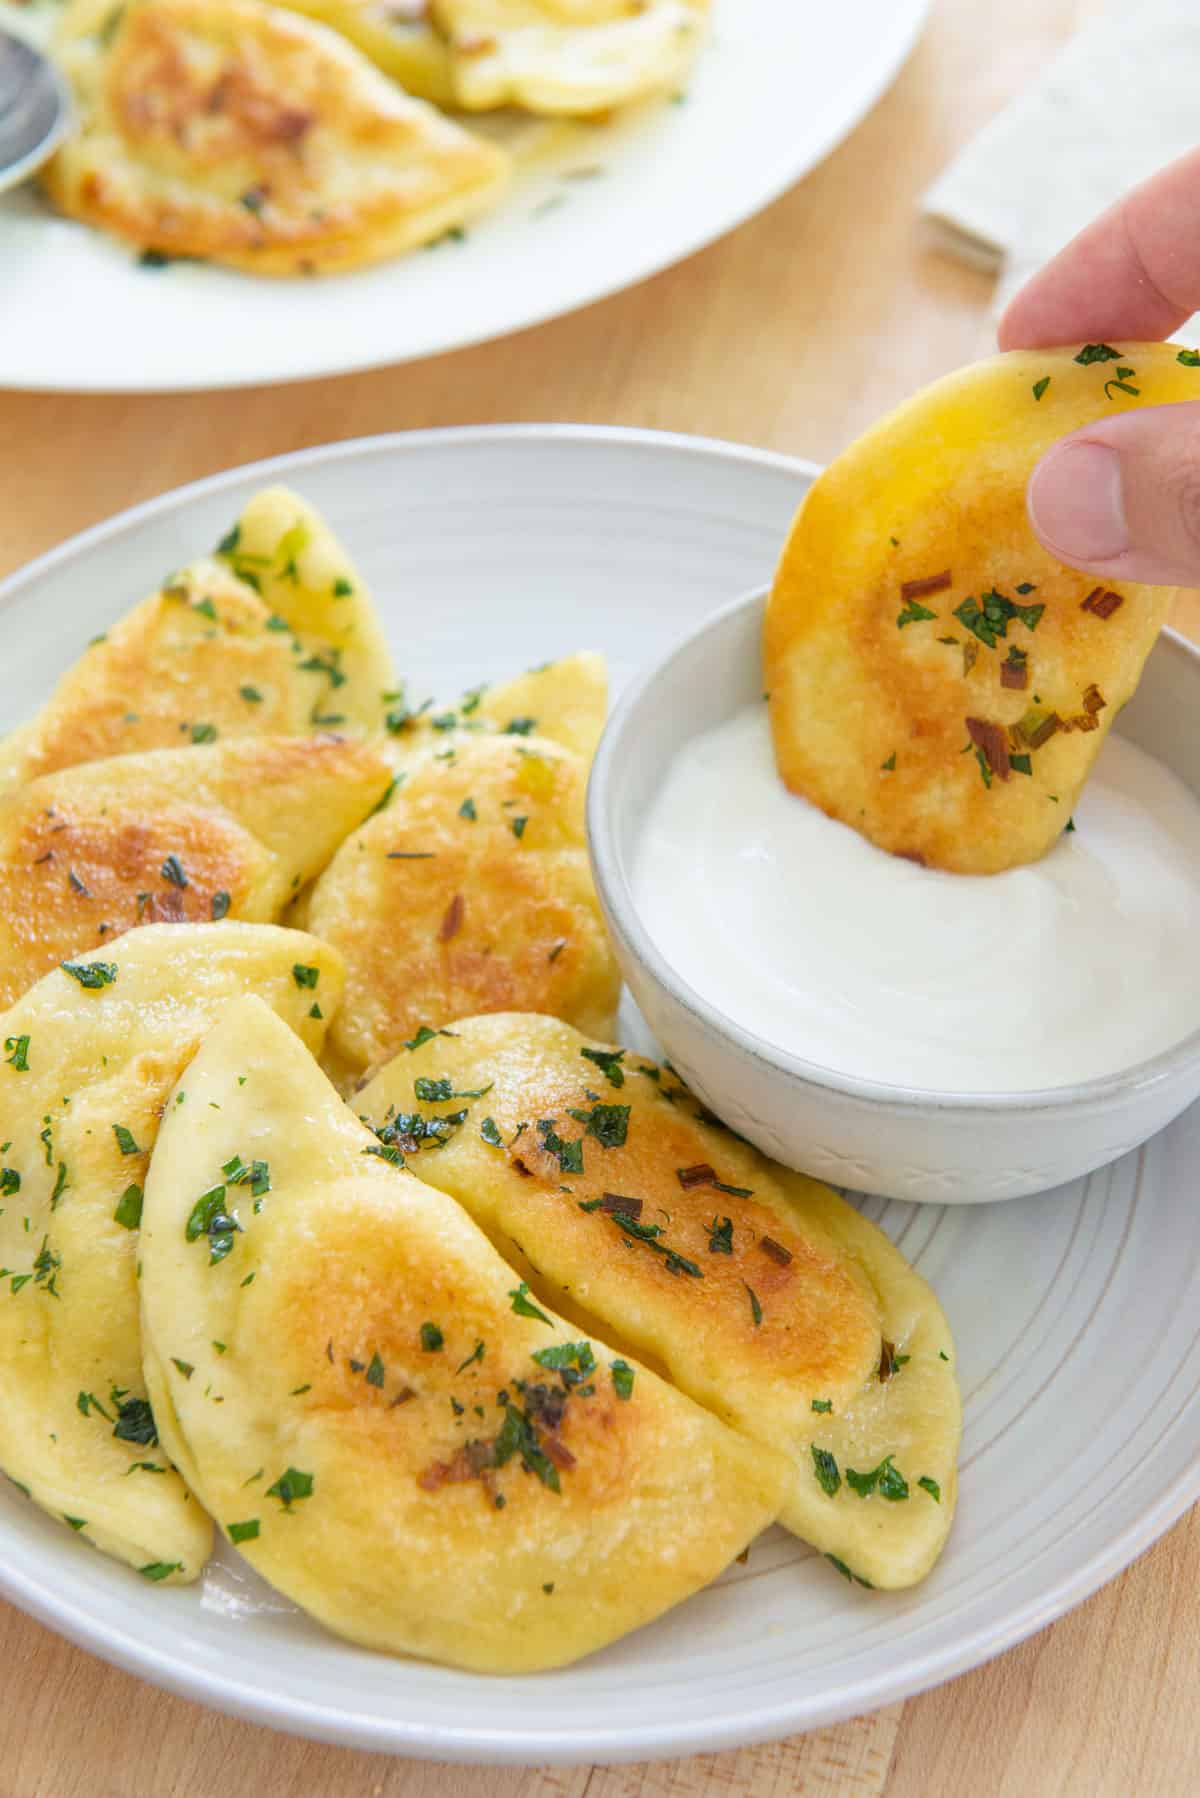
Enjoy promptly, serving with a dish of extra sour cream, if desired.
Shepherd’s Pie, Potato Gratin, and Crispy Mashed Potato Mounds are a few more of my favorite comforting potato recipes. Happy cooking!
FAQ and Expert Tips
I have deep fried the pierogies in beef tallow, and they are AMAZING. Skip the boiling step, and cook them in the tallow directly at 350F for about 3 minutes, until golden and crisp. I have not tried the air fryer, but I’ve heard it works well.
Yes, and I do every time I make a batch. Place the uncooked pierogies on a tray in the freezer for 30 minutes uncovered, then you can transfer them to a plastic bag and keep for up to 2 months.
They can go straight from the freezer into the boiling water, no need to thaw. Boil for 4 minutes (1 minute longer than room temperature), until they are floating on top of the water.
Keep extra pierogies in the fridge in an airtight container for up to 5 days.
Did you enjoy the recipe? Please leave a 5-star rating in the recipe card below and/or a review in the comments section further down the page. Or, follow me on Facebook, Instagram or Pinterest!

Homemade Pierogies
Ingredients
For the pierogies:
- 15 oz all purpose flour, by weight (3 cups, if measuring)
- 1 tbsp baking powder
- 1/4 tsp salt
- 3 large eggs lightly whisked together
- 1 cup sour cream
- extra flour for rolling
- extra salt for the pot of water
For the mashed potatoes*:
- 3 lbs russet potatoes (I had 4)
- 1 cup sour cream
- 4 tbsp softened butter
- 3 cloves garlic pressed
- 2 scallions chopped (about 1/3 cup)
- 1.5 tsp kosher salt
- 1/4 tsp black pepper
For pan frying:
- 2 tbsp butter
- 2 scallions sliced
- 1 tbsp fresh parsley chopped
Instructions
- Make the dough: In a large bowl, whisk to combine the flour, baking powder, and salt. Make a well in the center, then add the eggs and sour cream. Mix with a spatula until it forms a shaggy dough. Then turn the dough out onto a lightly floured surface and knead for a minute or two, until relatively cohesive, with no visible unmixed areas. Be conscious of not overworking the dough. It's going to look shaggy, and that's okay for now. Cover the bowl with plastic wrap and refrigerate for at least 4 hours, and up to a day in advance.
- Make the mashed potatoes: Prick the potatoes all over with a fork and place in a microwave-safe dish. Cook for 5 minutes, then flip the potatoes over and cook for another 5 minutes. Check to see if it's fork tender and soft in the middle, and if not, keep cooking in 2 minutes intervals until the potatoes are tender.
- Peel the skin from the potatoes (or cut each potato in half and scoop the flesh out from the insides), and lightly mash with a fork or masher. It's up to you how smooth you want the texture to be. I don't mind a few chunks here or there, whereas if you want it to be super smooth, you'll want to use a food mill.
- Mix in the remaining mashed potato ingredients: the sour cream, butter, garlic, scallions, salt, and pepper.
- Make the pierogies: Lightly flour the countertop and turn the chilled dough out. Roll it to 1/8" thickness, making sure it is well-floured along the way. Use a 3" biscuit cutter to cut circles of dough, then fill each one with about 2 teaspoons of the mashed potato filling, crimping well with your fingers to close each one (see blog post for visuals). Place sealed pierogies on a tray as you work.
- Bring a big pot of water to a boil, and season with salt like you would a pasta water. I usually do about 2 tbsp.
- Boil the pierogies for 3 minutes, at which point they should be floating on the surface of the water. Drain the pierogies in a colander. Do not leave them in the colander for more than a few minutes, or they will stick to each other.
- Heat a nonstick skillet over medium high heat and add the butter, scallions, and parsley. Add just enough pierogies to the pan for a single layer, and cook for about 2-3 minutes on each side, until golden brown and crispy. Serve promptly and enjoy!
Notes
- 1lb russet potato
- 1 garlic clove
- 2 tbsp butter
- 1/3 cup sour cream
- 2 tbsp chopped scallion
- 1/2 tsp kosher salt
- 1/8 tsp black pepper
Nutrition
Nutrition is estimated using a food database and is only intended to be used as a guideline for informational purposes.
Post updated in September 2021 with new photos and copy. Originally published in January 2012.

47 Comments on “Homemade Pierogies”
These are perfect nice and tender and delicious
totally agree! Glad you enjoyed!
What if the pierogies are boiled before freezing? What’s the best way to cook them? Boil them again from frozen or wait till they are completely thawed?
Question: you don’t season the mashed potatoes at all, or did I miss a step?
Oh goodness, thank you! That direction box somehow got deleted from the printable box and was only in the step-by-step guide. Thank you, I’ve fixed it. I appreciate you telling me.
Your recipe looks great. I do have one comment: can the whole recipe (without the freezing part) be speeded up – I have a back problem and can’t stand for too long.
Dumplings are always going to be labor-intensive activity, because you have to make each piece and there are a lot of them. My mom used to sit down at the table when we made them. Maybe you can do that?
You make it look so super simple!
I wonder how jam – for a dessert one – would be…?
Thanks, Monica! I have never tried the dessert variation but I know it is very common. Blueberry is supposed to be very good!
Pierogi’s were good.. but the onions aren’t caramelized.