Homemade French Fries
These Homemade French Fries are SO much better than what you can get at a restaurant! The secret is to make double fried french fries cooked at two temperatures, which gives you perfect crispy edges and a fluffy interior.
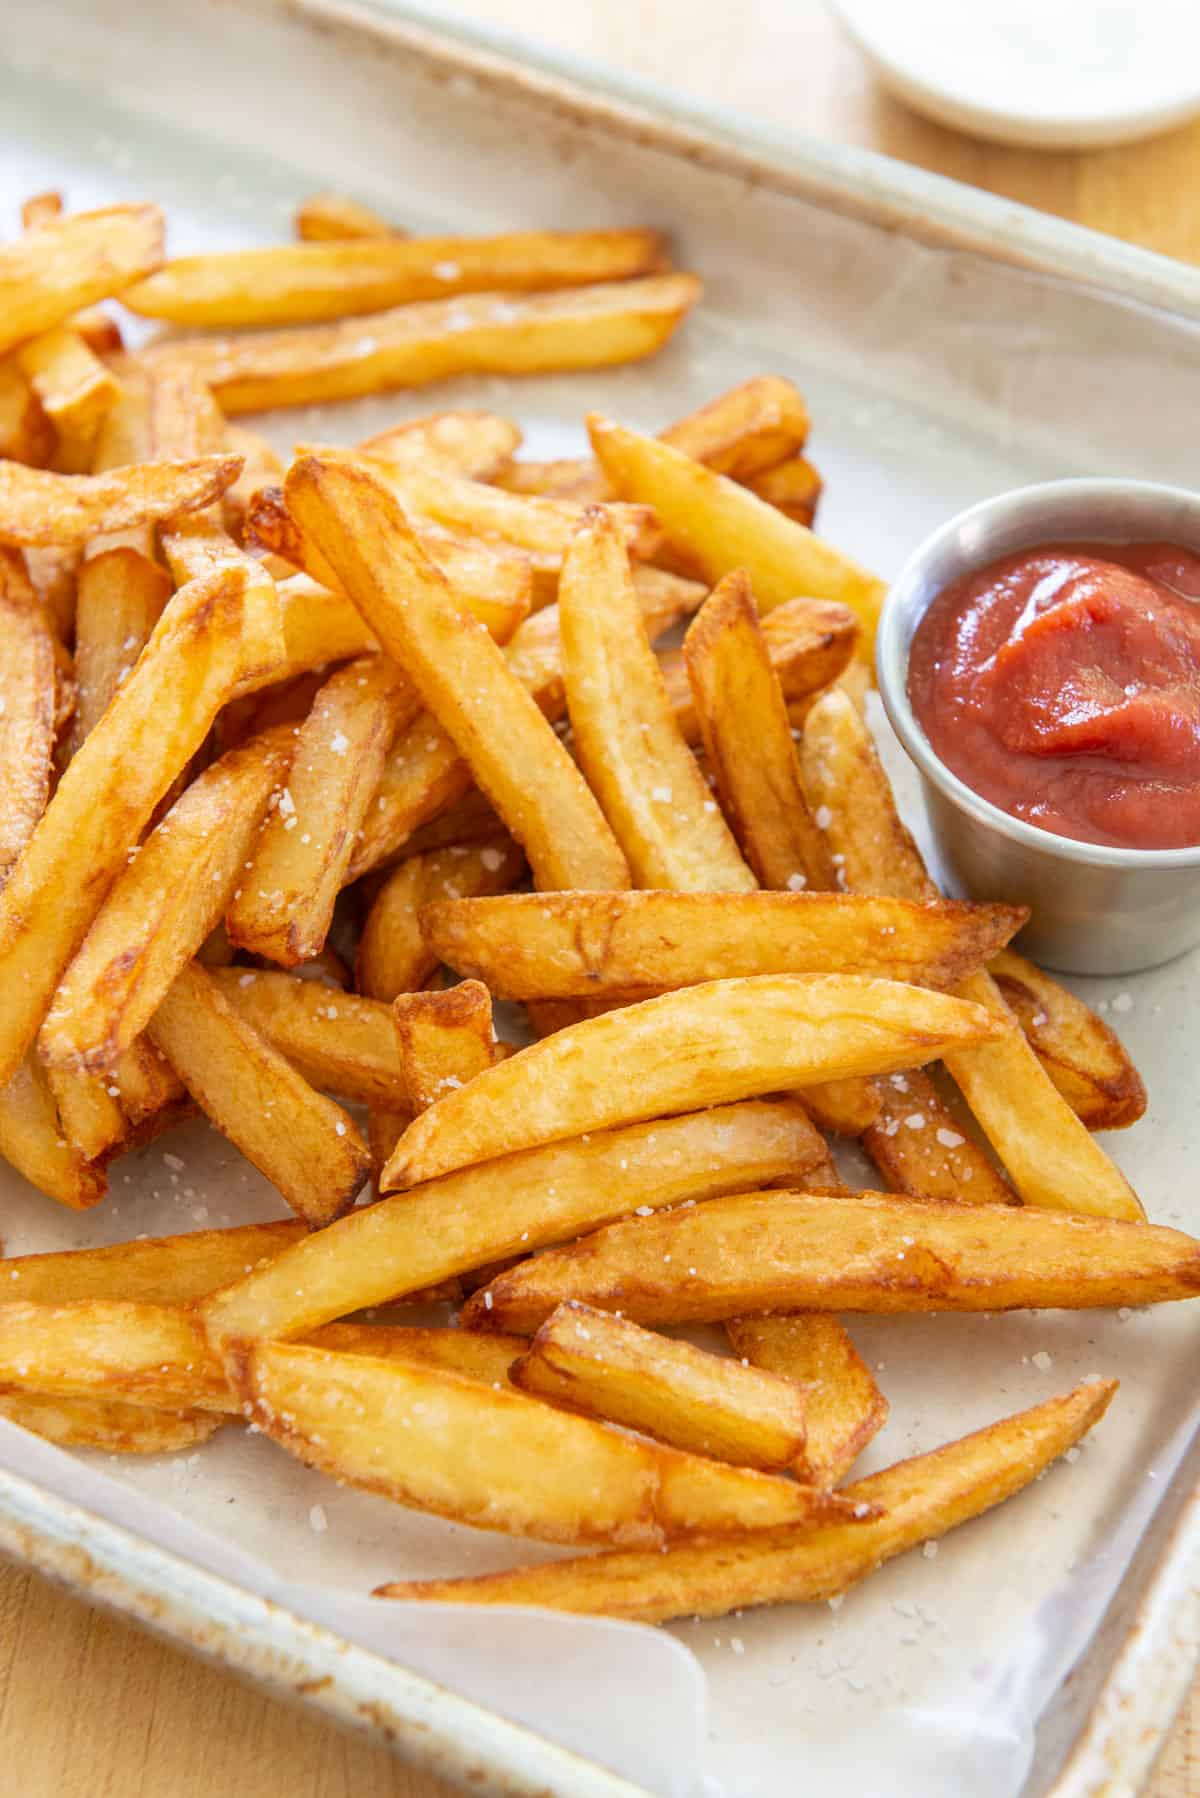
Even though you can get french fries anywhere and everywhere, I only eat them when they’ve been made at home. Once I started learning about how unhealthy the frying oils used by restaurants and fast food places are (listen to episodes 12 and 13 of my podcast if you want to learn more), I began making them myself, and have experimented quite a bit with french fries.
This method and recipe never fails to give me crispy french fries that aren’t greasy. Plus, they taste far superior to your average fry. Oven fries will never compare to the real thing.
Why This Recipe Is the Best
Double Fry Method = Crisp exterior, fluffy interior – If you want the best homemade french fries, you really need to cook them twice. First at a lower temperature to make the interior soft like a baked potato, then a second time at a higher temperature to crisp the edges.
Not greasy – Most fries are greasy because of the oil that’s used. It’s far superior to use a stable fat like beef tallow that can tolerate high heat frying, over oils like soybean oil and canola oil. We’ll also cook at the proper temperatures to avoid greasy fries.
Simple – We’ll only work with 3 ingredients here: potatoes, beef tallow, and salt, and we’ll fry them in one pan.
More delicious and healthier than the restaurant – The oils that restaurants use are typically highly oxidized and rancid, and they use cheap inflammatory, tasteless oils like vegetable oil. Beef tallow, duck fat, and lard are much better suited to high heat frying. Plus, they have incredible flavor!
What’s the best kind of potato to use?
Russet is my recommendation for french fries. This is a starchy, not waxy, potato. It will give us the texture we want, with a fluffy interior and a crisp exterior. I also use this potato for Homemade Pierogies, Hash Browns, and mashed potato dishes like Shepherd’s Pie and Potato Croquettes.
Should you peel the skin or not?
I have made these crispy fries both with the skin on and the skin off, and it honestly makes no difference in terms of carrying out the recipe successfully. It really just comes down to preference.
If you leave the skin on: make sure to scrub the surface of the potatoes well, and I also suggest peeling a tiny bit of skin back from each potato just to check that they are not green underneath. That green color can be a sign of solanine, which is a type of glycoalkaloid toxin.
How to Cut the Potatoes
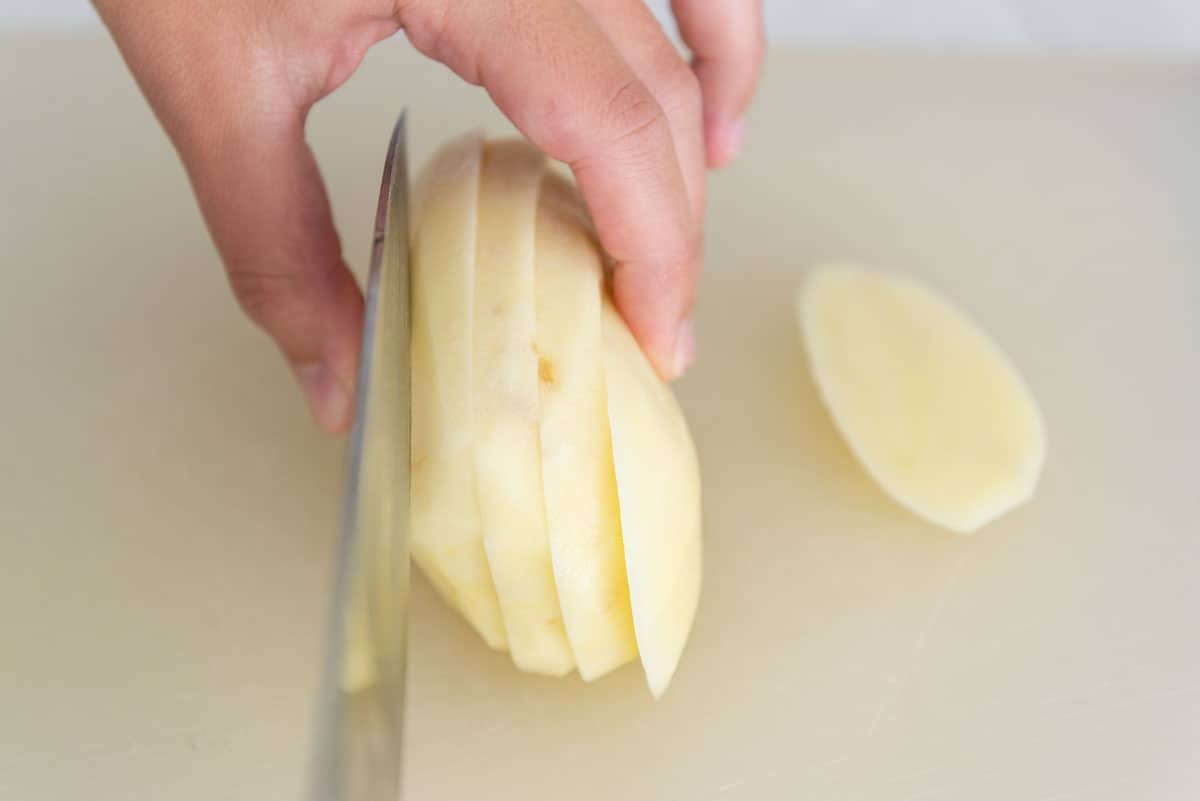
Cut one side of the potato to create a flat surface, then place that side of the potato on a cutting board so it doesn’t rock while you cut it. Carefully cut downward to create slices a little more than 1/4″ thick:
Then take each slice and cut down the length of it, to create fries:
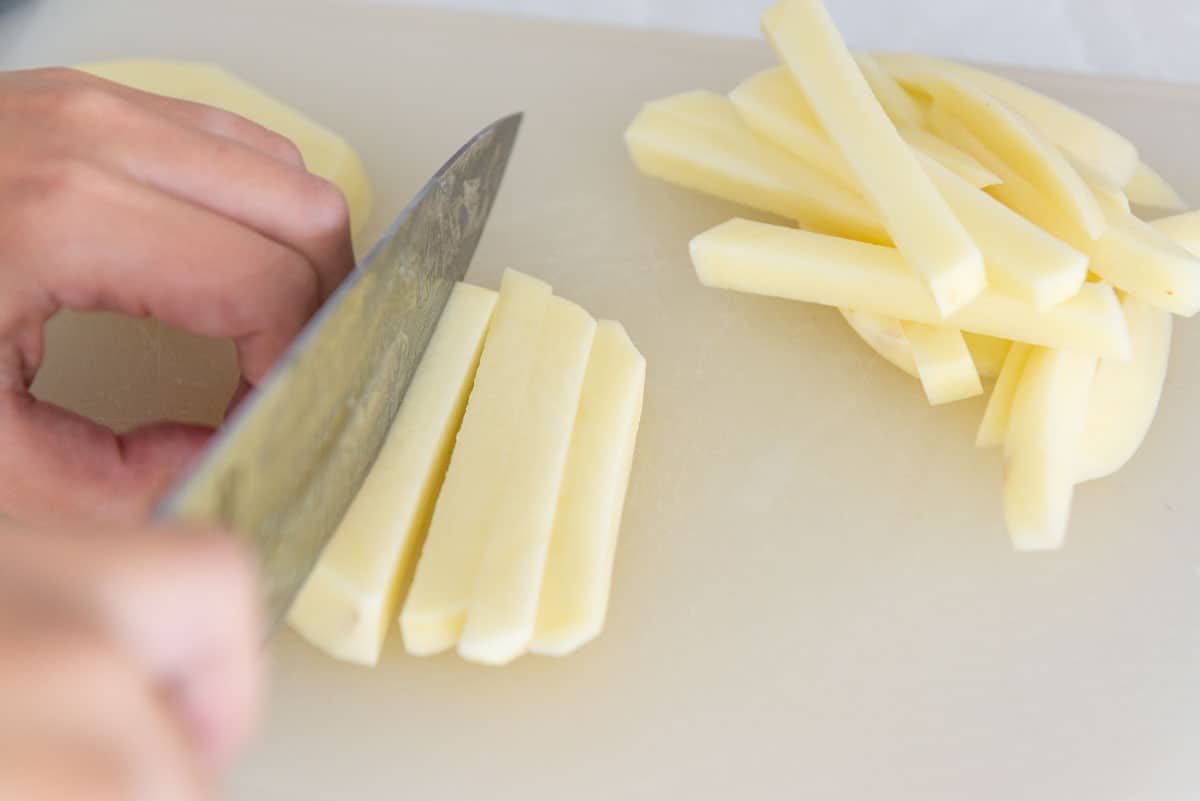
I like to cut my pieces a little over 1/4″ thick overall. You may cut your fries as thick or thin as you prefer, but try to cut them to be about the same size. You can also use a french fry cutter (affiliate) to make this easier.
If you make the french fry pieces drastically thinner or thicker, you may need to adjust cook time slightly, but I will tell you how to do that below.
Rinse and Soak to Remove Excess Starch
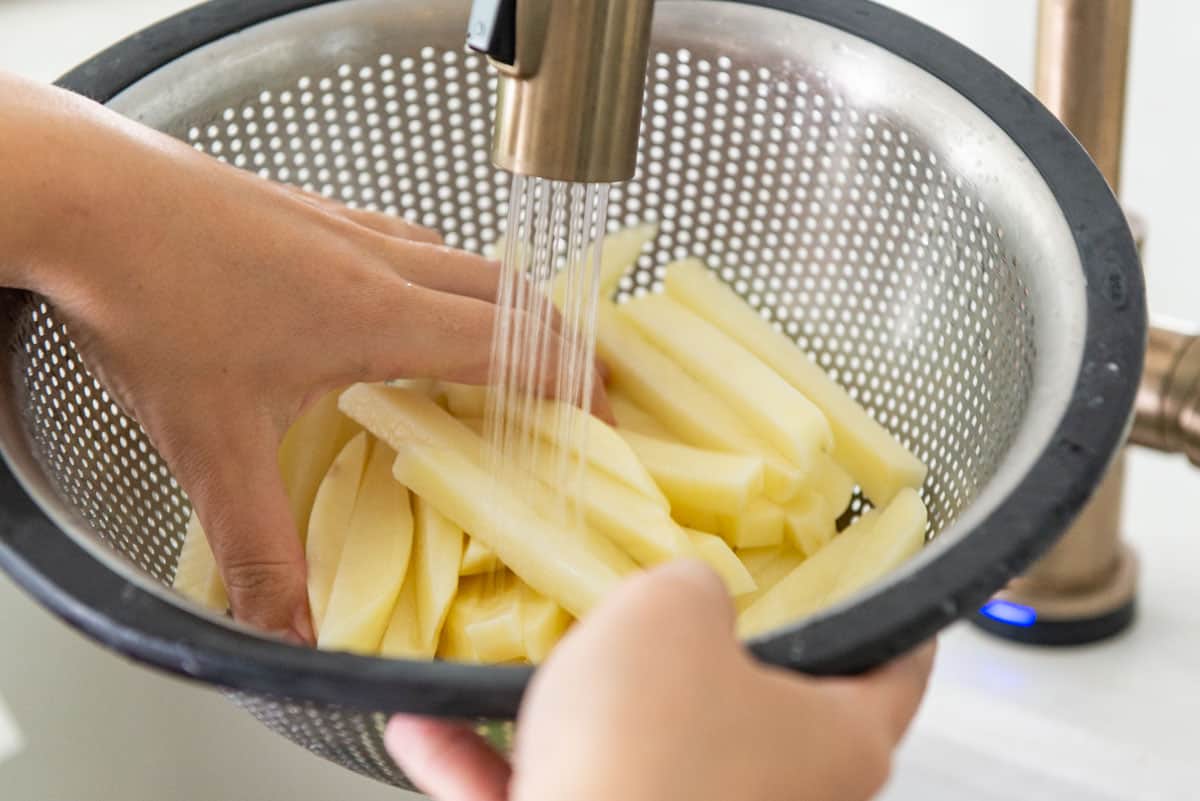
Once the potatoes are cut, place them in a colander and rinse them for one minute, to remove any excess starch.
Now place them in a large bowl of cold water for 10 minutes, to soak. Whenever you soak potatoes in water, it pulls additional starch out of the potatoes, giving you the best results possible and crispier fries.
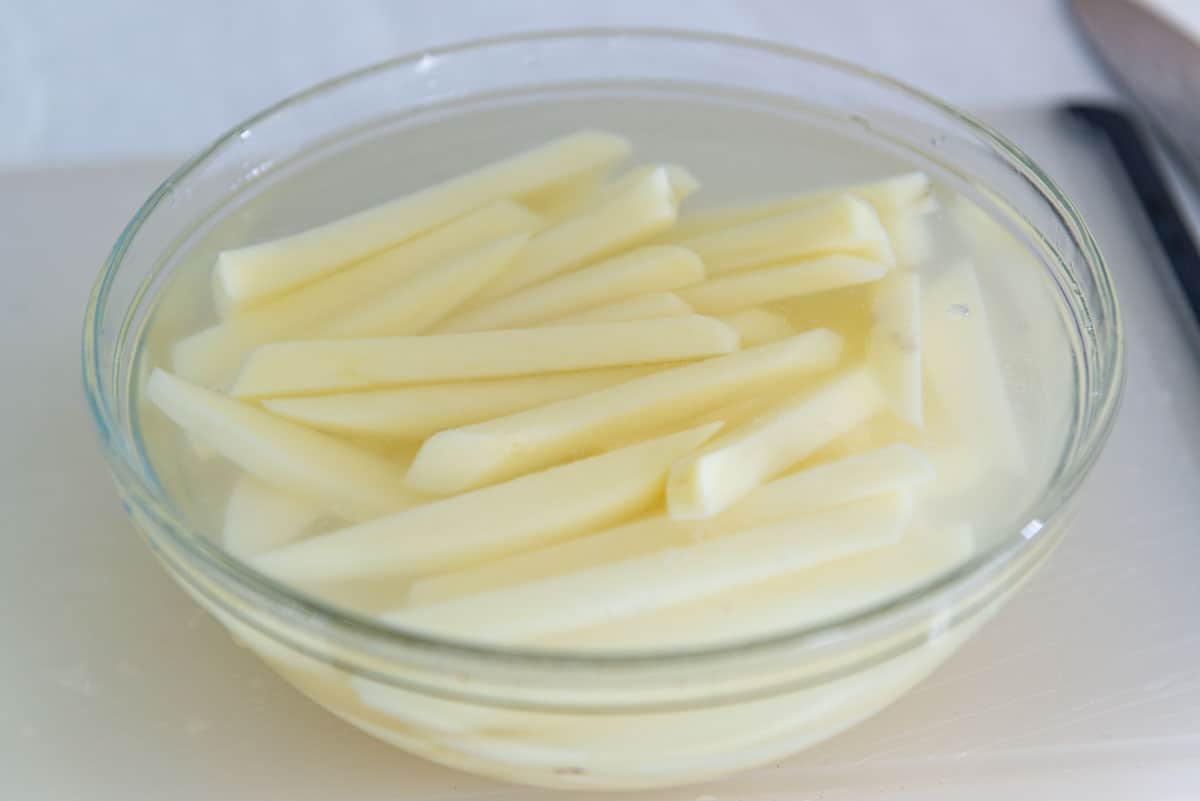
This is essential and one of my tricks for Hash Browns as well.
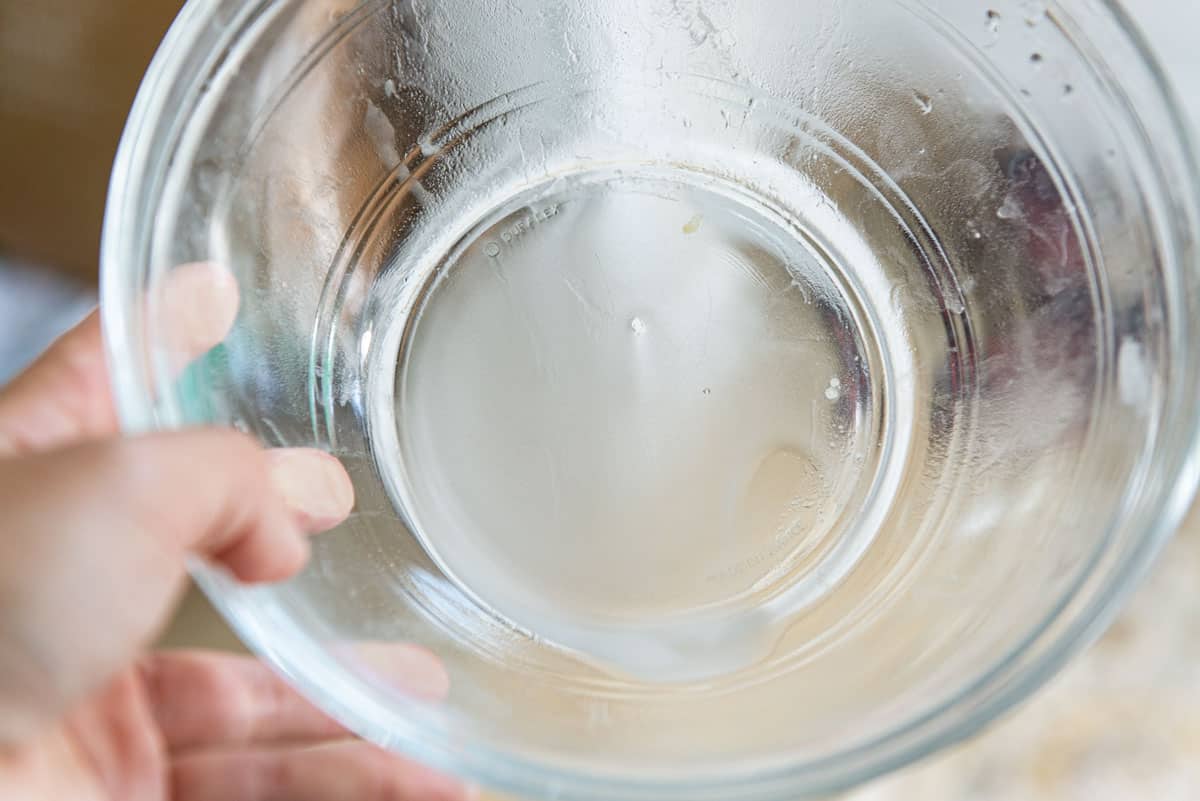
Drain the potatoes once again, and here you can see how starchy the water gets from the soaking time. It really makes a difference, so don’t skip this step.
After you’ve rinsed the starchy water from the potatoes, place them onto a towel to dry:
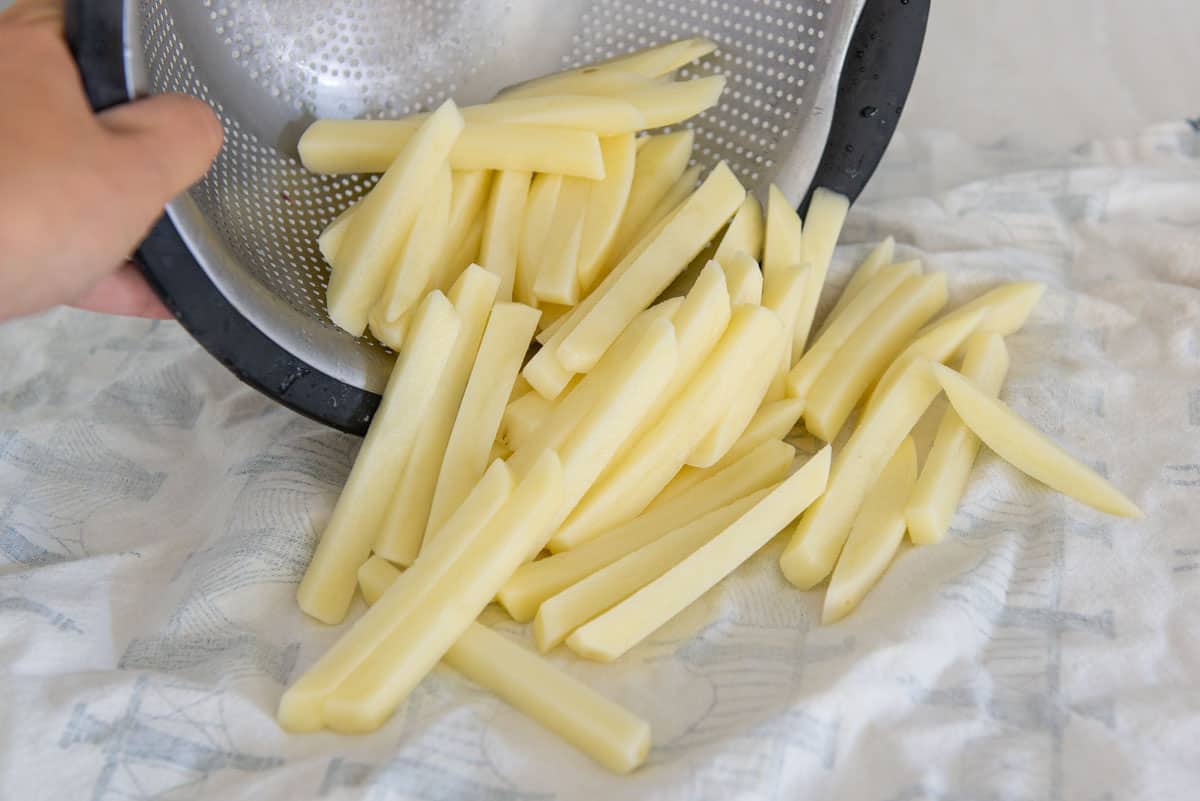
Use the towel to blot any excess water off, drying the potatoes the best you can. Excess moisture can cause sputtering, and will also make your fries take a little longer to brown.
Time to Cook!
Heat a few inches of your frying fat of choice in a saucepan or a dedicated fryer. I used to own a deep fryer, but I found it annoying to clean and now simply use a heavy-bottomed saucepan, checking the temperature with a thermometer.
As mentioned above, I highly recommend using beef tallow or duck fat as your cooking fat. Very few people know that McDonald’s gained their reputation as having the best fries primarily because they used beef tallow. Malcolm Gladwell discusses this at length in his podcast McDonald’s Broke My Heart. Using beef tallow or duck fat gives you fries that are wildly more delicious than fries cooked in soybean oil or other vegetable oils. Beef tallow and duck fat are also a more stable fat that tolerates high heat frying with the least amount of oxidation (I discuss this at length in my podcast). Also, do not use olive oil, as its smoke point is not high enough for frying.
When the oil is up to temperature at 325 degrees F, add the cut potatoes, making sure not to overcrowd the pan. You may need to do two batches.
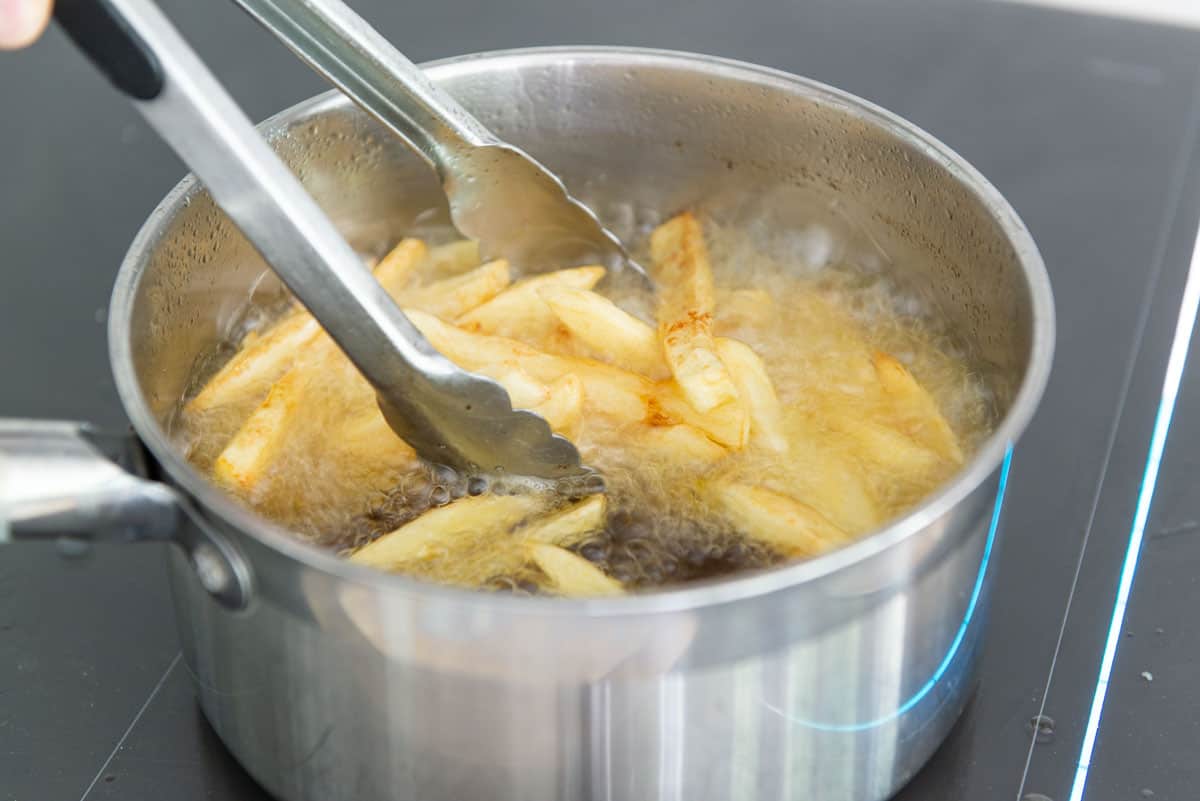
The purpose of this first fry is to cook the interior of the potato so that it’s soft. The potatoes should not really take on any color here.
If you’ve cut your fries to a similar thickness as mine, 5 minutes should be about right to get the interior soft. But if you’ve changed the thickness, you may need to adjust that time slightly. You can always check for doneness by taking a fry out of the oil and tasting it to see if it’s soft (just give it a minute to cool so you don’t burn yourself).
Remove the french fries to drain on paper towels for 5 minutes using tongs or a slotted spoon, spreading them out in a single layer so they can “breathe.”
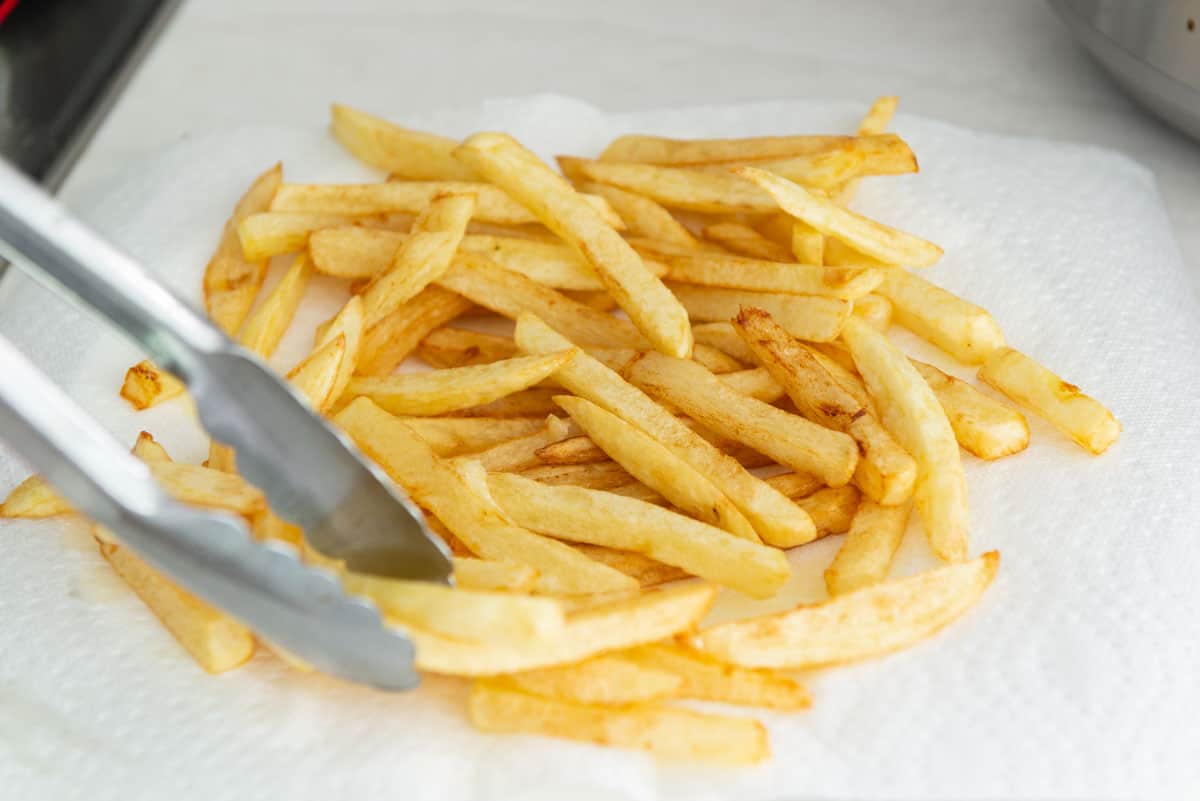
While the potatoes rest, increase the hot oil to 375F. Then get the potatoes back into the fryer to to crisp them up. This second cook is where we are looking to get some golden brown color and make the fries crunchy on the outside.
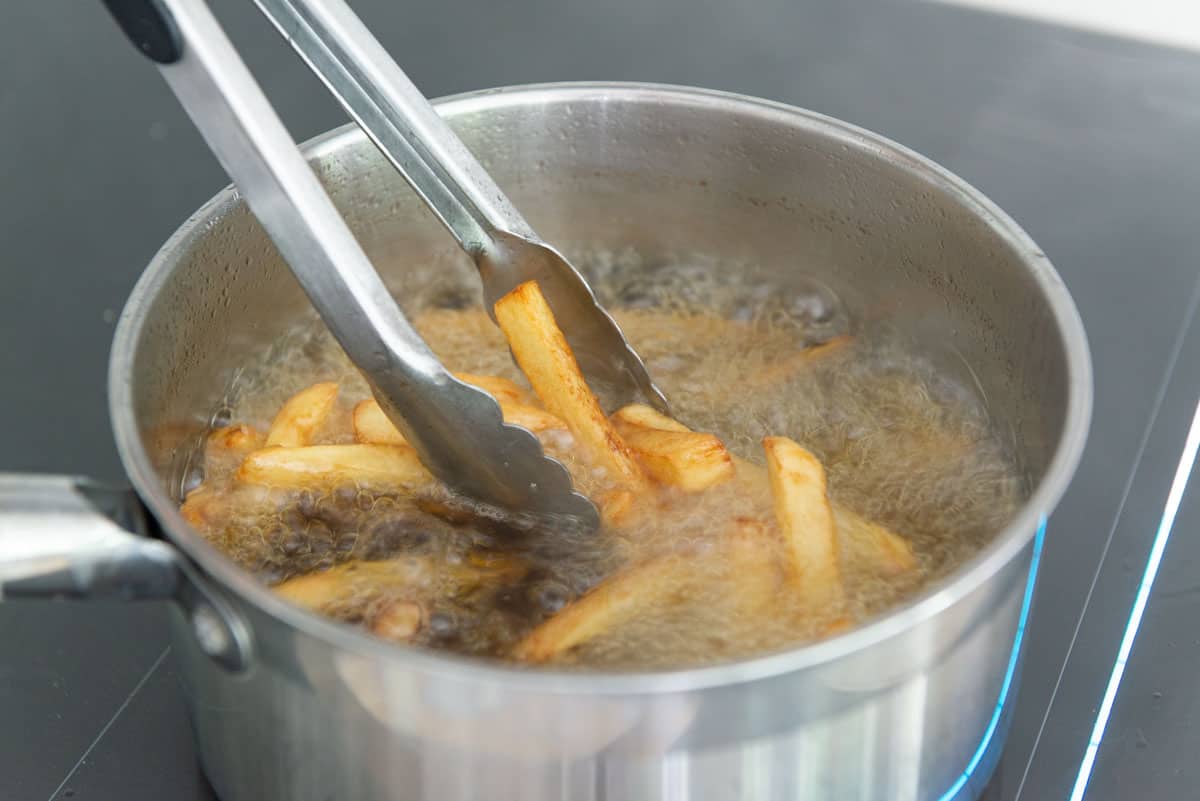
Once they are golden on the edges, place them into a paper towel-lined bowl to rest briefly and soak up any excess tallow.
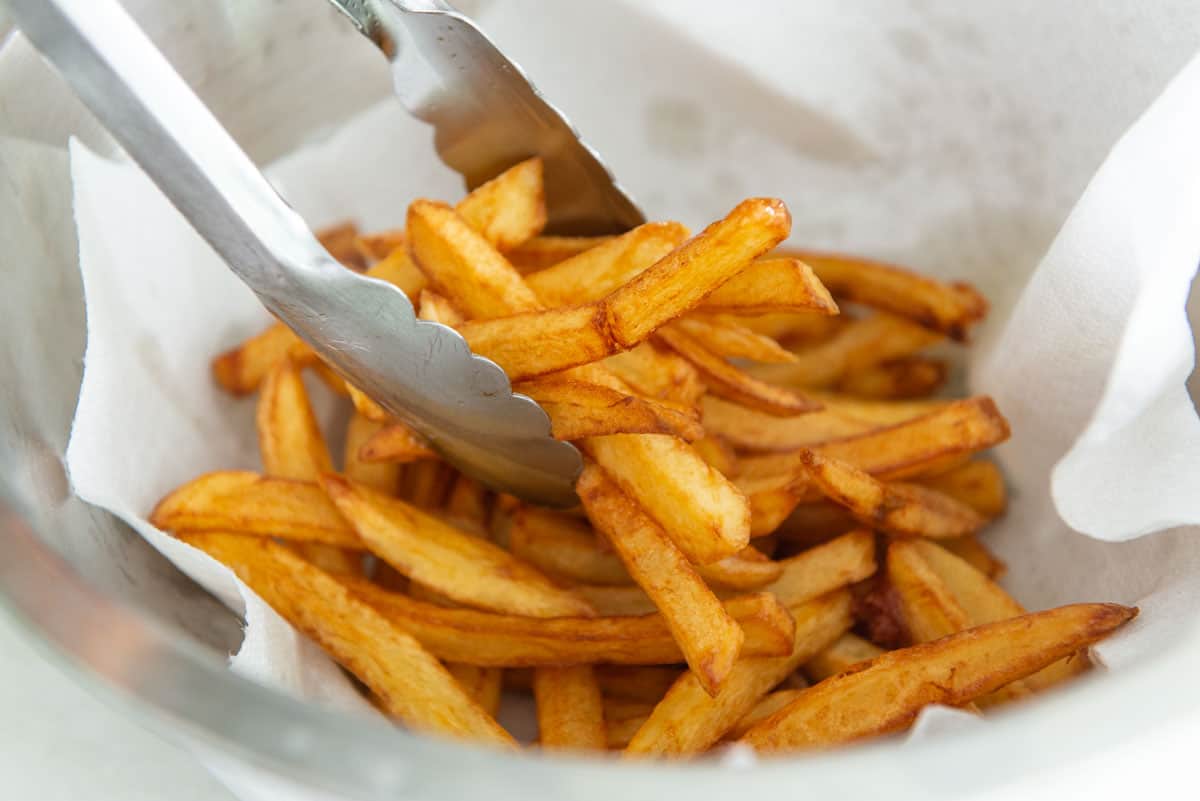
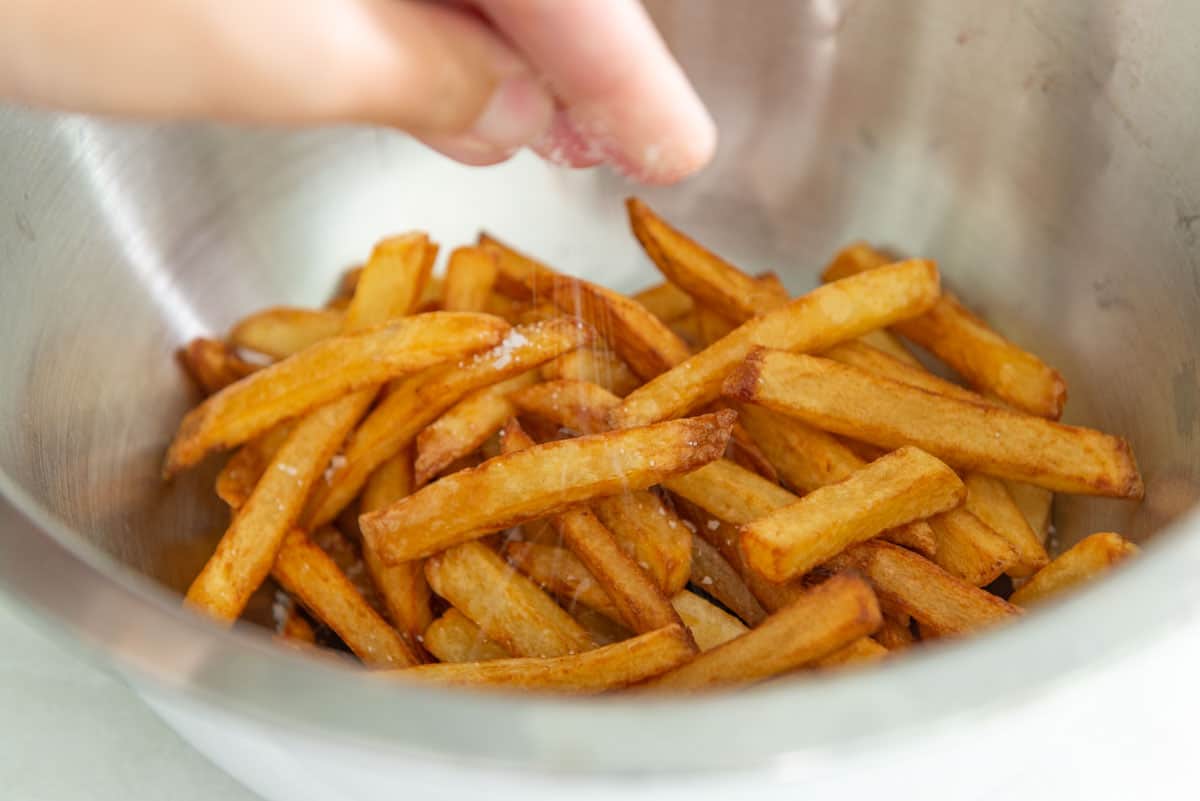
Remove the paper towel, then promptly season with sea salt while your homemade fries are hot, so they stick to the potatoes.
You can also use whatever seasoning you like, whether it’s simple additions like chili powder, garlic powder, onion powder, or black pepper, or if you’d like fancier mixes such as Old Bay, Sazon Seasoning, or Cajun Seasoning.
How to Serve
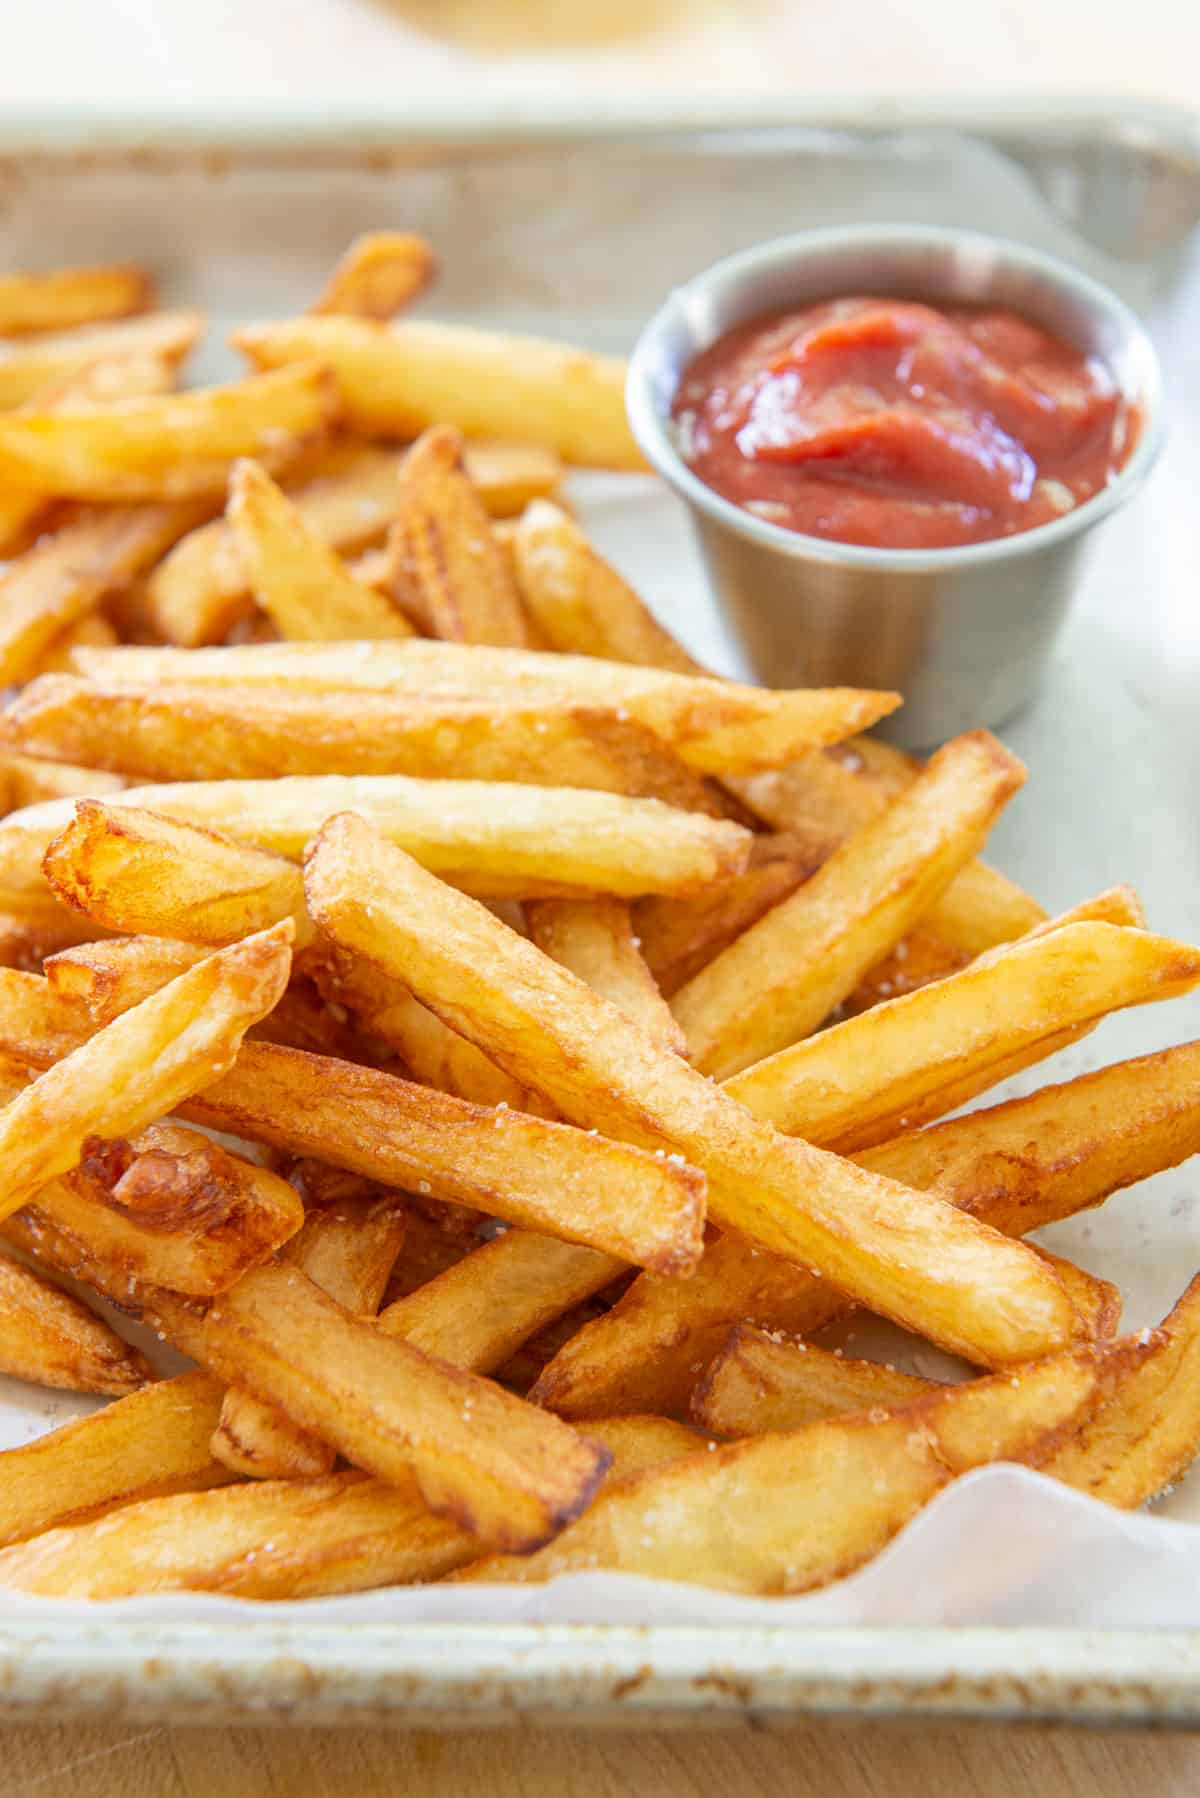
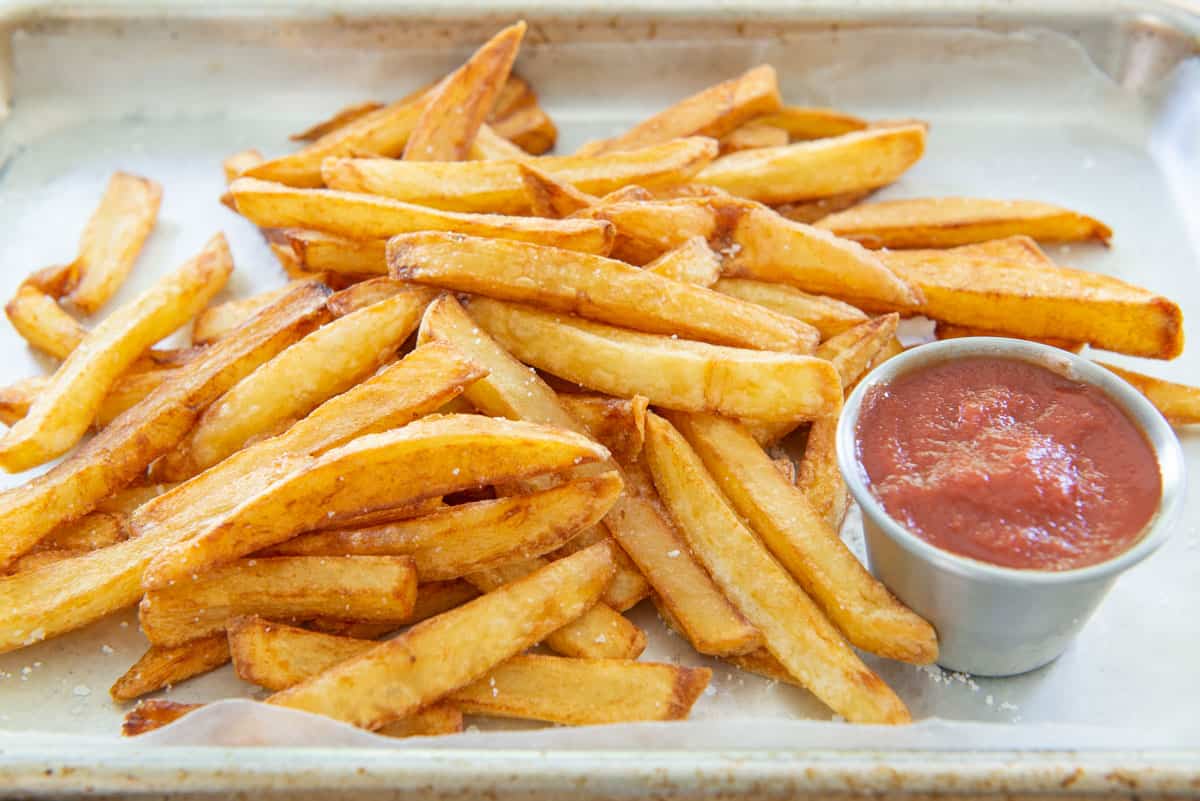
Serve your homemade french fries while hot and crispy, with ketchup, Mayonnaise, Aioli, Homemade Nacho Cheese Sauce, or your favorite condiment. I spread them out on a baking sheet so they have room and don’t get soggy. I also love dipping them in the burger sauce from my Double Decker Burger recipe.
What to do with the used cooking oil?
One benefit of using tallow instead of fats like soybean oil or peanut oil, is it’s stable enough that it can be reused again and again. I simply filter it to remove any crumbs or sediment, then use it for another deep fried recipe, such as Homemade Mozzarella Sticks, Fried Calamari or Fried Chicken.
Pair your homemade french fries with Turkey Burgers, this Double Decker Burger, a Cheesesteak Sandwich, Chicken Cordon Bleu Panini, or a Parisian Croque Madame. Enjoy!
Recipe FAQ and Expert Tips:
Yes, they can be kept in the fridge for up to 5 days in an airtight container.
Yes. I recommend spreading them out on a sheet pan in the freezer for 30 minutes, then storing them in an airtight container. That way they won’t all stick together. Store for up to 2 months.
Reheat them in a 375F oven for about 10 minutes, until warm and crisp. If the fries are frozen, you may need to cook for 5 minutes longer.
Did you enjoy the recipe? Please leave a 5-star rating in the recipe card below and/or a review in the comments section further down the page. Or, follow me on Facebook, Instagram or Pinterest!
Homemade French Fries
Ingredients
- 1.5 lbs russet potatoes
- salt
- beef tallow or duck fat for frying*
Instructions
- Decide if you will peel the skin off or not. If you want to leave the skin on, scrub the potatoes well, and peel off a little skin to check that they are not green underneath the skin. If you want to remove the skin, use a vegetable peeler to peel the potatoes.
- Cut one side of each potato to create a flat surface, then place that side of the potato on a cutting board so it doesn't rock while you cut it. Carefully cut downward to create slices a little more than 1/4" thick. Cut those slices into long sticks to create fries, placing the fries in a bowl of cool water as you cut them, to prevent browning.
- Using a colander, rinse the potato sticks for a minute, then place in a bowl of cool water to soak for 10 minutes. Drain and rinse again, then dry the potatoes as well as you can with a kitchen towel.
- Using either a heavy-bottomed saucepan at least 8" wide and checking the temperature with a thermometer, or a dedicated deep fryer, add enough tallow to come a few inches up the pot, heating it to 325F. Add about half the potatoes and fry for 5 minutes, stirring occasionally. Remove them to a paper towel-lined plate, and let sit for 5 minutes. You will notice that they will have taken little color, if any at all, and if you taste one, the potato should be very tender.
- Increase the heat of the oil to 375F and cook the french fries for 3 more minutes, stirring frequently, until golden brown. Place in a large paper towel-lined mixing bowl to drain briefly, then while still hot, add salt and give the fries a toss. Adding salt or seasonings while hot ensures the salt will stick to the fries.
- Serve promptly with ketchup, mayonnaise, aioli, nacho cheese sauce, or eat them plain. Enjoy!
Notes
Nutrition
Nutrition is estimated using a food database and is only intended to be used as a guideline for informational purposes.

40 Comments on “Homemade French Fries”
Amazing…but I have a time saver method. Use the same good old russet potatoes, but soak them in lukewarm water with a couple tablespoons of sugar for 1 hour. It will remove even more starch and make then taste better and crispier. Then pat them dry and just fry them once at 350 in peanut oil for roughly 12 minutes. No double frying…try it, I find them actually better 🙂
I just made these with my five year old. We won’t let him eat french fries made at restaurants anymore (thank you). He wasn’t all that happy yesterday when I wouldn’t let him have fries at the restaurant. I promised we’d make him some at home instead.
He’s thrilled! He had so much fun making them with me and he says these are the best french fries ever! He even got to experiment with making them crunchier and softer since we had to do them in batches.
These look Sooo good! Could I switch out the russet for sweet potatoes?
Sweet potatoes will cook a bit differently. Most restaurants will actually batter sweet potato fries because they are not as crispy on their own. So yes, you could straight fry sweet potato sticks, but it won’t quite be as crispy as the russets without some extra steps.
Was wondering , what is beef taller? TY
Tallow is beef fat. It’s like the beef version of lard.
Oh my God I tried the fries tonight I put them on a cookie sheet not in a bowl they were good Chris be excellent thank you
I actually like when I pile my fries onto the paper towels, pat them down, add a lil salt and then put more paper towel on top. Then they’re all soft and limp or just a lil hard. Hard crunchy fries hurt my teeth. I grew up with limp fries and it’s still how I love them. I’m making some tonite with moms chicken cutlet.
I get what you mean! Hope you enjoyed them.
Didn’t work out very well. Did two batches to test out both at 325. But one waiting five min to dry and the other ten. Then cooked again till golden brown Worked great was crispy right out of the fryer went to let my family try them and came back around soggy was gone maybe 20 seconds
I did cook them at 375 the second go around
Hi Gazza, if the fries were drained on a paper towel, then tossed in seasoning and served quickly, I’m not sure why they would go soggy. Were they piled up on top of each other in a bowl? Without being there, that’s the only thing I can really think of as a possibility, that maybe steam made them go soggy instead of escaping off the fry. Did the inside seem fully cooked and fluffy?
They are very much helpful went I need a recipe for something to cook
I’ve always found that washing off the starch before the first fry helps for crispiness. Also, dutch ovens are perfect and multi-functional
Good read. Homemade fries seem to still b the best tasting fries. Thanks for the post.
I bought a fryer and love it Once you make your french fries all others do not taste good at all also fried onion rings AWSOME but I have to really control myself because I could eat these every day as a side dish going to try fried pickles soon Bought a T Fal fryer which makes cleaning an filtering a snap and you can put everything in the dish washer except the electrical unit. Warning do not overfill the oil ( munch munch oh so good ) your right on with the cooking twice Thank you
Hi Richard, I love fried pickles! I need to make that at home sometime. Fortunately my fryer is a huge pain in the butt to clean so I don’t make fried food too often LOL.
Great photos! I have one other suggestion to add that I have been doing for about 6 months now…if you have the time, do the first fry earlier in the day and then pop the potatoes into the freezer (I put them in a bar pan). Do the second fry after they are frozen (or at least partially frozen). They come out crisp on the outside and like butter on the inside!!!
Karen, that is so awesome. Thanks for sharing this tip with us, I will definitely be trying it!!!
I’ve never tried the double-fry method. It makes sense though. I always parboil the fries in salty salty water for around ten minutes before frying them. They come out crispy and already salty 🙂
Hey now, isn’t that a cool idea?! I’m totally going to try parboiling, thanks so much for the idea! I bet it’s healthier that way too. Thanks Shannon!
keep in mind though that salt will make your oil go rancid quicker, so you can either do without it in the water, or have a list of stuff you want to fry over the next few days. I vote for the latter. lol