Brown Butter
Brown Butter is a kitchen technique staple that makes for great sauces and elevated desserts. It has a distinct flavor and aroma that is irresistible. Here’s how to make it perfectly without burning!
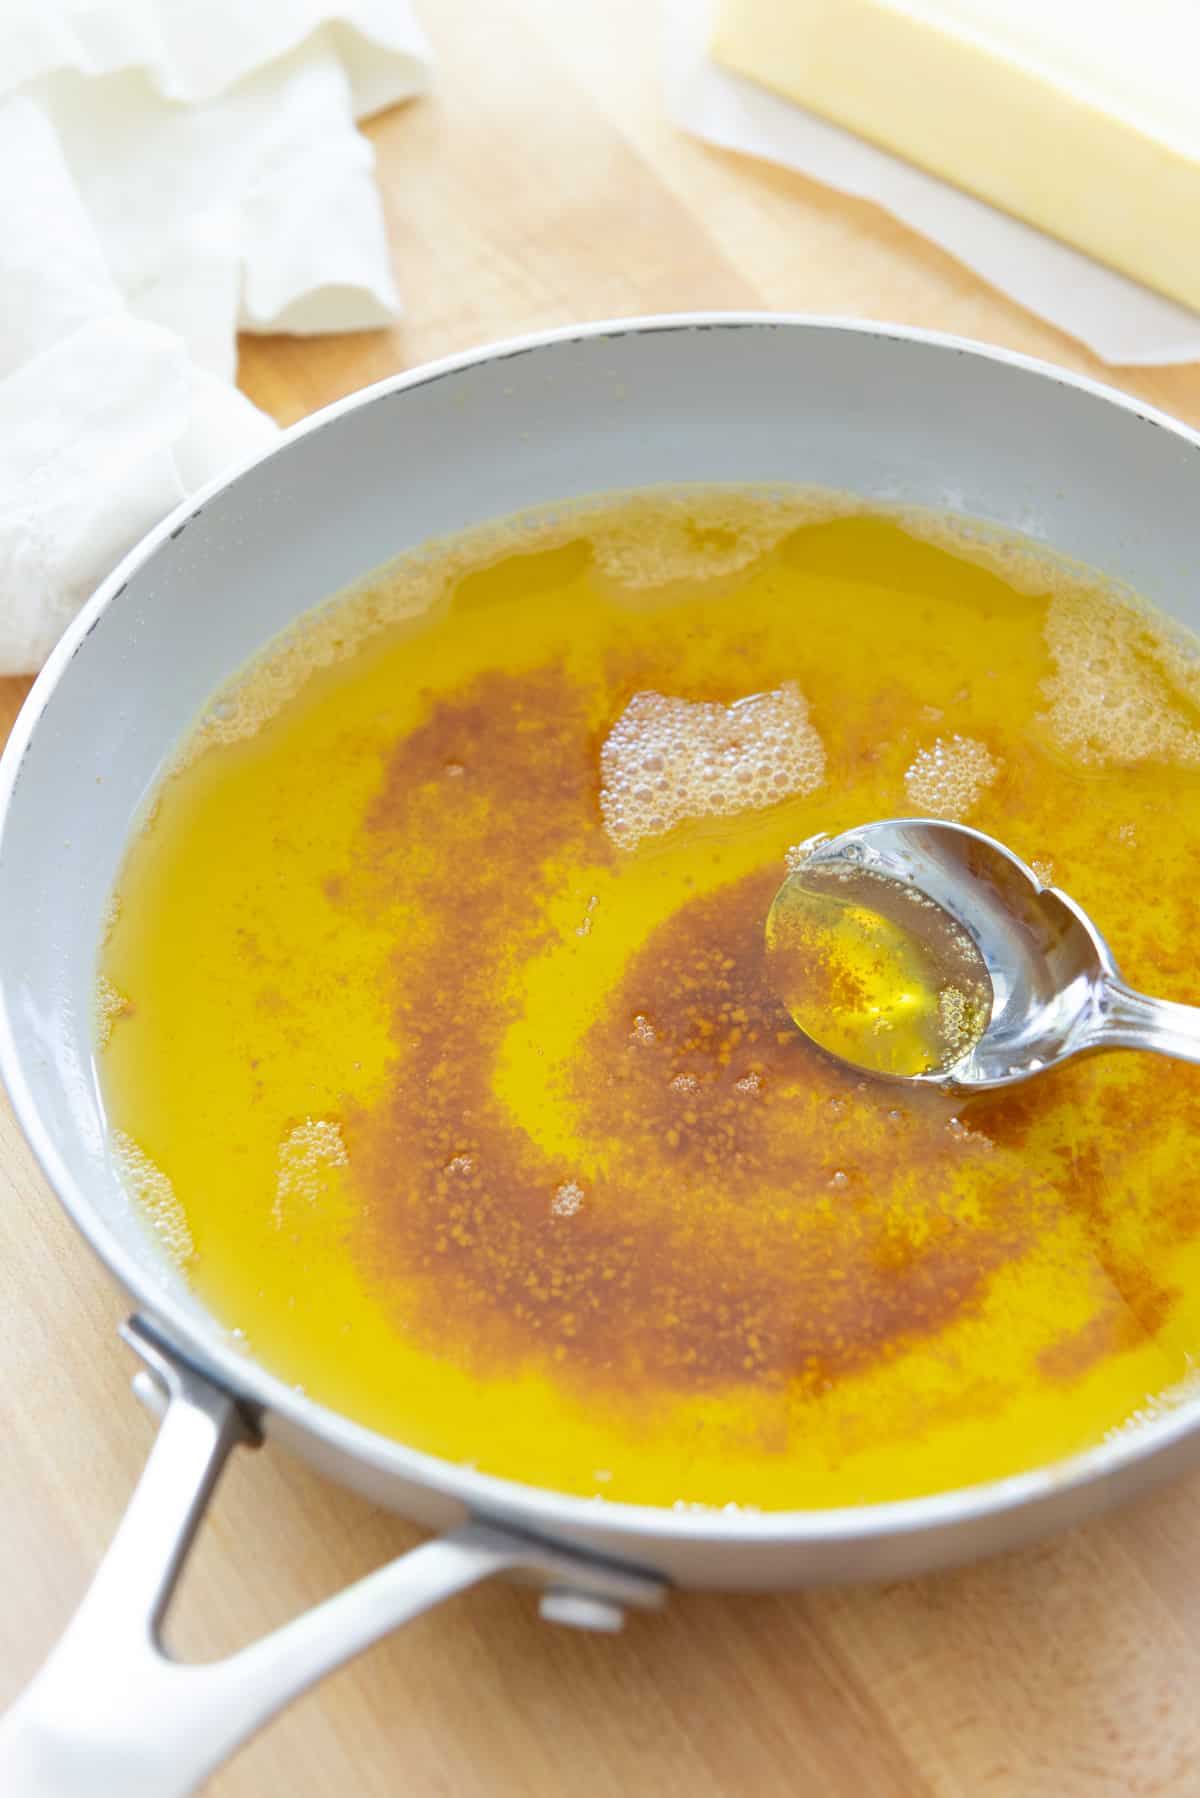
I have always been a huge fan of brown butter, or what’s known as beurre noisette in French cooking.
Regular butter is already one of the most delicious things on Earth, but browning it adds caramelization to the equation. This browning gives the butter a nutty flavor and nutty aroma that is unmistakable.
In baking, you can use brown butter in place of regular melted butter, and completely elevate the flavor. It is particularly wonderful in Chocolate Chip Cookies, banana bread, and in baked recipes using brown sugar.
You can also use brown butter in all sorts of savory dishes.
For a quick dinner, I will often make a simple brown butter sauce for pairing with seared white fish, following a 4:1 ratio of brown butter to freshly squeezed lemon juice. It’s heavenly!
Use Good Butter
My absolute favorite brand of butter is Kerrygold, and most grocery stores carry it. Other good choices are Plugra and Vermont Creamery. Make sure to purchase high quality butter here.
No matter what brand you choose, it does not matter if you use salted butter or unsalted butter. Both will brown the same.
Step by Step Overview
The following series of photos will give you a visual idea of the cooking process, which happens over a total cooking time of 3-5 minutes, depending on the heat of your stove.
During this time, we will be cooking out the water content in the butter, and also browning the milk proteins.
To begin, I recommend using a light-colored pan or light-colored saucepan so it’s easier to see the brown specks that form in the bottom of the pan. It is hard to see when the pan is black or dark, like with cast iron.
While I am using a nonstick ceramic pan here, you may use a stainless steel or uncoated skillet and have equally good results.
Add a block of butter to an 8″ skillet or small saucepan set over medium heat.
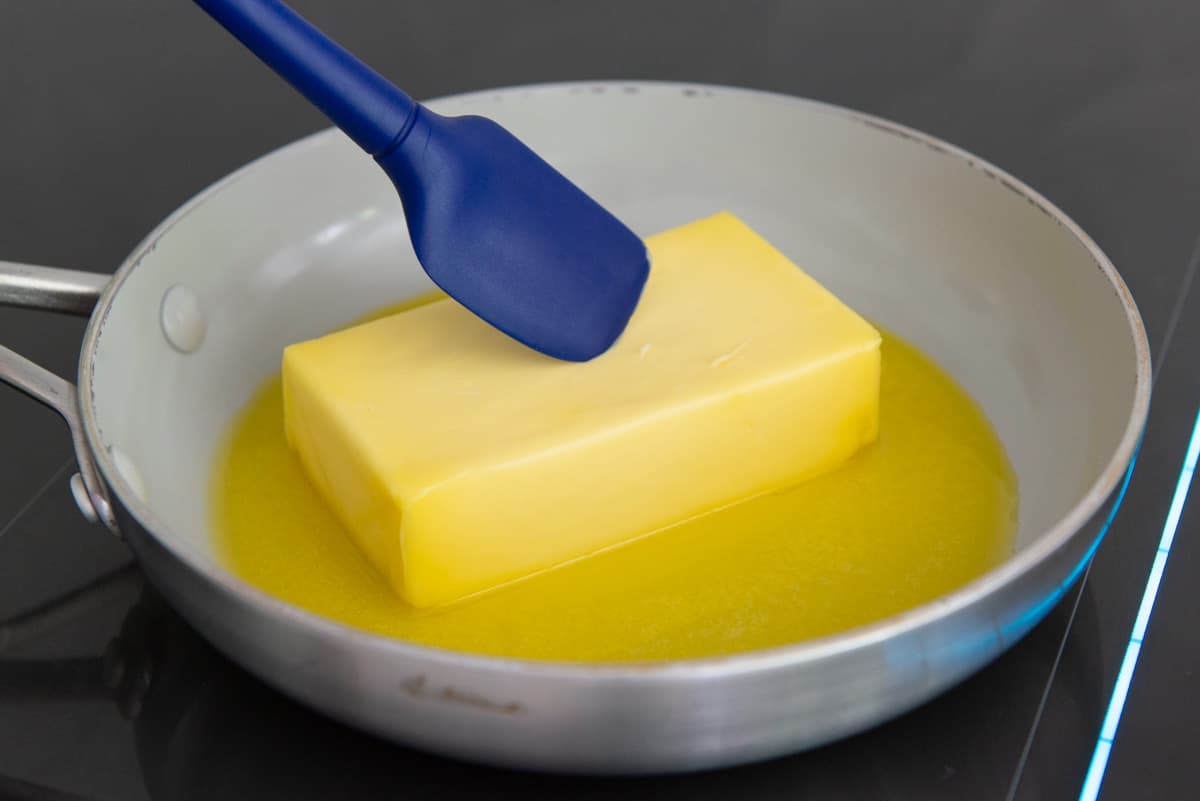
There is no need to cut the butter into smaller pieces so long as the heat isn’t set too high. If the butter looks like it’s browning too fast at any point, turn the stove setting down to low heat.
Also, the amount of butter you use is really up to you and how much your desired recipe calls for. Just make sure to use an appropriately sized pan. In my 8″ skillet I have 16 tablespoons of butter, which is equivalent to 2 sticks.
Let the butter melt slowly:
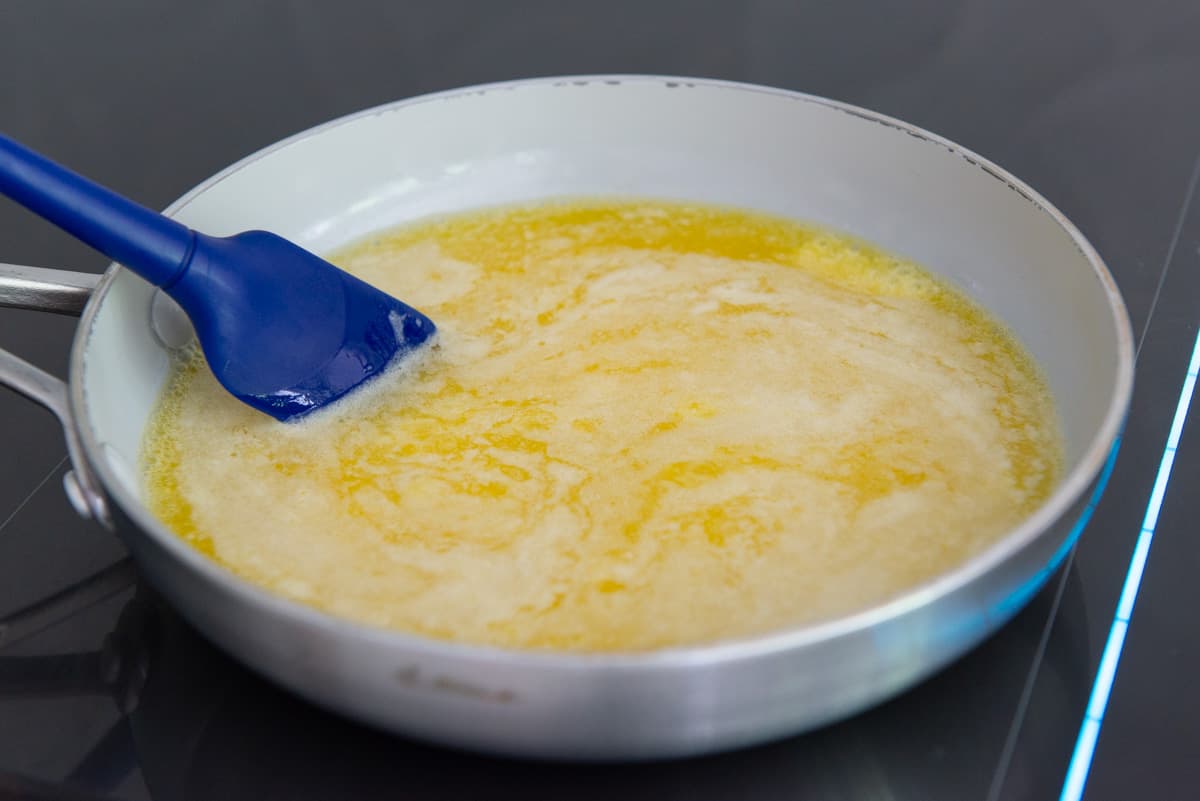
After the butter melts completely, it will start to become foamy on top with a white froth:
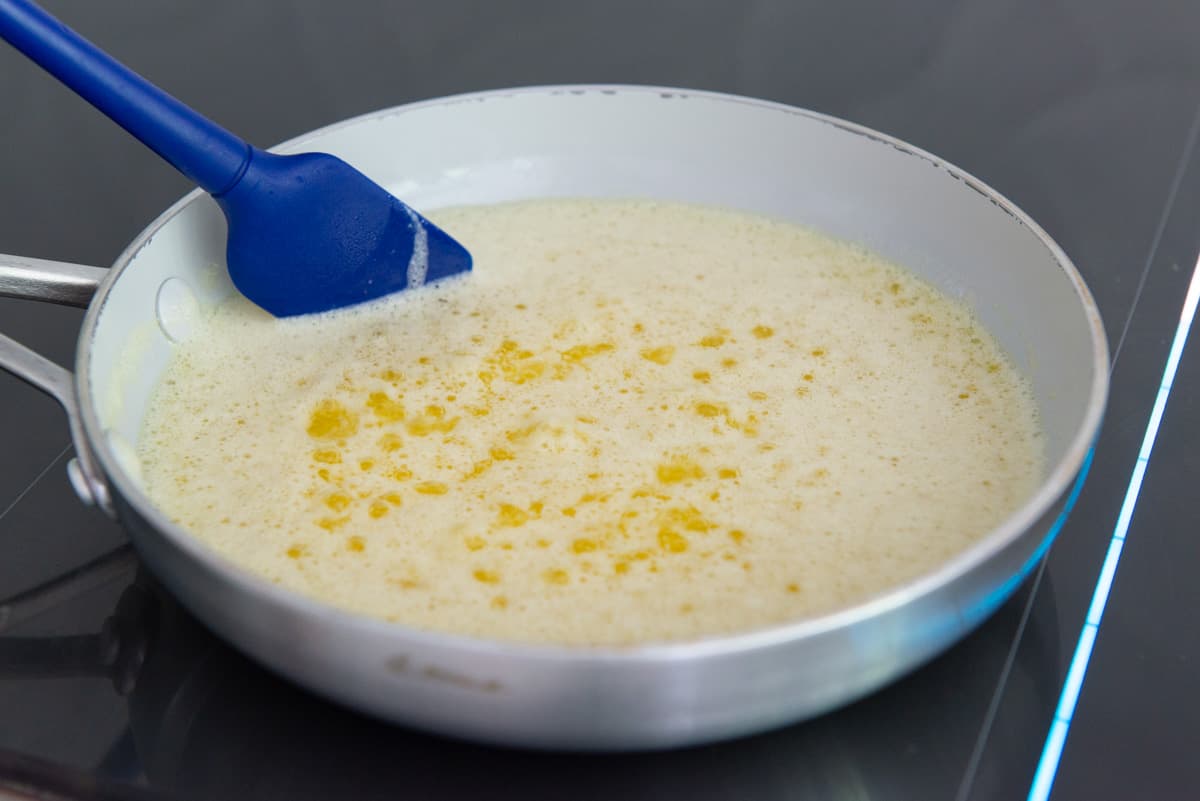
Continue cooking, and the white froth will start to dissipate and almost clump together:
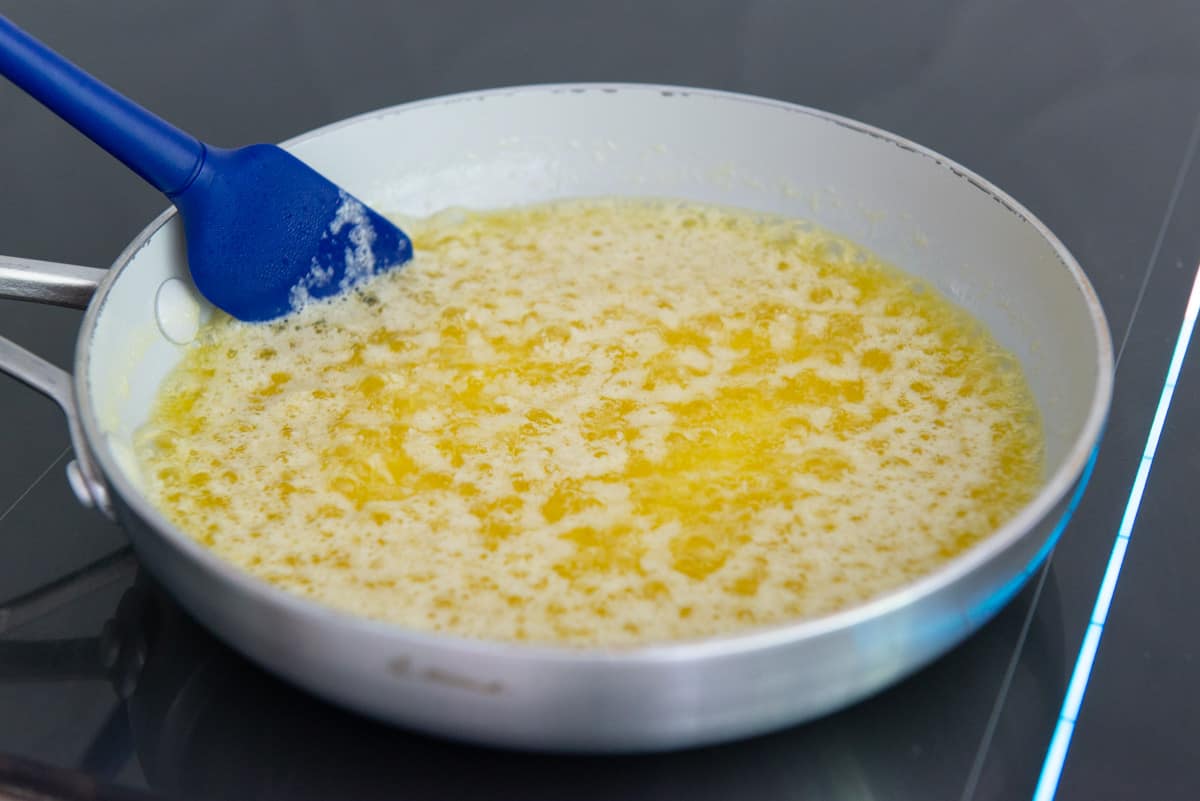
Another 30-60 seconds, and the white froth will disappear from the top altogether, and the butter will be a deeply golden color, with a robust bubble:
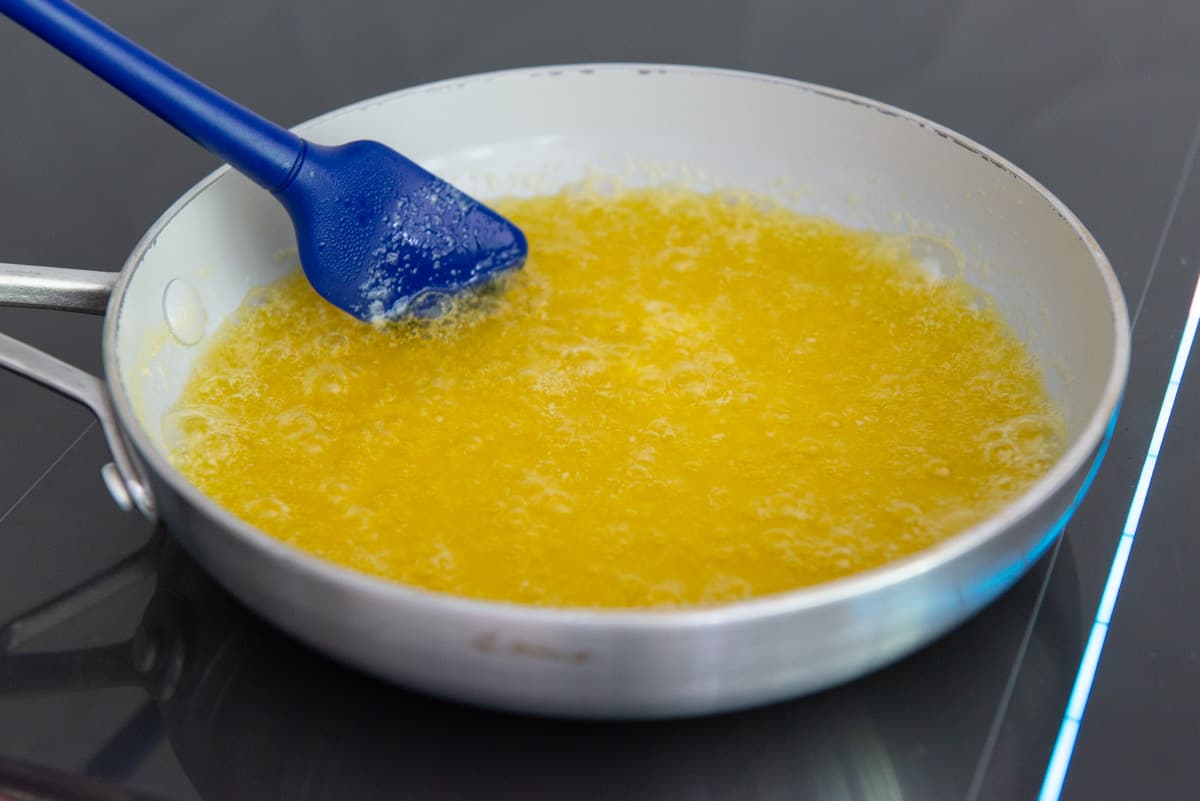
Now is when you want to keep your eye out for brown speckles in the bottom of the pan, and a nutty smell.
You’ll see bubbles start to clump together on the surface of the butter:
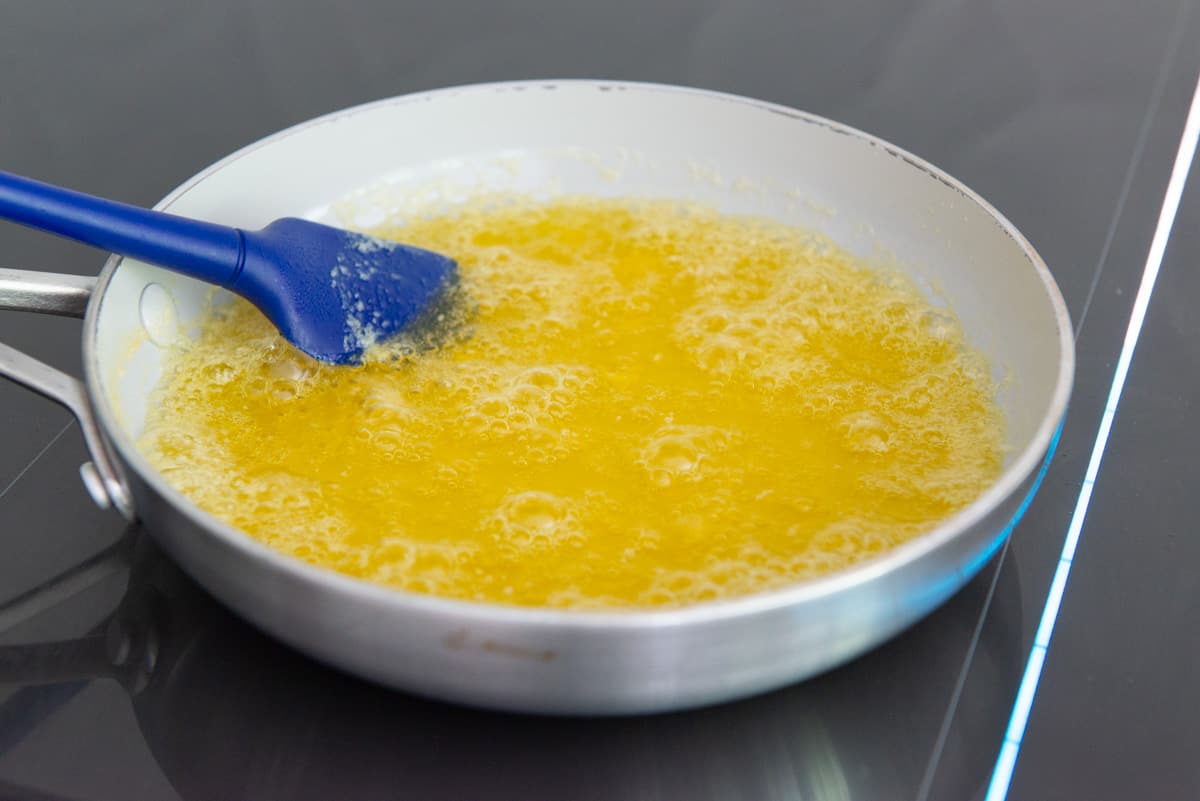
And then the bubbles will become smaller and increase in number:
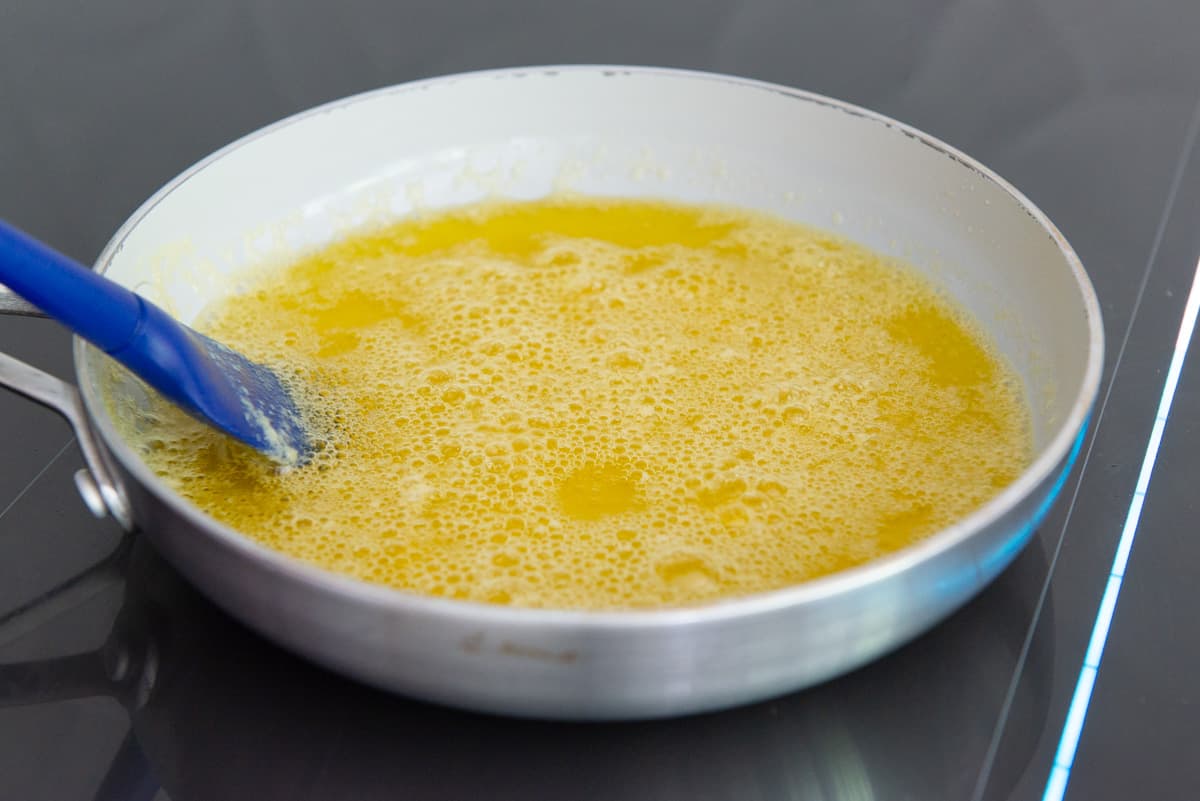
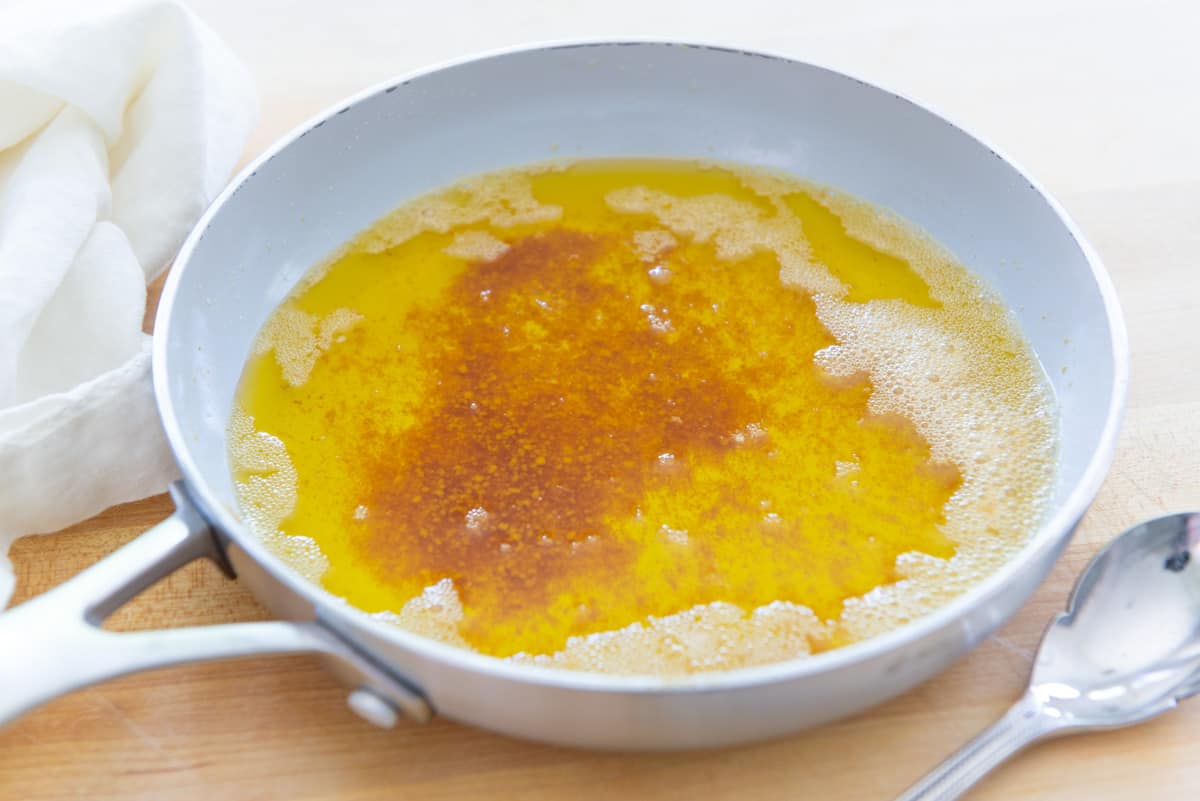
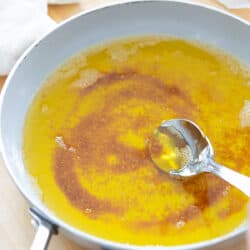
Finally, after 3-5 minutes of total cooking, you will start to see those milk solids on the bottom of the pan, turning a golden brown color:
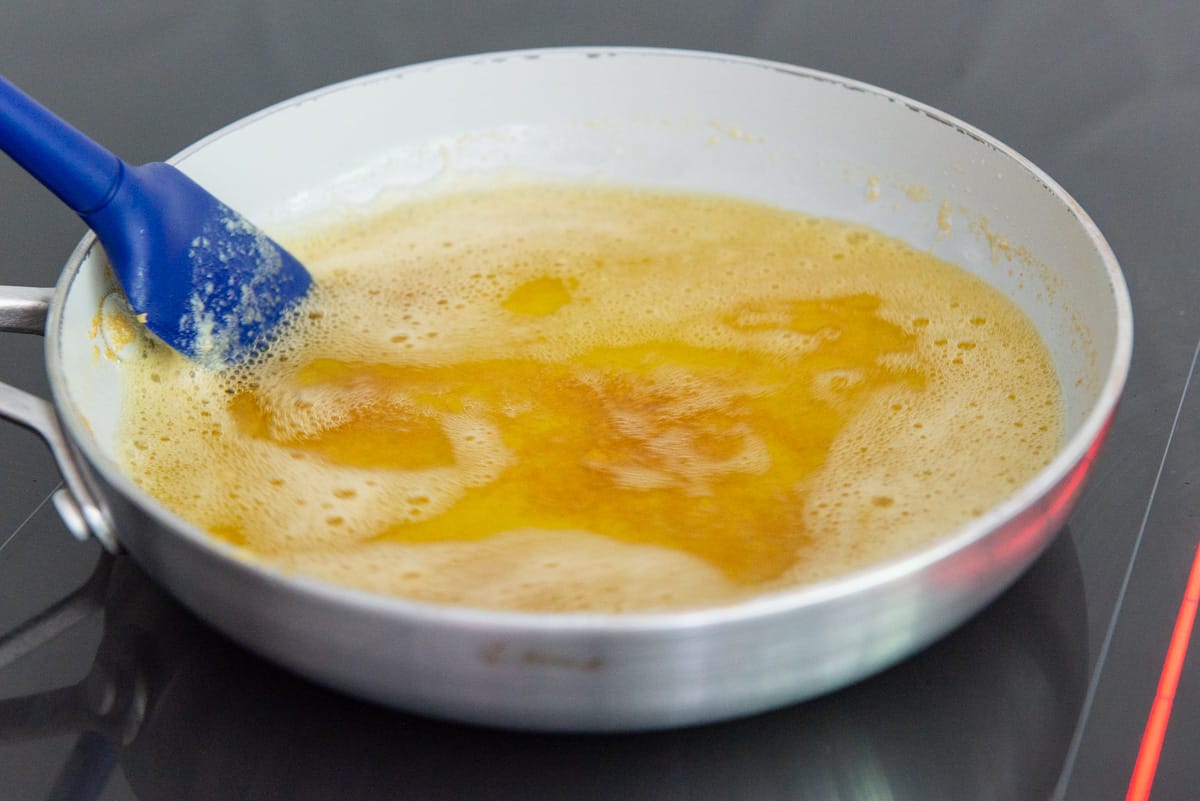
This is the Maillard reaction at work, and those brown bits are what give you that nutty brown butter flavor.
Whenever I make browned butter, I like to keep a heatproof bowl right next to the stove, just in case the browning process is happening too fast. There can sometimes be enough residual heat in the pan that you risk burning the butter, if you don’t pull it off early enough.
I like to stop cooking when the milk solids are a light brown. That way, with residual cooking, they will turn a little darker brown but not black.
Keep in mind that the color change happens very rapidly at the end, similarly to when you make Caramel Sauce. Don’t walk away from the stove.
Pouring the butter into the standby bowl stops the cooking immediately.
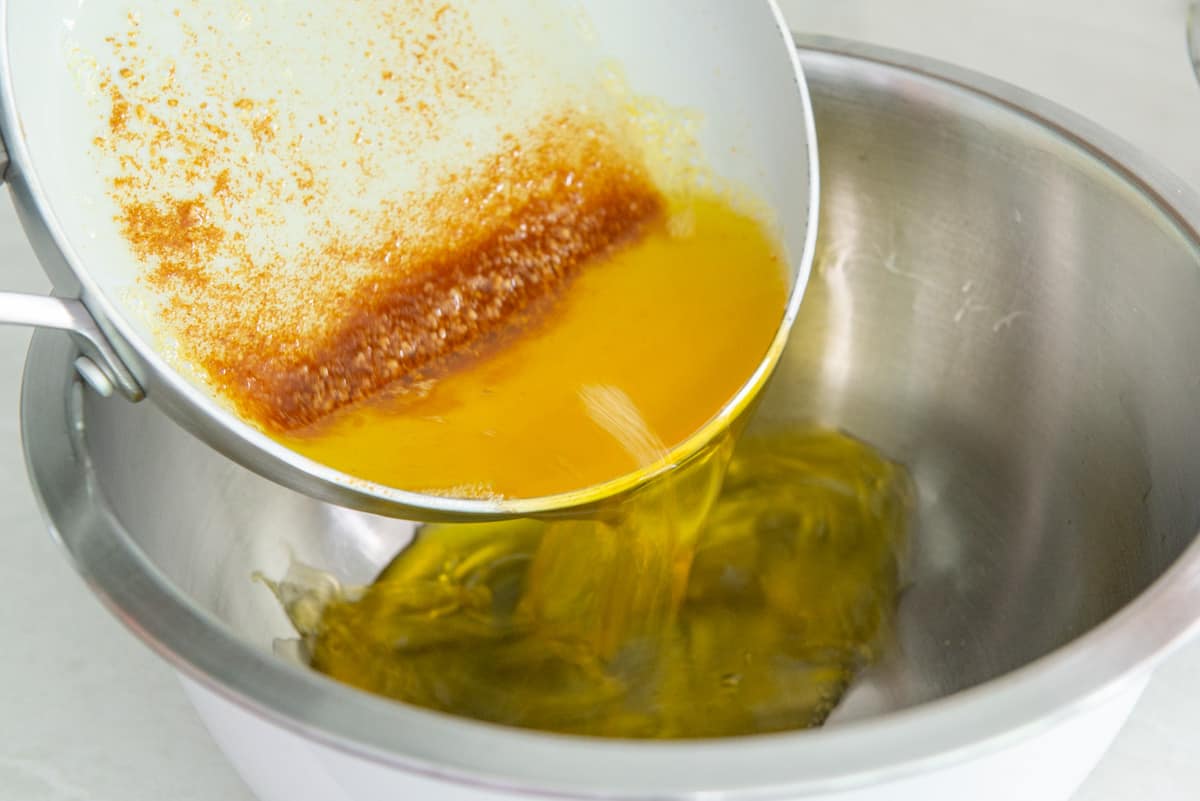
If you’re using this for some sort of baked brown butter recipe, especially one with chocolate, let the butter cool at room temperature for a few minutes before proceeding.
If you’re using this for savory recipes like warm sauces, there’s no need to cool the butter first.
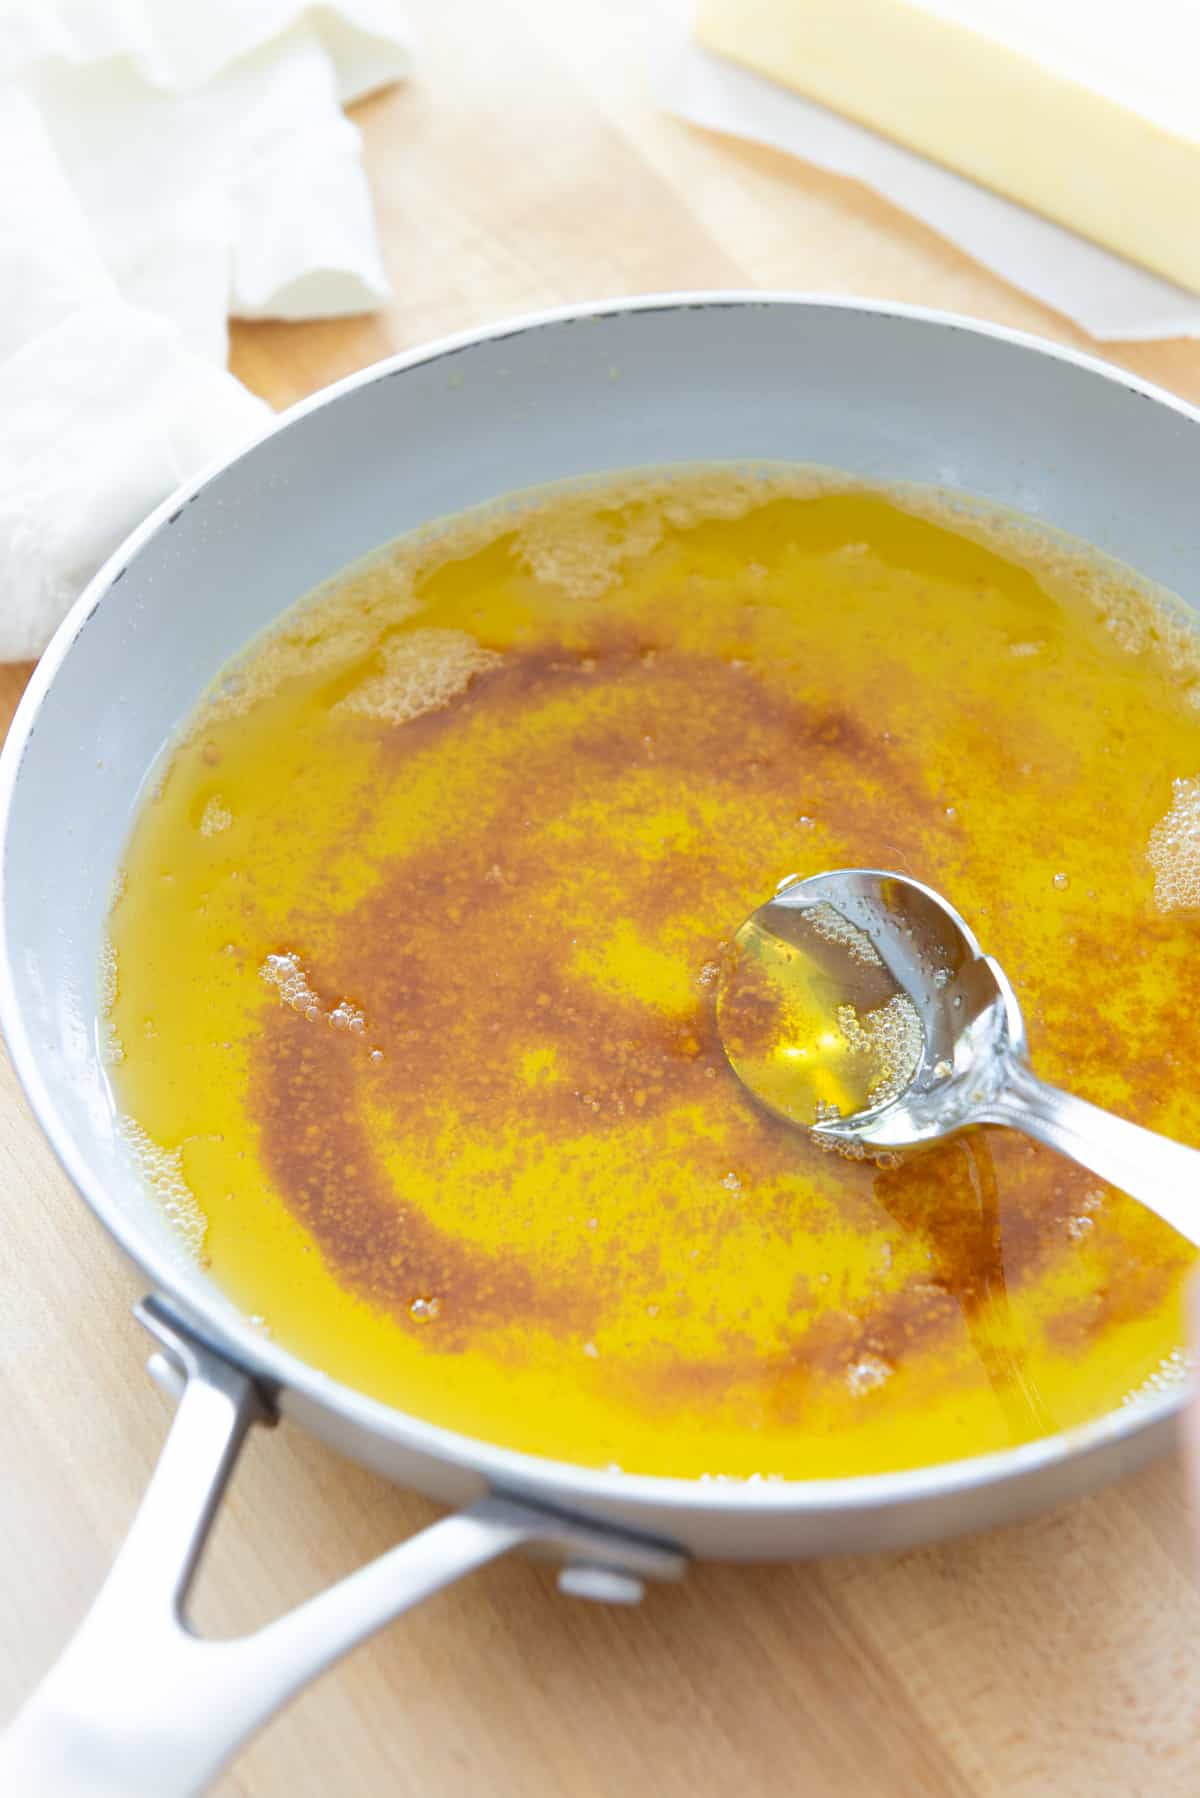
If you’d like to save the brown butter for later, a great trick is to pour it into an ice cube tray and keep in the freezer. Then you can make quick pan sauces on demand.
Did you enjoy the recipe? Please leave a 5-star rating in the recipe card below and/or a review in the comments section further down the page. Or, follow me on Facebook, Instagram or Pinterest!
Brown Butter
Ingredients
- 8 ounces butter*
Instructions
- Set an 8" skillet or small saucepan over medium heat. Also set a small bowl next to the stove.
- Add the butter and let it melt, stirring with a spatula or whisk.
- Continue cooking the butter, never leaving its side (or you may risk burning it). Watch as it goes through the following stages within a 3-5 minute time span: the butter melts, then it foams up with a white frothy quality, then that starts to subside, and brown bits begin to form in the bottom of the pan (those are the milk solids).
- Once the milk solids have turned brown and the butter is very fragrant, immediately pull the pan off the heat. If for whatever reason it smells like it's starting to burn, immediately pour the brown butter into the bowl that's set next to the stove, so the residual heat of the skillet does not continue cooking the brown butter.
- Let the brown butter cool slightly if necessary, then use as desired. Enjoy!
Notes
Nutrition
Nutrition is estimated using a food database and is only intended to be used as a guideline for informational purposes.

One Comment on “Brown Butter”
Thank you for this beautiful, instructional on browning butter. Your pictures will make it a pro job for me! I am a Louisianan, and have finally mastered roux ( of which this process reminds me) in my 50’s! You are right -dont walk away!