Understanding The Creaming Method
The great thing about cooking and baking is that they’re a skill.
What does this mean?
It means that you, yes you, and everyone else in the world can become good at it. You just need to understand a little bit about what’s going on.
Today’s post will explain to you what’s going on when you’re making cookies, cakes, muffins, quickbreads, etc via the creaming method.
Have you noticed that many of these recipes just say “cream the butter and sugar together until smooth?”
Yeah, not very helpful, and there’s more to it than that. There are proper ways of using this technique, and my goal with this post is to help you understand the creaming method and avoid common mistakes.
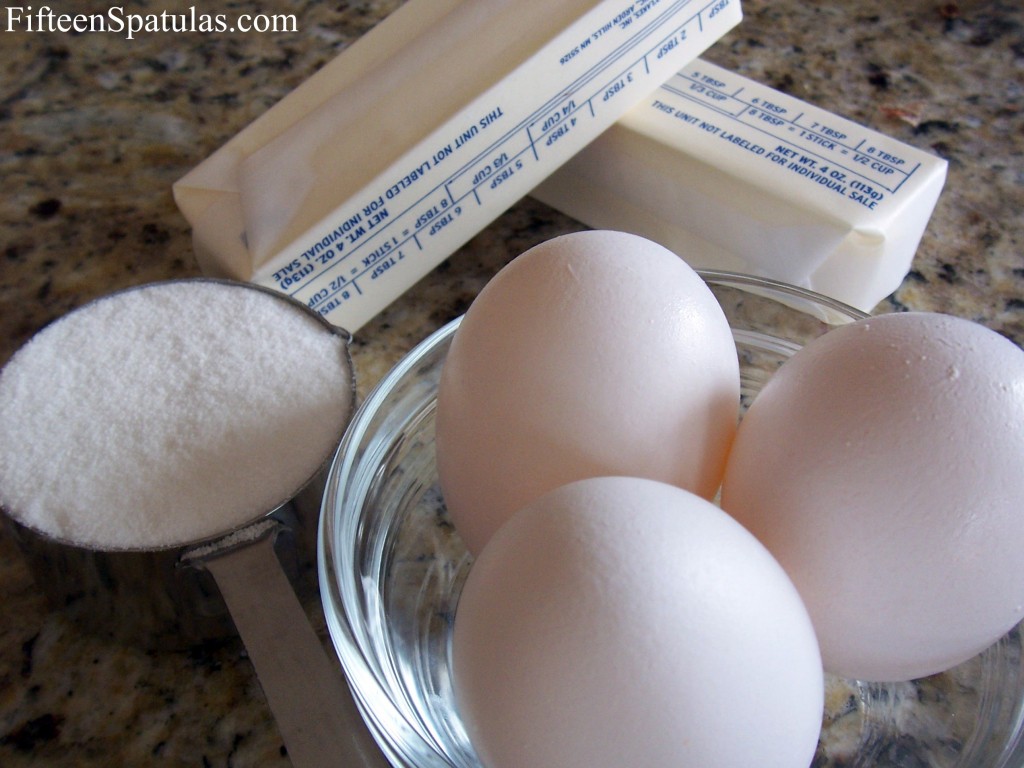
First of all, you want to start out with softened 65-70 degree F butter because if it’s colder than that, the butter won’t spread around the bowl easily, and if it’s warmer than that, the emulsion of water and butterfat will break, and there’s no getting it back. Your butter will be a greasy, melty mess.
Start your creaming by first allowing the mixer to spread the butter around the bowl for a minute on low, before adding the sugar.
Add the sugar in slowly while the machine is running to allow the abrasiveness of the sugar to create millions of tiny holes in the butter. This is the main goal of creaming, creating air. Chemical leaveners like baking soda do not create bubbles, they only provide the gases to fill those holes up with air. These sugar holes are going to give you the light, fluffy texture you want in the end.
A common mistake that people make is undercreaming (but don’t mix it to death because you can overcream too). You want to stop mixing when you can no longer see the sugar granules, but when you rub some of the sugar butter in between two fingers, you can still feel them. It should look smooth, and if it ever starts to look like cottage cheesy curdled milk, you’ve creamed too much.
After the sugar and butter are creamed, you usually add eggs. A lot of recipes say to add the eggs in one at a time, but if you beat the eggs together ahead of time, they will incorporate more easily into the mixture.
When the eggs are absorbed, you may add flavorings like vanilla or liqueur, but at the end comes the dry ingredients. They should always be sifted together ahead of time, and you should add your dry ingredients in slowly with the mixer on low.
Bits and pieces like chocolate chips or nuts should be mixed in at the end, and you should stop mixing right before the flour disappears and finish mixing by hand, so there is no chance of overmixing (overmixing=tough baked goods=an unhappy baker).
Those are the basics of creaming. Now when you make cookies, cakes, or muffins, you will understand the purpose of the things you’re doing. If you have any questions or comments, please post below! For more reading on creaming, Alton Brown’s baking book I’m Just Here For More Food has excellent explanations of all the baking methods.


7 Comments on “Understanding The Creaming Method”
So when you cream in the mixer I’m assuming you use the paddle attachment, not the wire whisk?
Hi Matt, that’s correct. Paddle attachment is best for creaming. Happy baking!
First ,I really have enjoyed this info – it’s great! I have two questions after reading the “creaming process”. Should the eggs be at room temp. or does it matter? Also on the butter temp. how do you normally determine the temp. ( with a candy thermometer or what?) Probably a silly question, but I would be interested in knowing. Thanks!
Hi Lynne, regarding the room temp eggs, the seriousness of using them I think depends on each recipe, meaning that I usually don’t bother most of the time because I have to remember to take the eggs out in advance. Basically, if the eggs are at room temperature, they will incorporate into the batter more easily than cold eggs. So if there is a case where you want to mix something as little as possible because of gluten development, it might be beneficial to use room temp eggs, but honestly most of the time I don’t think it matters a whole lot. Also for the butter, I do use an instant read thermometer sometimes, but only if I think it’s super important (otherwise, I can just touch the butter and can tell it’s slightly softened, but not melty at all). Hope all this helps!
Always good to learn something new and understand why we do what we do!
Very informative. You’re a cook after my own heart–I’m out here to teach the whys behind the hows and whats of baking. Nice to meet a kindred spirit! 🙂
Very helpful, thank you!