Whole Wheat Hamburger Buns
These Homemade Whole Wheat Buns are perfect for Burgers, Slow Cooker Pulled Pork, Smoked Pork Butt and more. Whole wheat flour is balanced with all-purpose, for an amazing bun that’s soft and not too dense, but with the richness of whole wheat flavor.
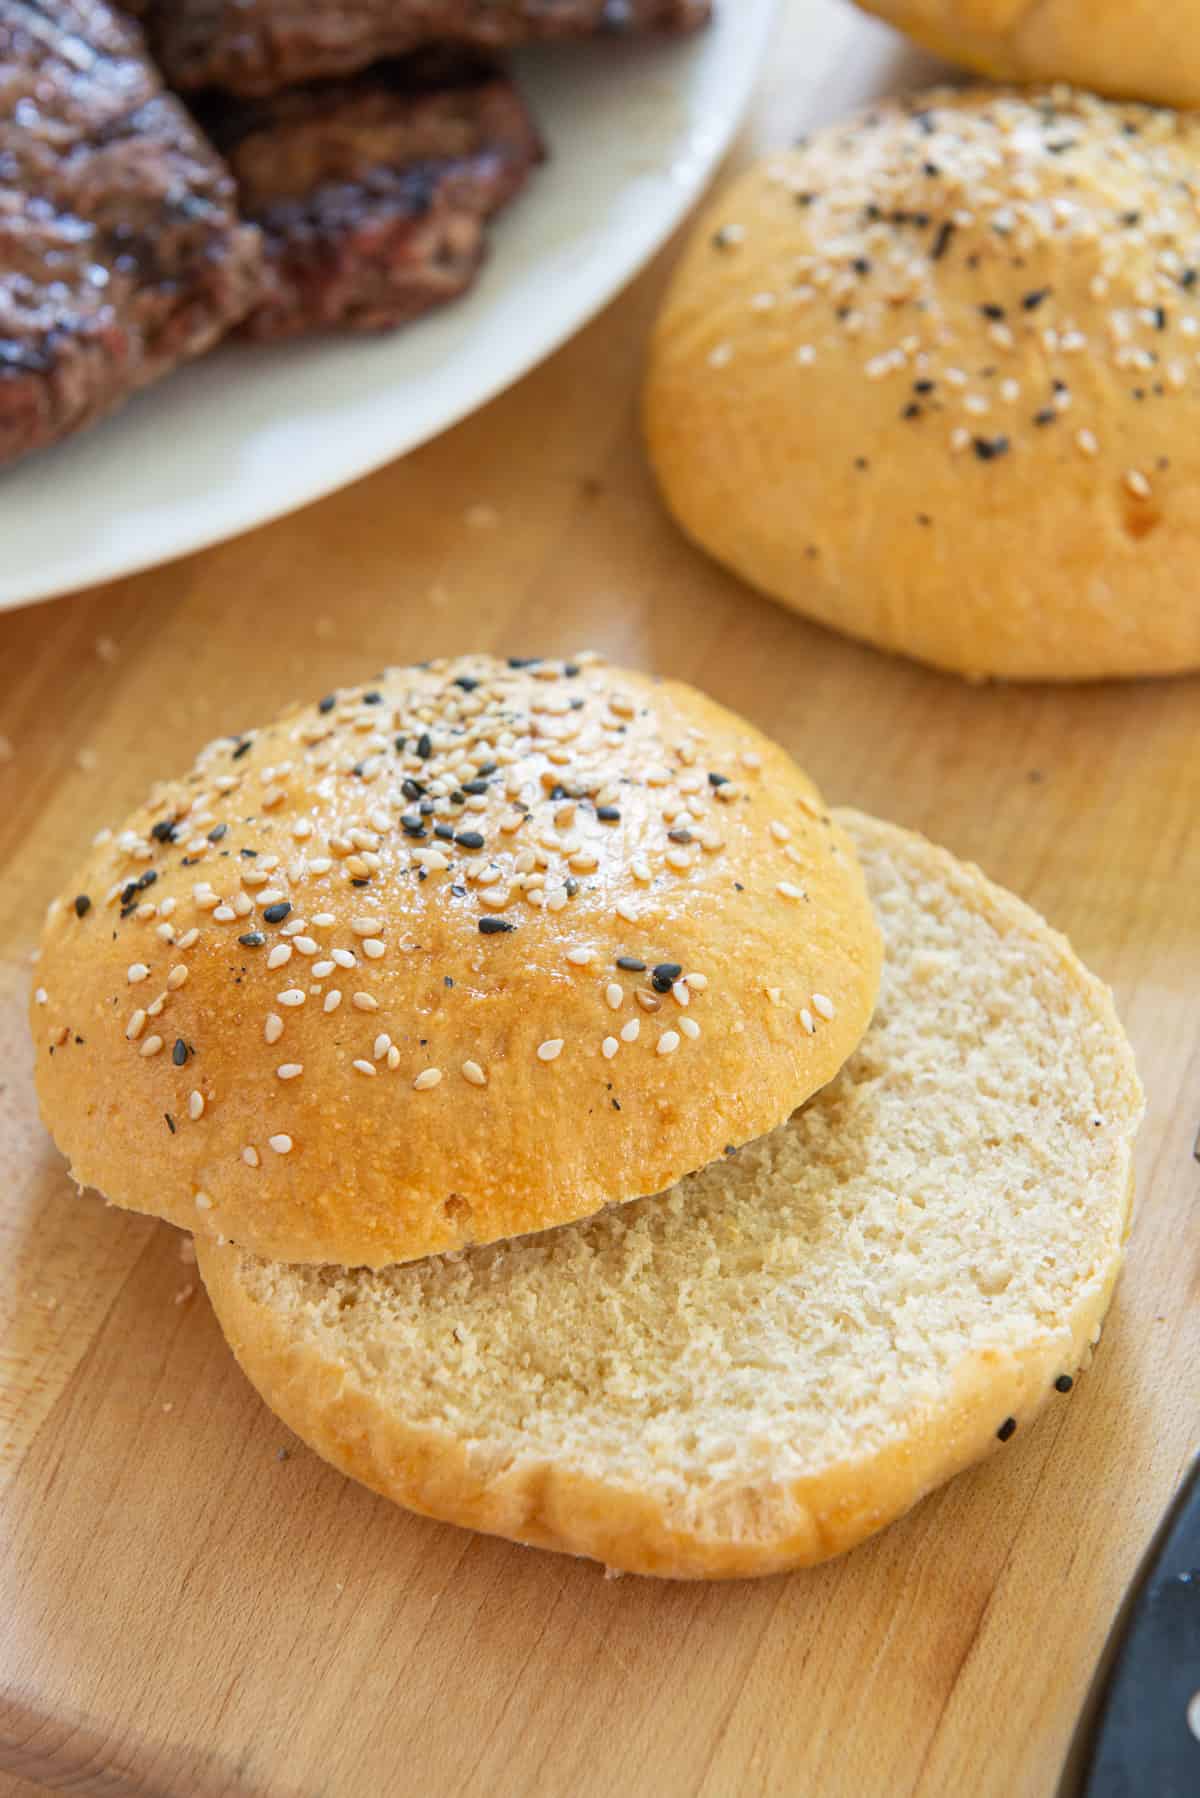
While it’s true that storebought buns are convenient, I can never find any that I actually like. Homemade is the way to go.
Burger buns at the grocery store are usually full of dough conditioners, preservatives, corn syrup, and other things that I prefer not to have in my food. And they don’t taste very good either.
Fortunately, it’s really easy to make your own!
Why I Love This Recipe
Good flavor – Because we’re using good ingredients and making this from scratch, there’s a very clean flavor here. You can taste the whole wheat and a touch of sweetness from the honey. Kind of like how bad bread can ruin a sandwich, a bad bun can really ruin your hamburger, but we’ve got good flavor here.
Sturdy – These are a nice balance between sturdy and soft. They’re not as light as Brioche, but they’re still plenty soft and not overly dense. They really hold the meat in place.
Doesn’t take too long – Like any bread that requires time to rise, this isn’t quick, but it’s relatively quick for bread. The first rise only takes an hour, and the second rise between 30 and 45 minutes.
Freezer friendly – This recipe makes 12 buns, and what you don’t want to eat now, you can cut in half and stick in the freezer for later. Just put them in the toaster for a few minutes and they’re ready to eat again!
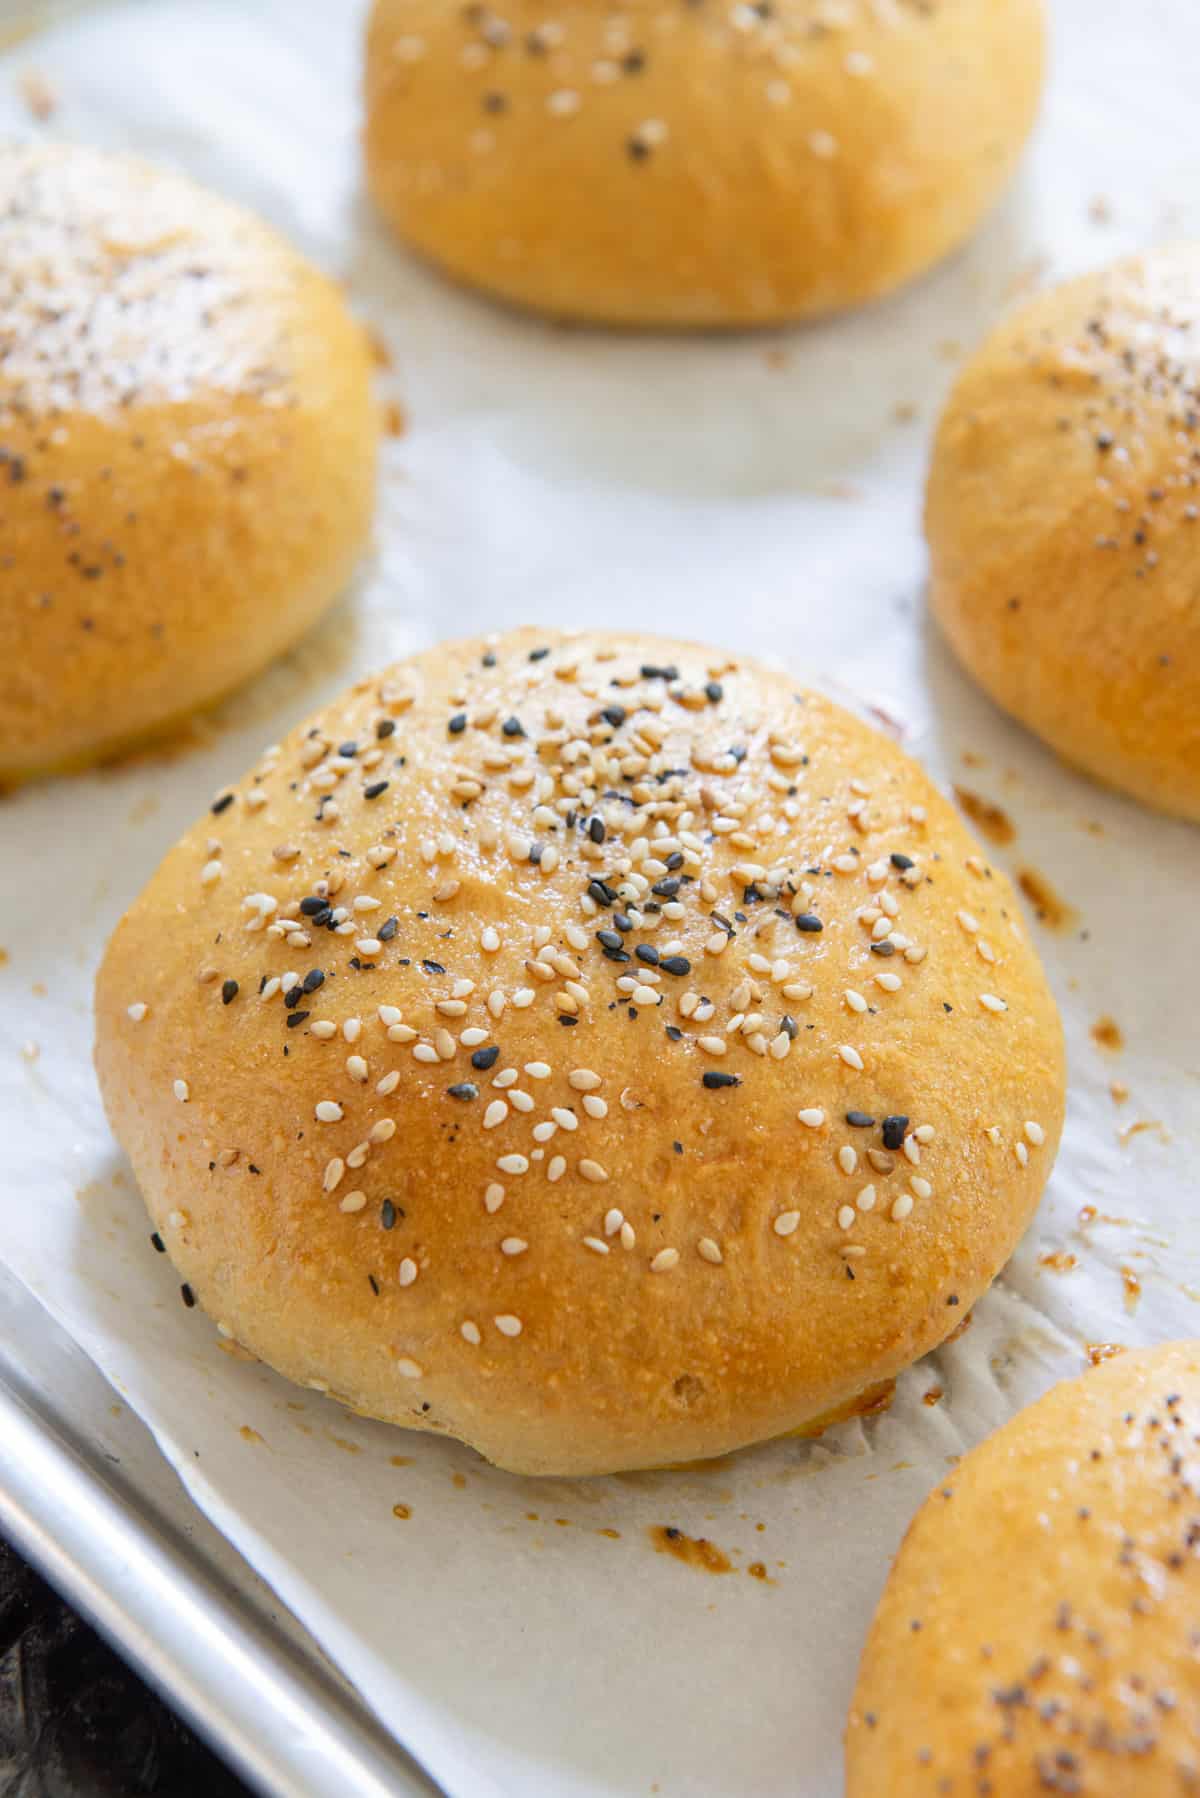
Step by Step Overview:
As an overview, we will combine the wet ingredients, add them to the flours and yeast, knead it all together, then let the dough rise. Then we’ll portion it into 12 pieces and roll them into balls, do a second rise, and bake!
Combine the Wet Ingredients
In a small saucepan, combine milk, water, butter, honey, and salt:
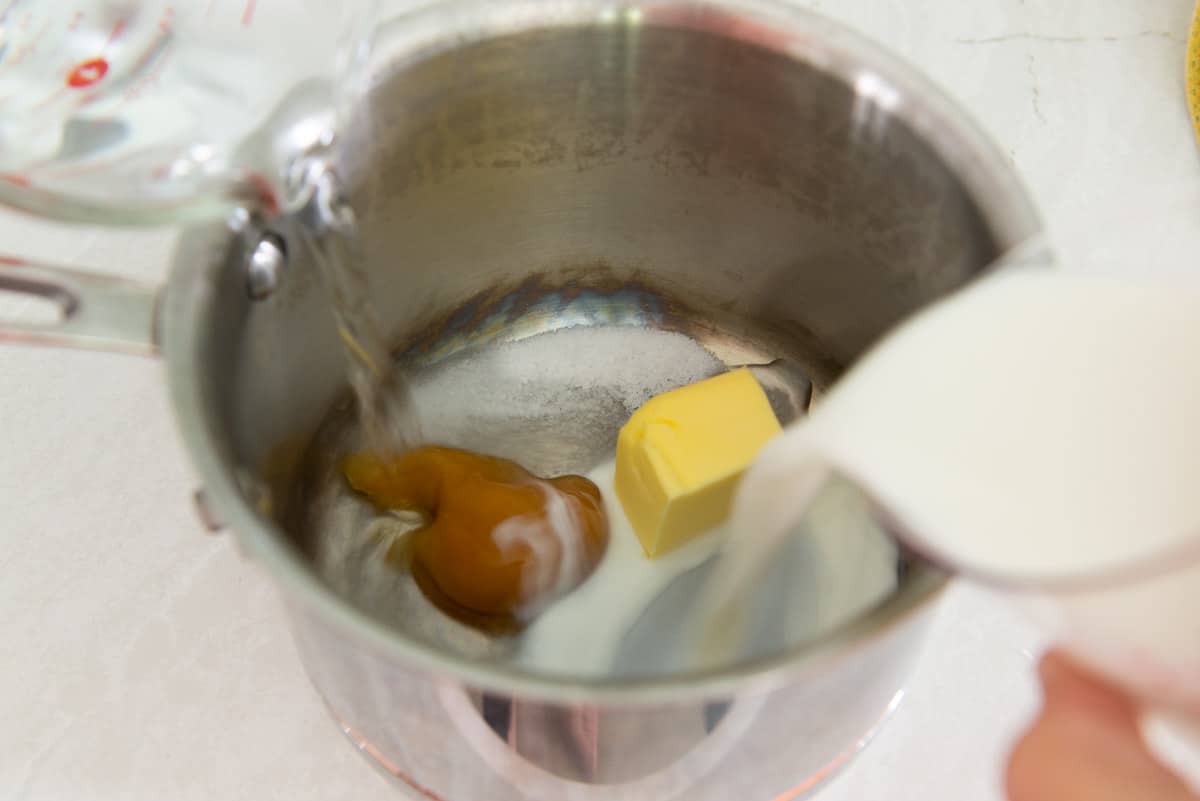
Place this on the stove and heat it just enough so that the butter and honey melt and everything combines.
You don’t want to bring it to a boil, and it doesn’t need to in order to combine.
Remove the pot from the heat, and let the melted butter milk mixture cool down at room temperature to 110F, which will take about 10 minutes.
Combine the Dry Ingredients
In the bowl of a stand mixer, combine all-purpose flour, whole wheat flour, and instant yeast (aka rapid rise yeast).
Note: I recommend using a regular whole wheat flour here (sometimes labeled ‘all-purpose whole wheat flour’), and not a whole wheat pastry flour (which is made from soft wheat). White whole wheat flour is fine to use for this recipe, as it’s also made from hard wheat.
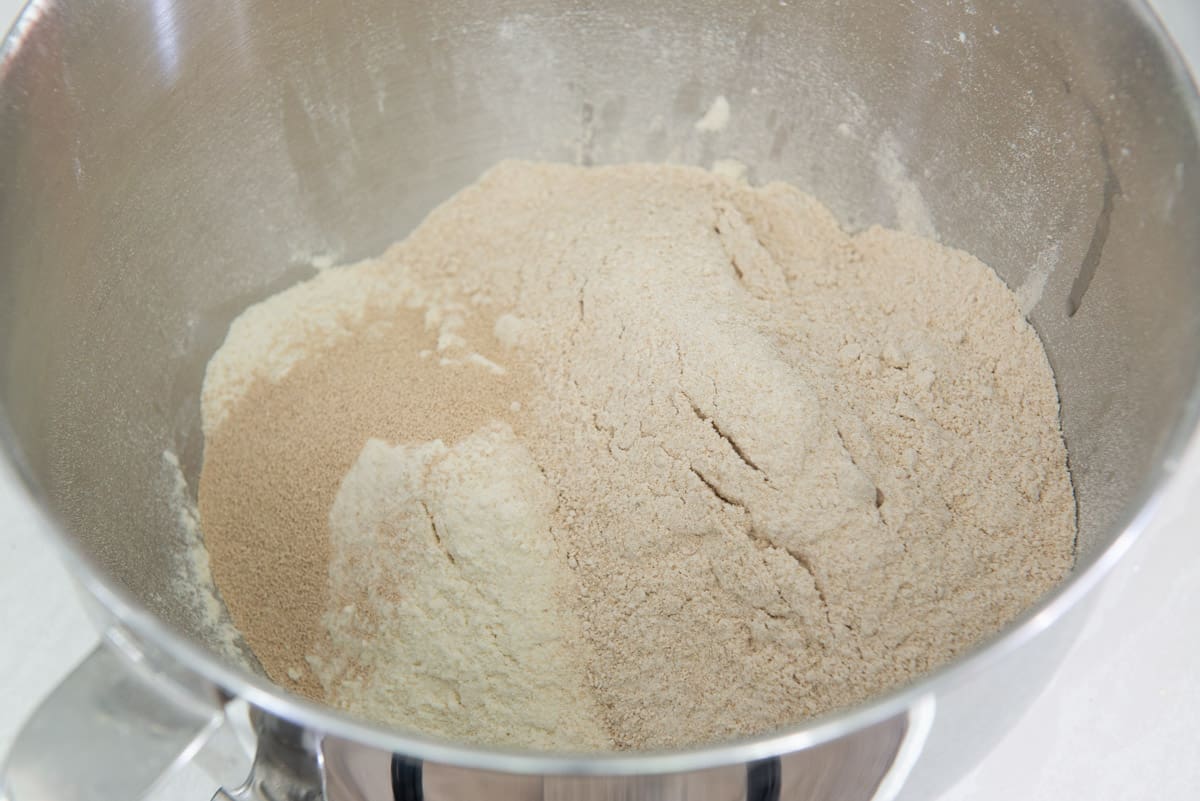
Whisk that together to distribute everything evenly.
Add the Wet to the Dry
Pour the lukewarm liquid in with the dry ingredients:
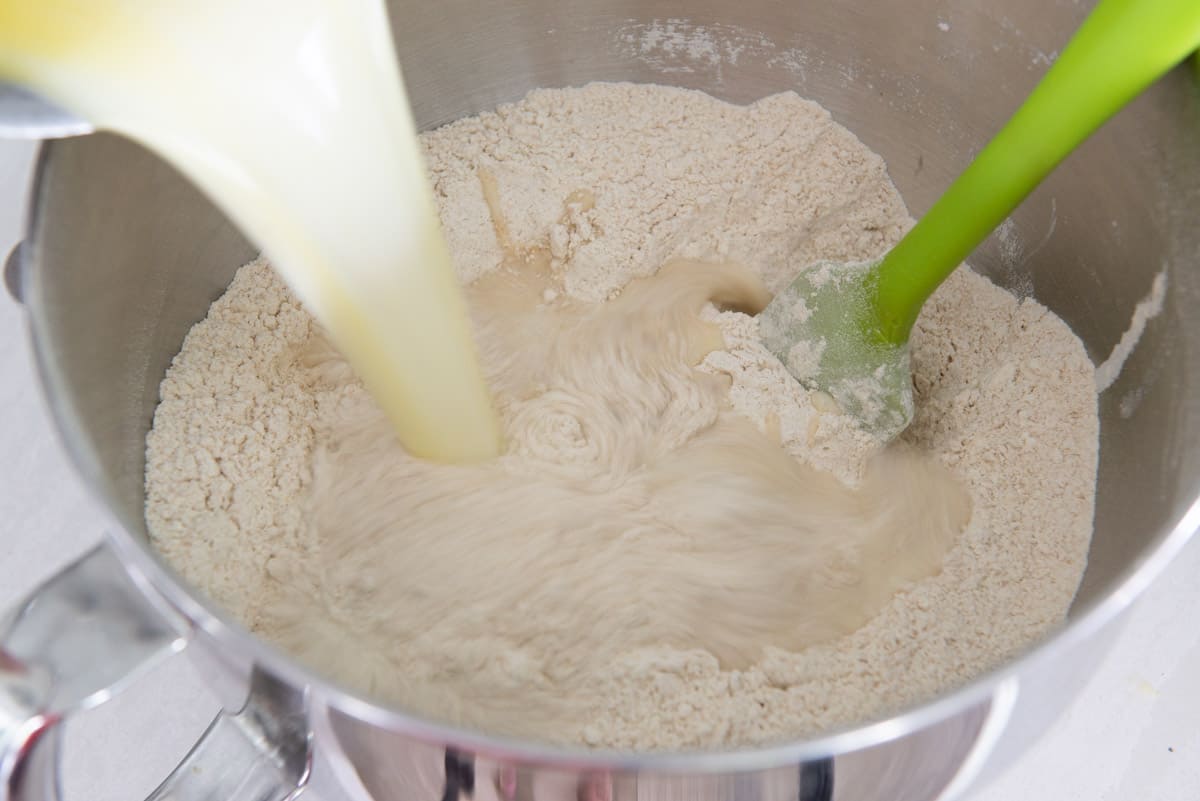
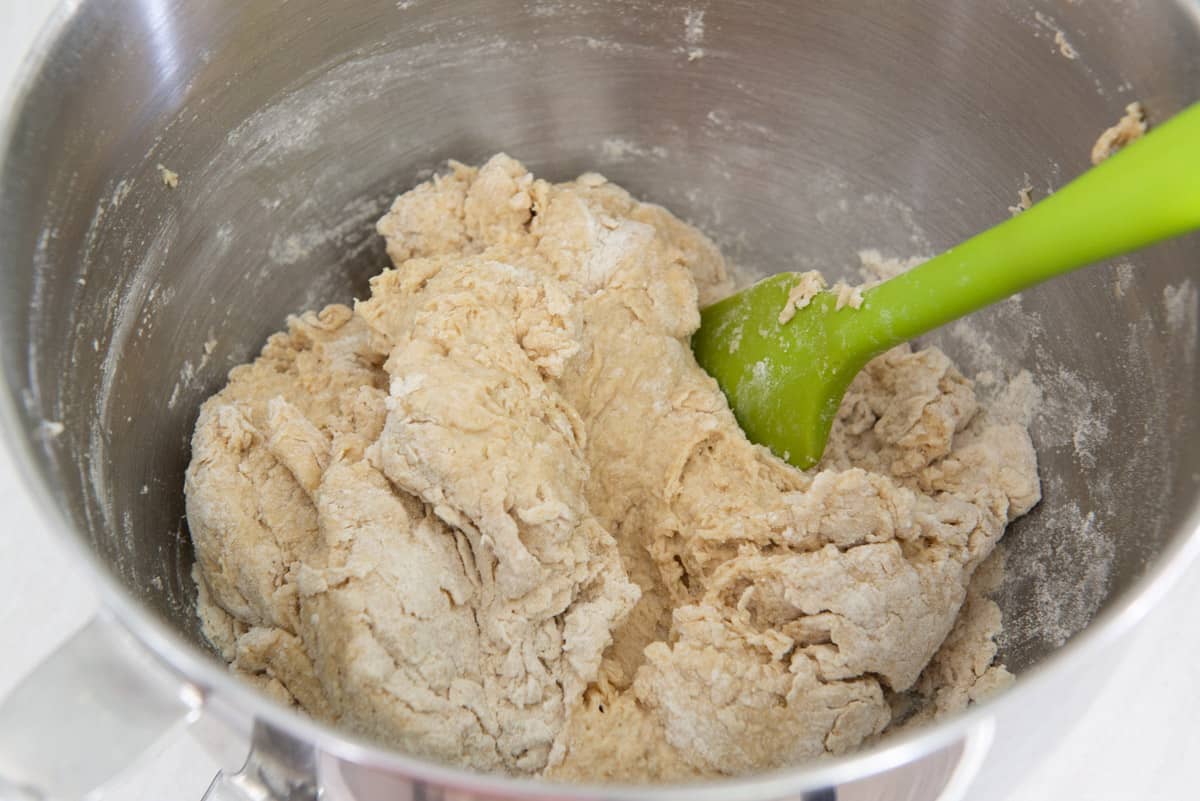
Using a spatula, mix this all together until it forms a rough, shaggy dough:
Knead The Dough to Build Strength
Get the bowl onto the stand mixer and fit the machine with the dough hook. Knead on low speed for about 10 minutes, until relatively smooth:
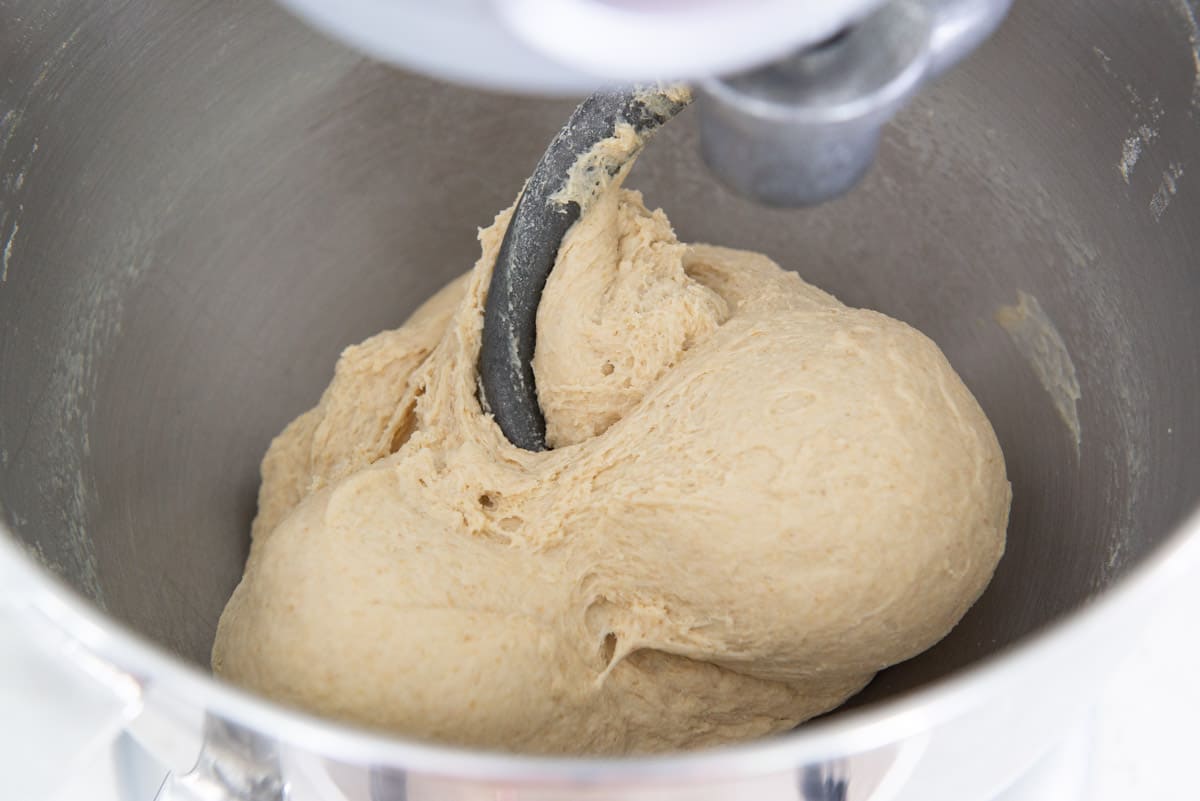
If you don’t have a stand mixer, you can do this by hand for about 10 minutes, but just know that the dough is relatively sticky. Adding more flour will make the buns denser, so try not to add any more.
Prepare for the First Rise
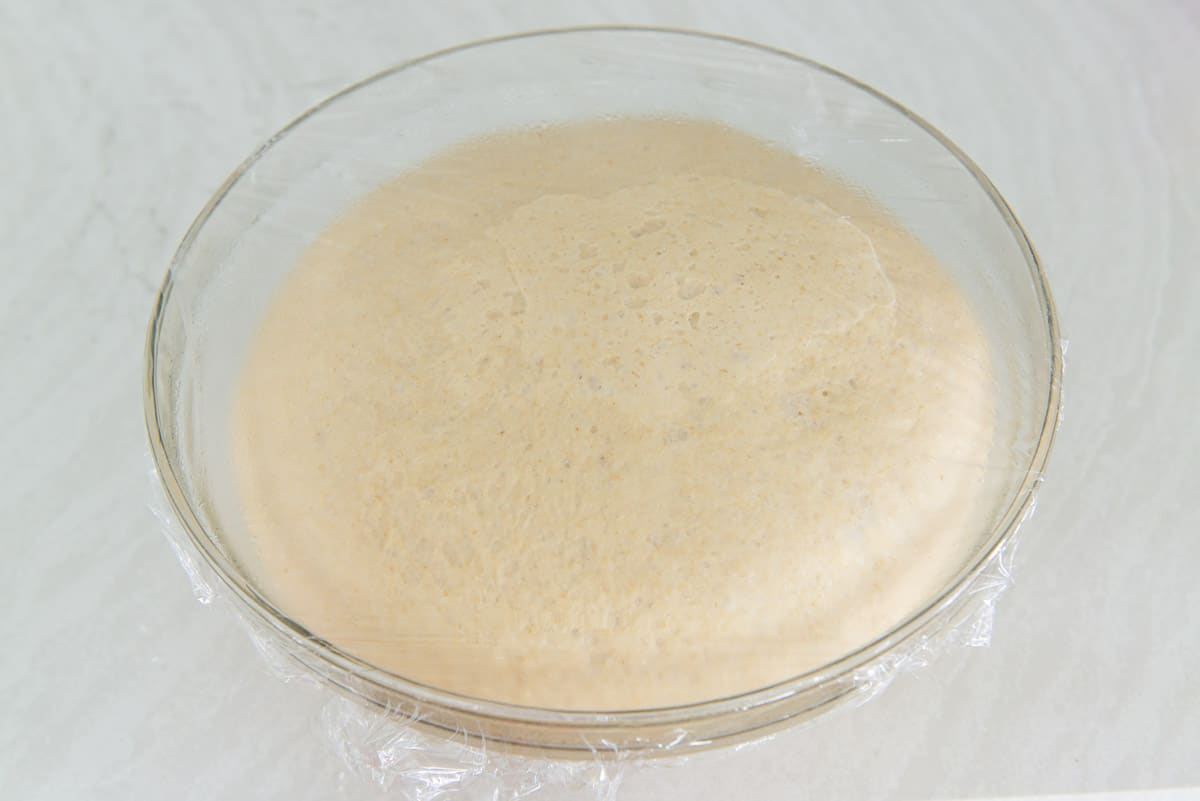
Shape the dough into a smooth ball, then gently place the dough ball into an oiled bowl.
Cover the bowl tightly with plastic wrap, so the dough does not dry out.
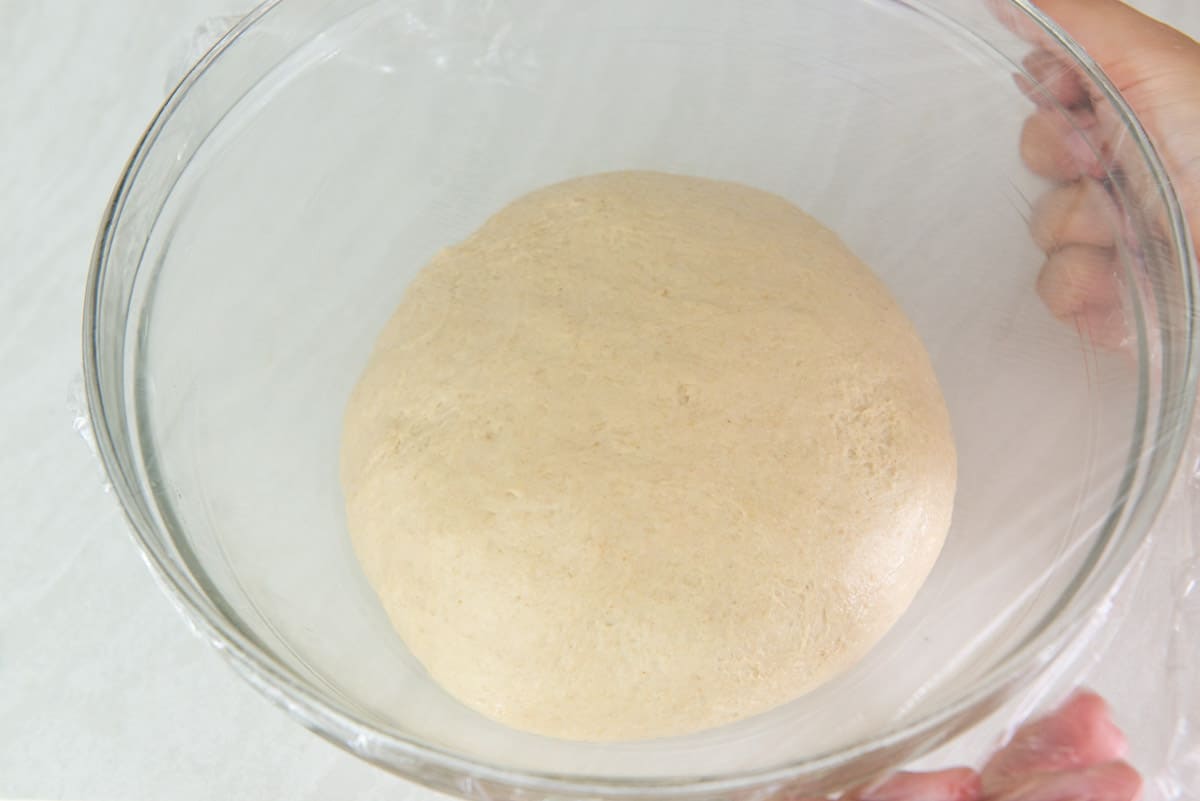
Let the dough rise in a warm place until it doubles in size, which should take about an hour:
Divide and shape the dough
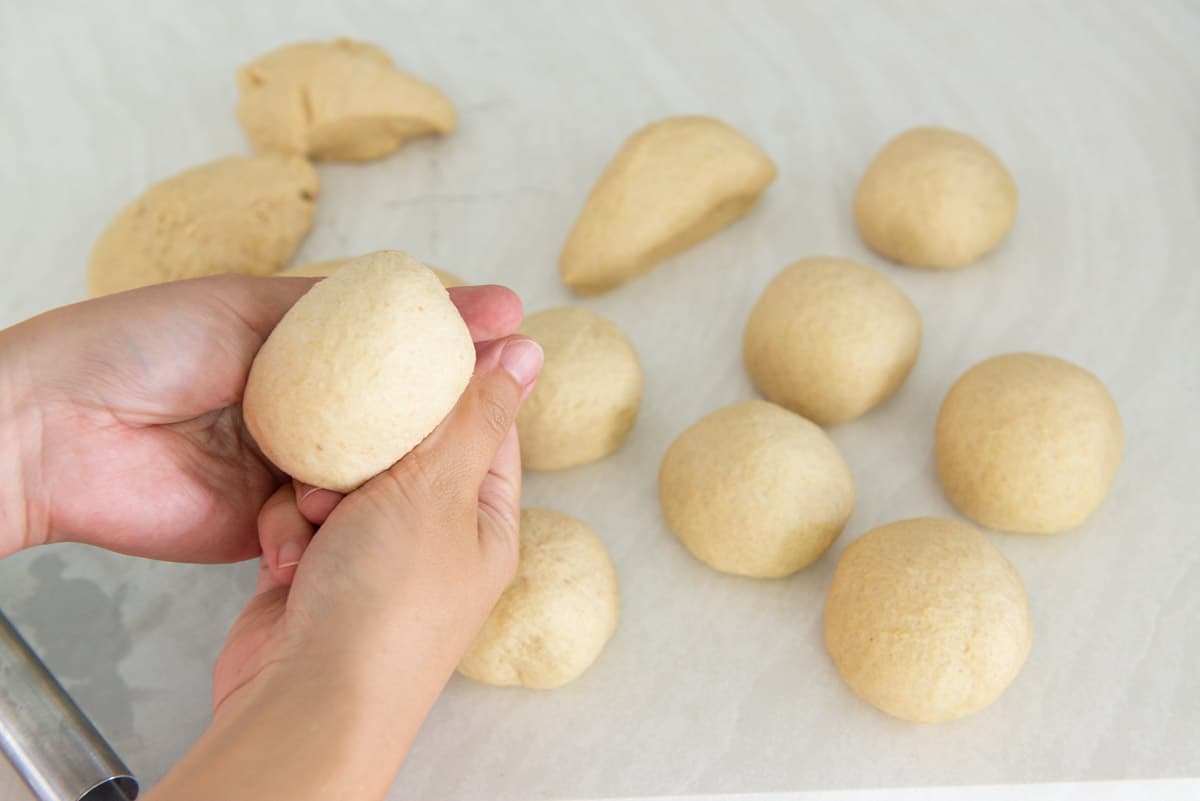
Divide the dough into 12 equal portions. I just do this by eye, but you may also use a kitchen scale to ensure equal pieces by weight.
Then shape each piece of dough into a ball. I do this by pulling the top down and underneath the ball, like this:
Flatten the dough
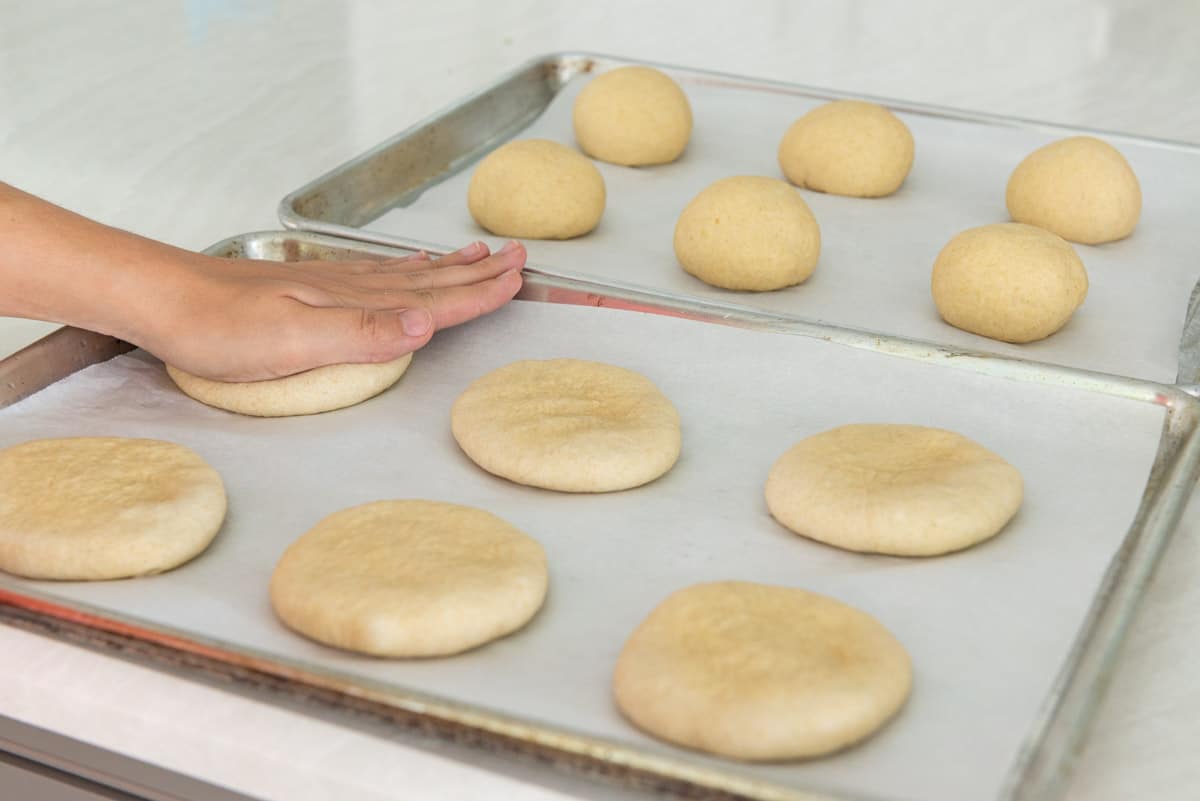
Place the dough balls onto two trays lined with parchment paper, then flatten each piece with the palm of your hand, pushing down on the baking tray, until about one inch tall.
Do the Second Rise
Cover the dough again and let the dough rise for 30 to 45 minutes, until nearly doubled in size again.
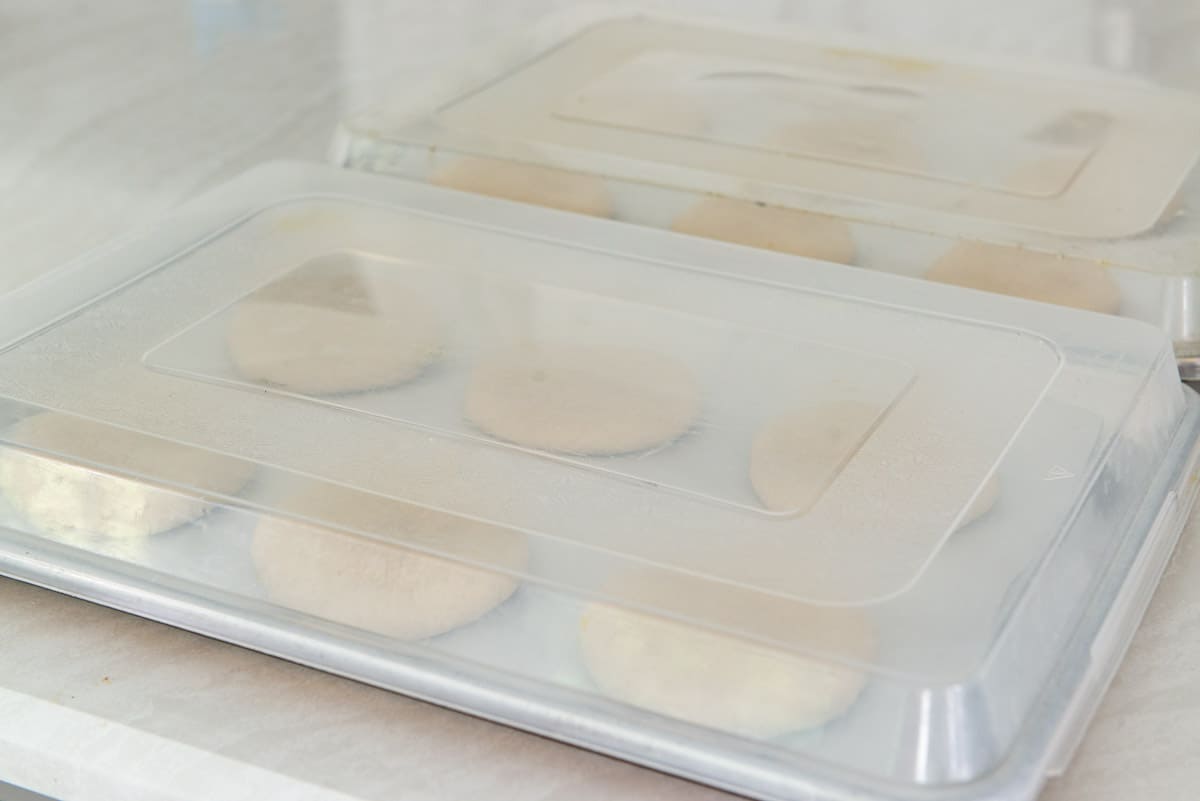
I personally love my baking sheet lids (affiliate) for this job, since you have an airtight seal to prevent the dough from drying out and the lids don’t touch the dough.
Egg Wash the Tops
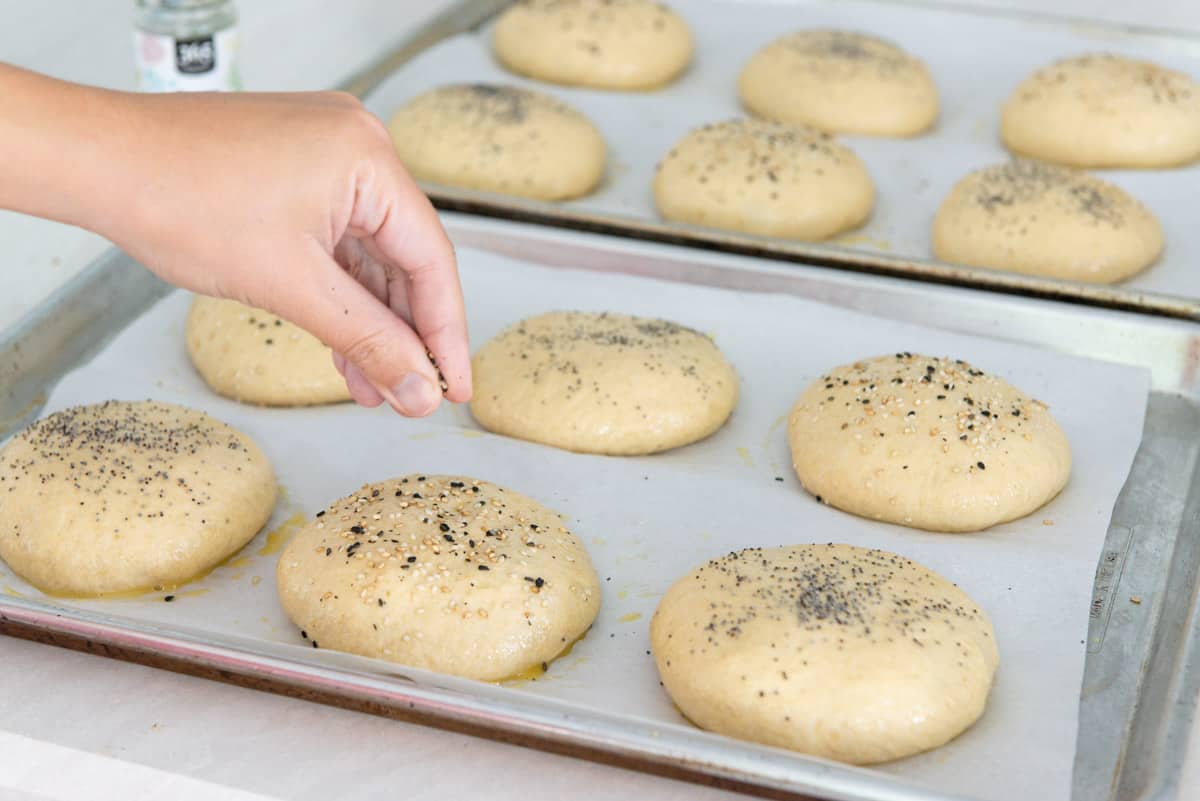
Brush the risen pieces of dough with egg wash:

This will give the homemade burger buns a gorgeous golden color, but it also allows you to dress up the tops of the buns if you’d like.
I like to sprinkle on sesame seeds, poppy seeds, wheat germ, and sometimes Everything Bagel Seasoning.
Bake!
Bake the buns for about 15 minutes, until they are golden and puffed.
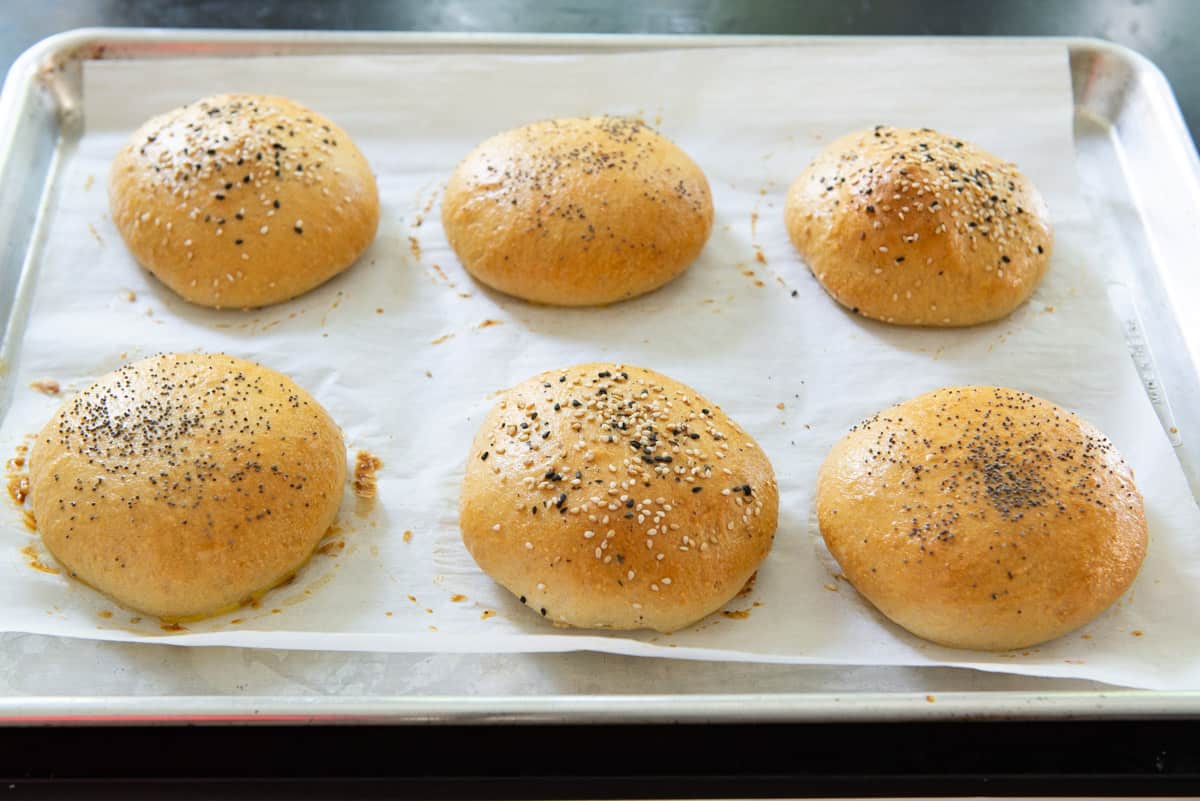
If you have a thermometer, you can check that they are at least 200F inside.
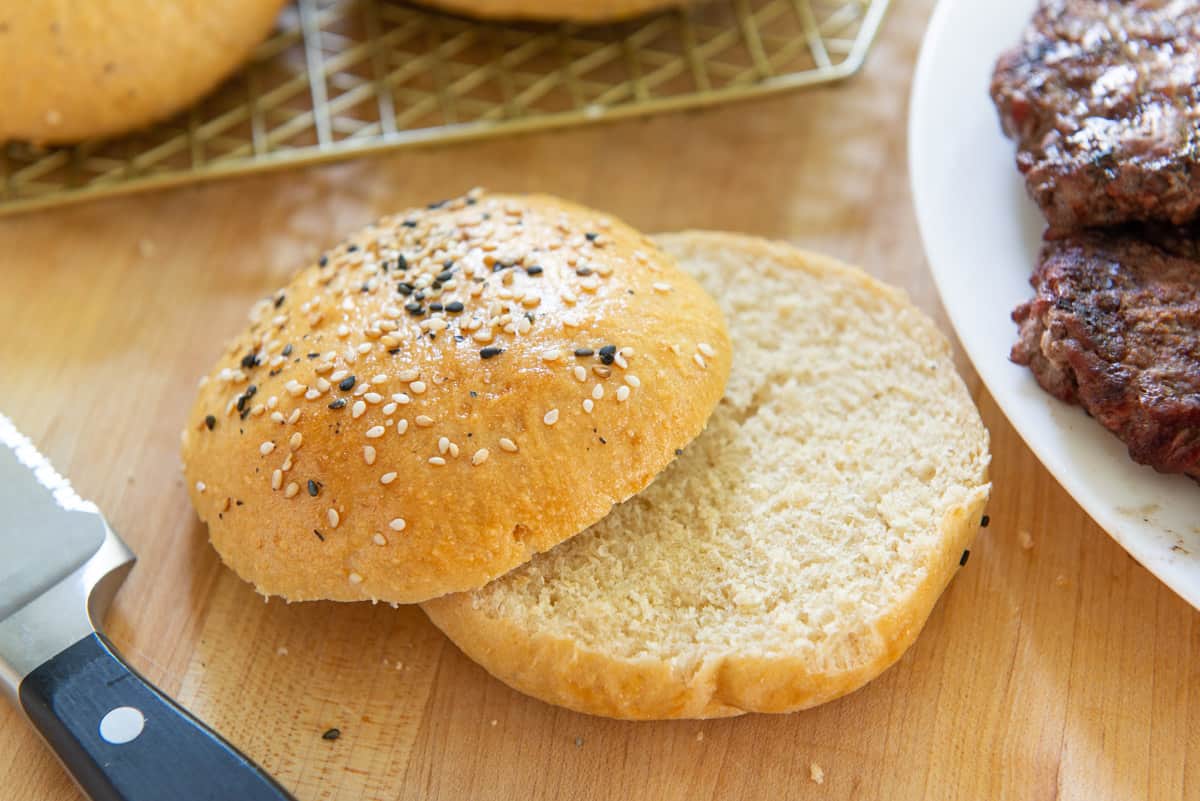
Let the buns cool before slicing and enjoying. They’re now ready to be filled for your favorite burgers!
FAQ and Tips
After baking, let them cool completely, then store in an airtight container in the freezer for up to 2 months. Before freezing, I recommend cutting them in half. That way you can put the frozen slices directly into the toaster and reheat them.
The reason why most recipes don’t do this is because using only whole wheat flour won’t give you enough strength for the dough. Things like Whole Wheat Pancakes or these Whole Wheat Oatmeal Cookies you are able to use 100% whole wheat flour because you don’t need to build the gluten and strength, but here we need that strength. You can try Whole Wheat Pretzels for a 100% whole wheat recipe.
Technically yes, though it may be difficult for the stand mixer to knead a double batch of the whole wheat dough. You may need to divide the dough for that stage, but otherwise yes, you can double it just fine.
After you’ve done the second rise, you can hold the buns in the fridge for a day before baking fresh. However, since the fully baked buns freeze pretty well, I like to bake everything completely and save some for later.
Did you enjoy the recipe? Please leave a 5-star rating in the recipe card below and/or a review in the comments section further down the page. Or, follow me on Facebook, Instagram or Pinterest!
Whole Wheat Hamburger Buns
Ingredients
- 1 cup milk (whole recommended)
- 1 cup water
- 2 tbsp butter (unsalted or salted)
- 1 tbsp honey
- 1.5 tsp kosher salt
- 15 oz all-purpose flour, by weight (3 cups, measured)
- 10 oz whole wheat flour, by weight (2 cups, measured)
- 2.25 tsp instant yeast (one envelope)
- 1 tbsp olive oil for greasing the bowl
- 1 large egg
- everything bagel seasoning optional for topping (or sesame seeds, poppy seeds, etc)
Instructions
- In a small saucepan, combine the milk, water, butter, honey, and salt over medium to medium high heat. Cook until the butter and honey melt, making sure you do not bring the mixture to a boil, which is unnecessary for melting the ingredients. Remove the pan from the heat, and let stand for about 10 minutes, until it’s 110F. Ideally use a thermometer to check, but if you don't have one, you want to wait until the liquid feels lukewarm.
- In the bowl of a stand mixer, whisk the flours and yeast together to combine. Pour the lukewarm wet ingredients into the flour, and stir roughly with a spatula until the dough starts to come together.
- Fit the bowl onto the stand mixer with the dough hook, and knead on low speed for 10 minutes, until relatively smooth. If you don't have a stand mixer, you may knead by hand, but know that it will be sticky. Do not add more flour, as this will make the buns dense.
- Grease a large bowl with the olive oil using your fingers, then shape the dough into a ball and place it inside. Toss the dough to coat in the oil. Cover with plastic wrap and let stand until it doubles in size, about 1 hour.
- Divide the dough into 12 portions. Shape each one into a ball by pulling the dough underneath itself and gathering on the bottom (see blog post for photo). Split the balls between two half sheet pans lined with parchment paper (6 on each), and flatten each ball with the palm of your hand until it’s about 3 or 4 inches wide and one inch tall. Cover the trays, then let the dough rise until doubled in size, around 30 to 45 minutes.
- Preheat the oven to 400F.
- Beat the egg in a small bowl, then brush the tops of the buns with the egg wash. Sprinkle the tops with everything bagel seasoning, sesame seeds, or poppy seeds. Or, you may leave them plain.
- Bake for 15 minutes until they are golden brown in color and read 200F with an instant read thermometer. Let cool completely before slicing and serving. Enjoy!
Notes
Nutrition
Nutrition is estimated using a food database and is only intended to be used as a guideline for informational purposes.
Post updated with new photos, writing, and more tips and instructions in August 2021. Originally published in May 2011.

38 Comments on “Whole Wheat Hamburger Buns”
This is a wonderful recipe. It’s one of the best I have tried. I don’t think I’ll ever buy another store bought hamburger bun again. Thanks for all your hard work in making such a great recipe to share.
Im so glad to hear that! Thank you!
I made these whole wheat hamburger buns tonight. Rather easy even for me, a novice baker. The buns are delicious, very tasty with the seeds on top, and fluffy just like you said. I know they’ll freeze well because that is what I do with store bought ones.
I did forget to flatten them before the second rise. I did it before the egg wash and seeds and it worked just as well, I think.
Thanks for a great recipe! These turned out amazing! I was nervous after the rise…they were so sticky. I let them sit for a few minutes, then coated my hands with flour & sprinkled some on the dough…and all was fine! I used an artisan flour and red fife from Janies Mill!
The freshly baked buns were great: slightly chewy, nice tooth, good size. The sliced, frozen, & thawed buns were “bad”. Even after toasting, they simply broke, aided & abetted by the slightly hardened egg-washed top. I wondered if microwaving instead of toasting would yield a softer bun. Or perhaps adding some oil to the sponge, which would aid softening from frozen. Thoughts?
I usually don’t review much of anything but I felt compelled to do so. I made these buns today. I didn’t have whole milk simply because we switched to 2% for health reasons so I used low-fat buttermilk I had so much that needed used up and I was so skeptical that it would work. And I didn’t have instant yeast so used active dry yeast. Oh my goodness these are fabulous they turned out just beautiful and tasty. This recipe is bookmarked for sure. They’re soft just like a bun should be. They have nice structure not falling apart. Thank you for sharing your recipe.
Me again, I’m making the buns now. I’m just curious, can I add vital wheat gluten to fluff the whole week just a bit? Have you experimented with that and whole wheat. I only use whole wheat in general. Works excellent with breads.
Hi Kris, I have never used that ingredient so unfortunately I can’t share my experience!
Haven’t even made them yet, but I must say this is the best recipe site I’ve seen I look at recipes all the time I can’t stand the chitchat. Your information is so perfectly worded and just enough and not too little. Thank you! Can’t figure out how to make this a permanent feed on my iPad I’m working on it. You’re the best so far. YouTube Chanel?
Hi Joanne!
I have a couple of questions…
First, is there any reason this can’t be done in a bread machine set to the dough cycle and then form the buns, and wait for the last rise?
Second, Could you add more whole white wheat flour and then a few tablespoons of Gluten to make these with a greater percentage of whole grain in the rolls? If so, any idea at all of how much more liquid would be needed if I added like another cup of white whole wheat and then reduced the white flour by the same amount? I think I remember from years ago that King Arthurs said the more whole wheat you use, the more liquid that’s needed. I just don’t remember.
I can’t wait to try these! I have used a recipe from food.com that was also really good, but these look better!
Hi Dave, I have never used a bread machine, so cannot comment on that. But, it sounds to me like you know what you’re doing. I would go for it! I also don’t have experience compensating with extra gluten. It’s so tricky because you can’t really tell until you’ve tried it. But if you do, please share here.
Can’t wait to make these. Can I substitute almond milk?
Yes, that would work fine!