Garlic Knots
These are the fluffiest, most buttery garlic knots! Cooks of any level can make these easy garlic butter-brushed knots of carbalicious heaven, all from scratch.
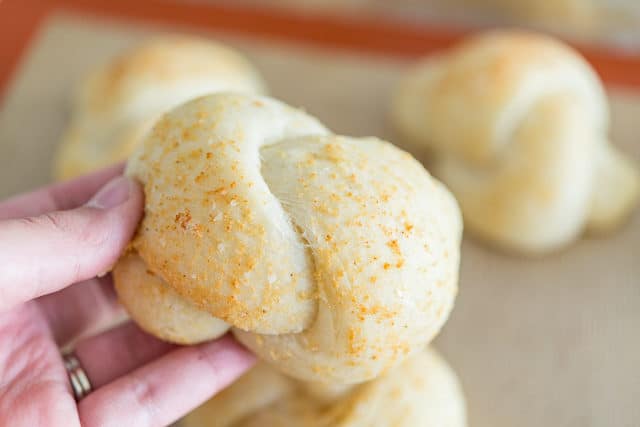
The first time I ever tried a garlic knot was at a pizzeria in NYC’s Upper West Side, and I instantly fell in love.
It all started as a way to use up leftover scraps of pizza dough, but they bake up so differently depending on what you do with it.
You can take the same homemade pizza dough, and either have a relatively flat thin-crust pizza, or a big, fluffy bundle of dough, all determined by how you prepare it.
The garlic knot recipe I’m sharing is a variation on a general pizza crust, with an extra fluffy and doughy texture, which you can see here:
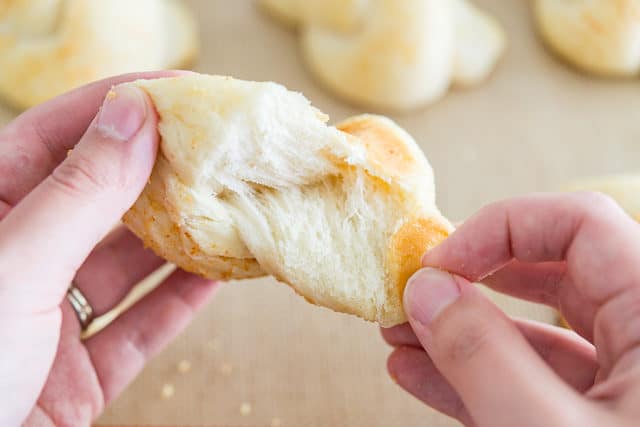
As you can tell from the picture, the interior is quite soft and pulls so beautifully.
The dough here is brushed with a simple pizzeria-style garlic powder butter, but you can also make a fresh garlic butter if you prefer.
I’ve posted garlic knots before, and did a fresh garlic parsley butter for those. The two taste very different and I wouldn’t say one is necessarily better than the other. It just depends on your mood!
Step by Step Overview:
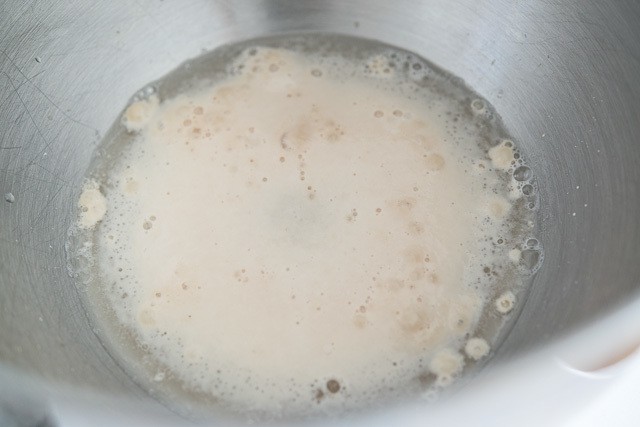
Start by combining quick rise yeast, warm water, and granulated sugar (optional) in the bowl of a stand mixer, and let it sit for 10 minutes, until foamy:
Add bread flour, kosher salt, and olive oil, and mix it up for a few seconds with the dough hook, to get it roughly combined:
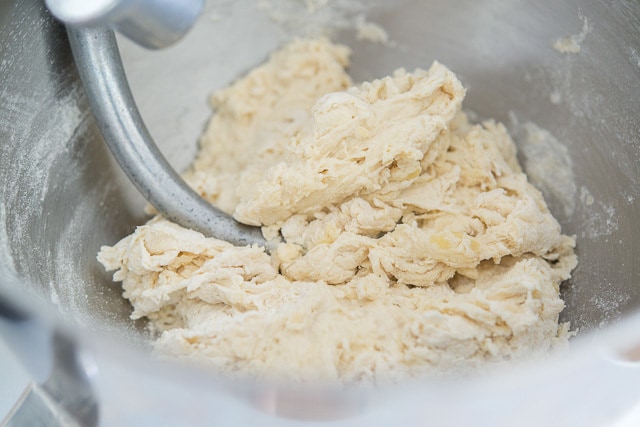
Knead the dough for 10 minutes on medium low speed until it forms a smooth ball. It will be a soft dough.
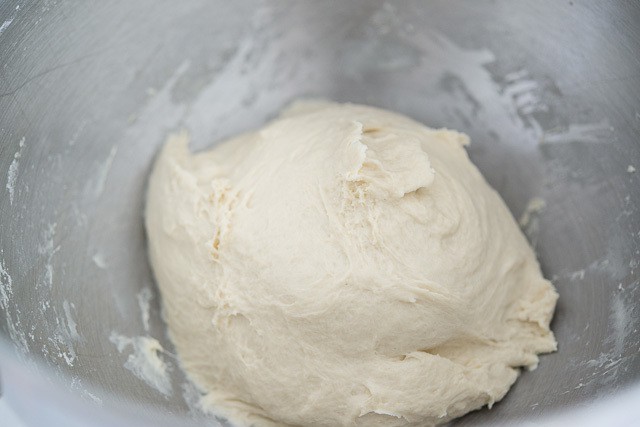
Cover the bowl with plastic wrap and let the dough rise for about an hour in a warm place, until the dough doubles in size:
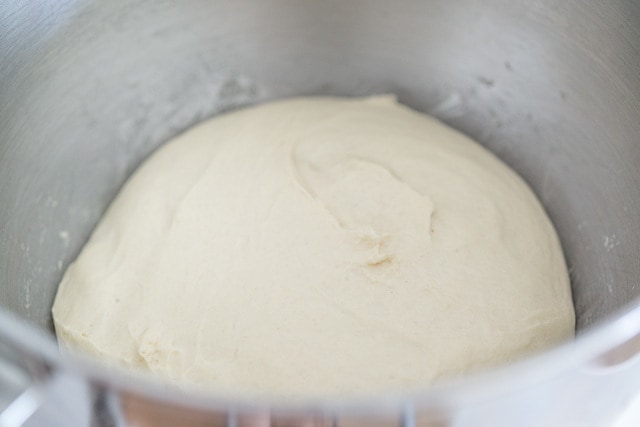
Cut the dough up into 16 equal pieces.
On a lightly floured surface, roll each piece into a 6-inch long rope shape, then tie each piece into a simple knot:
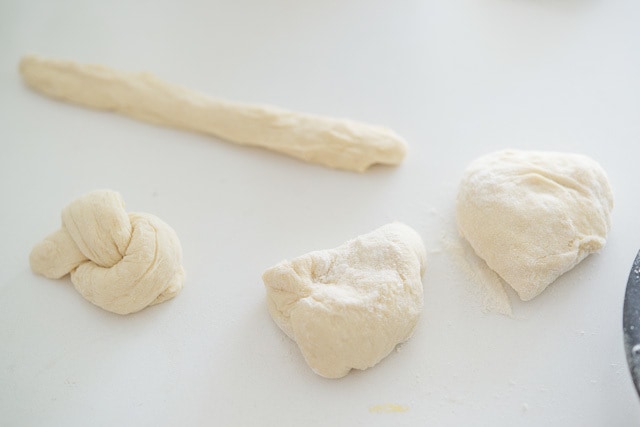
The knots don’t have to look perfect, and they will puff up more as they bake.
Divide the garlic knots between two silicone mat (affiliate) lined baking sheets, then let them do a second rise for an hour right on the sheet pan, until they puff up in size:
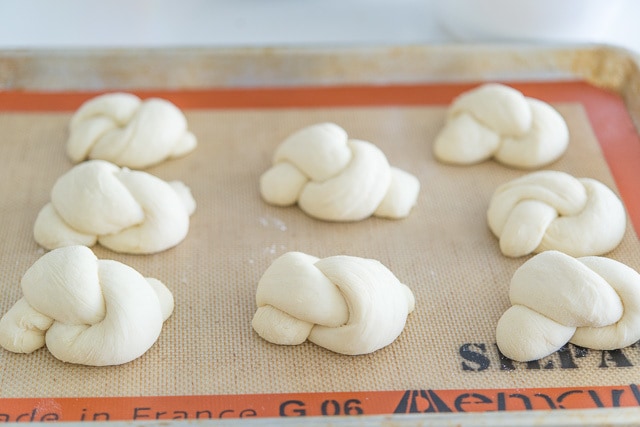
Note: if you don’t have silicone mats, you can make a prepared baking sheet with parchment paper instead. If you don’t have that either, grease the pan well with butter or cooking spray. But I don’t recommend baking on an uncoated pan, because the dough will stick.
Brush the knots with a garlic powder melted butter mixture.
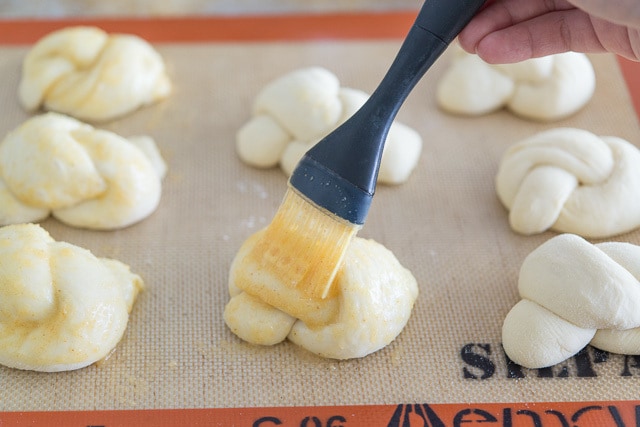
I simply microwave salted butter and garlic powder in a small bowl for about 30 seconds, but you may also combine them in a small saucepan on the stove over medium heat, until melted.
Then, into the oven they go!
When they come out, your delicious garlic knots should be lightly golden brown on top and very fluffy:
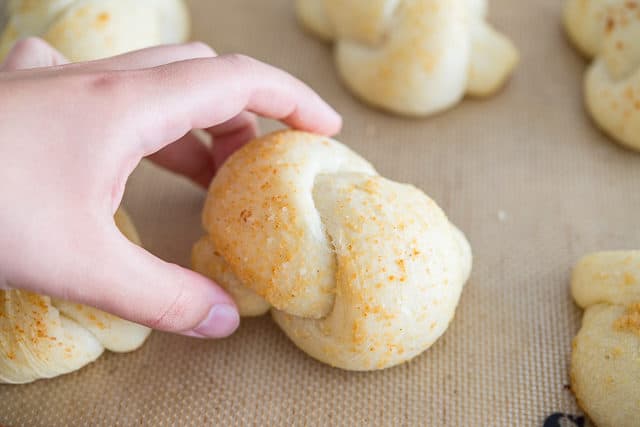
Buffalo Garlic Knots are a variation I’ve done that’s stuffed with blue cheese and basted with buffalo sauce, if you want to try some variations.
I also serve these with Chicken Wings and Blue Cheese Dip if I’m making food for a party.
There’s a full video below the recipe if you’d like more guidance. Enjoy!
Recipe FAQ and Tips
Yes! Combine the water, yeast, and sugar in a large bowl and let it sit for 10 minutes until foamy, then keep following the recipe and just knead by hand.
You may keep in an airtight container at room temperature for up to 1 day. Otherwise, they should be put in the fridge or the freezer. Store for up to 5 days in the fridge, or freeze for up to 3 months.
Recipe Variations
Garlic knot recipes in general take very well to variations. Sometimes I like to grate fresh parmesan cheese over the top before baking for extra flavor. Or you can sprinkle some Italian seasoning over the top.
You can also make Buffalo Garlic Knots for another fun recipe on pizza night. Or you can try the Parsley Butter Brushed Garlic Knots with fresh garlic. You may add any fresh herbs that you enjoy.
You can also change up the sauces for dipping. Marinara sauce is arguably the best, but a Nacho Cheese Sauce is also delicious.
Did you enjoy the recipe? Please leave a 5-star rating in the recipe card below and/or a review in the comments section further down the page. Or, follow me on Facebook, Instagram or Pinterest!
Garlic Knots
Ingredients
- 1 cup warm water (115 degrees F)
- 1 packet quick rise yeast (2.25 tsp)
- 1 tsp sugar optional
- 12.5 oz bread flour, by weight (2.5 cups, measured)
- 1 tbsp olive oil
- 3/4 tsp salt
- 4 tbsp salted butter
- 2 tsp garlic powder
Instructions
- In the bowl of a stand mixer, combine the water, yeast, and sugar, if using, in a bowl. Let the mixture stand for 10 minutes, until it gets foamy (this means the yeast is active and ready to go).
- Add the bread flour, olive oil, and salt, and mix briefly with the dough hook to roughly combine, then fit the stand mixer with the dough hook and knead the dough for 10 minutes on medium low speed, until the dough is smooth and elastic.
- Shape the dough into a ball, then cover the bowl tightly with plastic wrap. Let the dough rise until it has doubled in size, which should take about 60 minutes in a warm kitchen.
- Lightly flour a board, shape the dough into a ball or rectangle, and divide the dough into 16 pieces.
- Roll each piece into a long rope about 5-6 inches long, then tie it into a knot. If the dough is hard to tie because it’s sticky, roll the cut part in a little bit of flour to make it easier.
- Once you have tied up all the dough, split the 16 knots between two baking sheets lined with parchment paper or a silicone mat. Cover well with plastic wrap, a towel, or a lid (this baking sheet with a lid is one of my favorite kitchen things I’ve ever bought). Let the dough rise for about an hour, until doubled in size and puffy.
- Preheat the oven to 425 degrees F, and prep the garlic butter by microwaving the butter until melted, and stirring in the garlic powder. Brush the knots with the garlic butter.
- Bake the garlic knots one sheet pan at a time for 8-10 minutes in the lower third of the oven, until lightly golden on top. To check that they are done, they should read 195 on an instant read thermometer, or you can just tear one open. Enjoy!
Nutrition
Nutrition is estimated using a food database and is only intended to be used as a guideline for informational purposes.
Post updated in March 2019. Originally published July 2014.

34 Comments on “Garlic Knots”
Can I make these ahead of time and freeze them? How would one go about letting them rise after freezing?
Thanks
Thanks for this. I’m sure my kids will love making this twist on garlic bread
Hi Joanne, I love your website! Is it necessary to use bread flour, or can I use all purpose flour? Also, how can I store the leftovers (for use the next day or day after)? Thanks.
Hi Michelle, the difference is probably negligible, so go ahead. Because of the butter, I’d probably store these in the fridge if you’re storing for longer than a day. If you keep them sealed, you can actually microwave them for 30 seconds or so and they’ll still have a decent spongy texture to them. Microwave too long though, and they’ll be dry, so be cautious with it.
These garlic knots are delicious !
Thank you for this recipe!! It was my first time making bread and followed your recipe..added a cup of cheddar and thought i might have ruined it..but fingers crossed it came out fantastic…love your videos in youtube!! Rock on!!