Cheddar Drop Biscuits
If making traditional biscuits is intimidating to you, these easy Cheddar Drop Biscuits are your answer. They’re much simpler to make than the usual rolled and cut biscuits, and have a wonderful fluffy texture. No chilling required, and ready in 25 minutes!
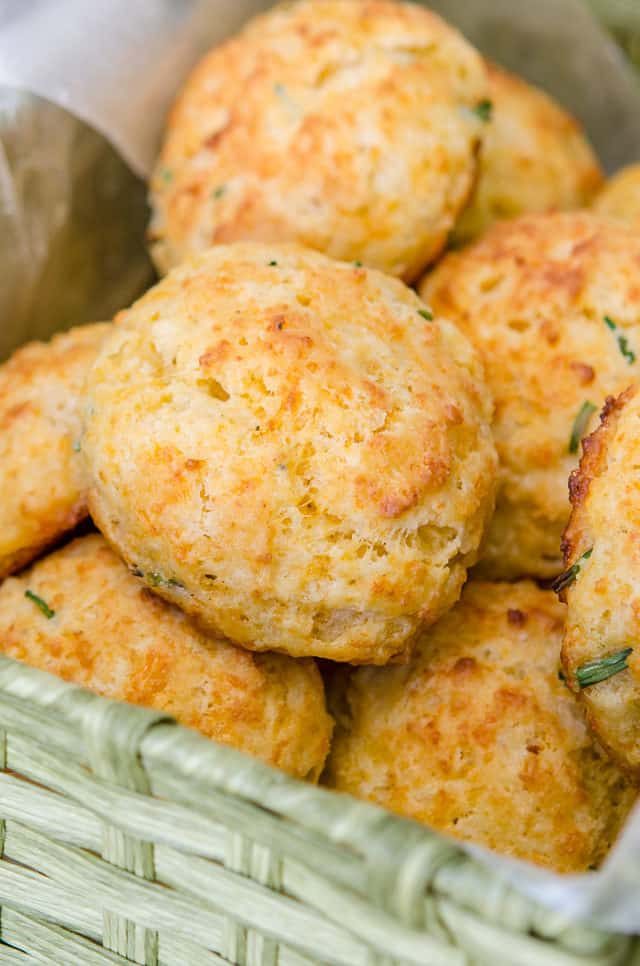
Though not as widely feared as pie crust, I know a lot of people are afraid of making biscuits and end up resorting to the storebought tube biscuits.
If this is you, then these fluffy drop biscuits are your answer.
The dough is made in the food processor (or by hand) with simple ingredients, and you simply scoop small portions of the dough onto a baking sheet and pop it in the oven.
You don’t have to worry about kneading, rolling the dough out, cutting and shaping the biscuits, or preventing the dough from sticking everywhere. Oh how I love these!
Because these homemade drop biscuits are made from scratch, they taste SO good. They have a cheesy quality to them, but still maintain a fluffy and light interior. They’re quick, easy, and so great served alongside a piping hot bowl of Chicken Spinach Tortellini Soup.
Tips for Best Results
Choose a lower protein flour – Even though they’re all labeled “all-purpose flour,” different brands have different protein levels in their flours. Higher protein levels means more potential for gluten development, and denser biscuits. King Arthur Flour is notorious for being very high protein, whereas Gold Medal and White Lily have less. Check out Cook’s Illustrated’s guide to see more brands listed.
Use good butter and cheese – This is the time to splurge on higher quality dairy. As I discuss in my Butter Pie Crust post, different brands of butter vary in terms of flavor. My favorite is Kerrygold, though Plugra and Vermont Creamery are also good choices. My favorite cheddar is made by Cracker Barrel.
Move quickly – We want to keep the butter as cold as possible when the drop biscuits hit the oven, so make sure to have your ingredients ready and your oven preheated.
One more thing I’ll note is that I prefer to grate the cheddar cheese pretty finely, though the choice is ultimately yours.
When grated into smaller ribbons, I find that the cheese disperses better into every little morsel of each biscuit, giving you an extra moist and flavorful biscuit in every bite. You can use a shredder or box grater for this.
Step by Step Overview:
In a food processor, combine the dry ingredients, which are all-purpose flour, baking powder, sugar, garlic powder, old bay seasoning, and salt:
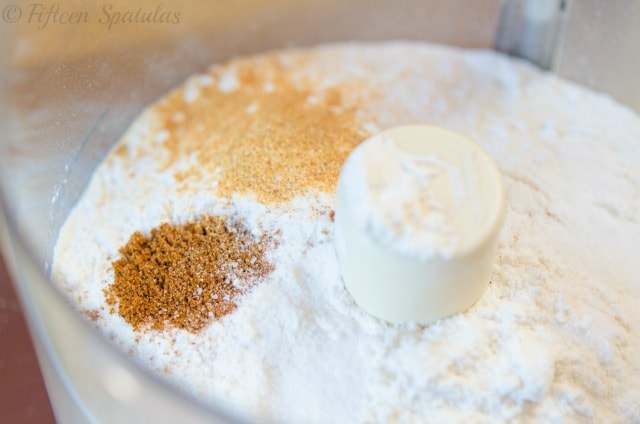
If you can, weigh the flour instead of using a measuring cup, in order to have the most precise proportions.
After you’ve pulsed this together a few times, pulse in cold butter cubes just like you would with a pie crust.
Next, add freshly grated cheddar cheese (and lots of it, for this is a cheesy dough!) to the flour mixture and pulse a couple times to evenly distribute:
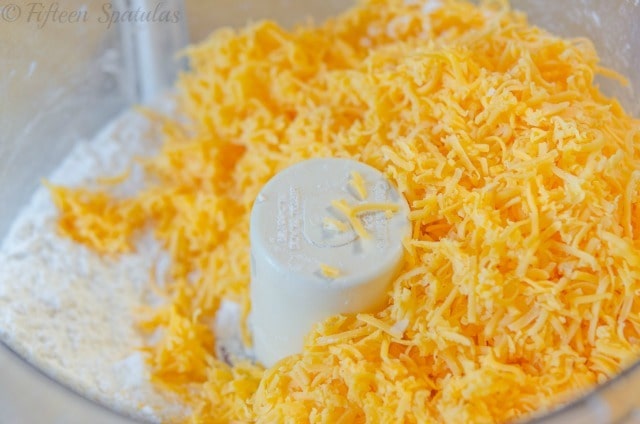
Remove the contents to a large bowl and stir in chives and whole milk using a rubber spatula, tossing the liquid around to moisten the dry:
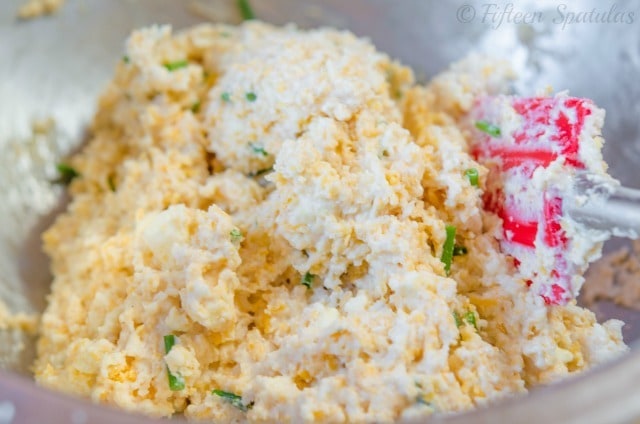
I use regular milk as it’s usually what I have on hand, but cold buttermilk is also excellent and always makes for an extra delicious recipe.
The biscuit dough will be very sticky, which is a good thing, as it means moister biscuits.
The easiest way to handle the sticky dough is to use a cookie scoop to portion out little heaps of dough onto a prepared baking sheet. It’s so nice not to have to deal with a biscuit cutter!
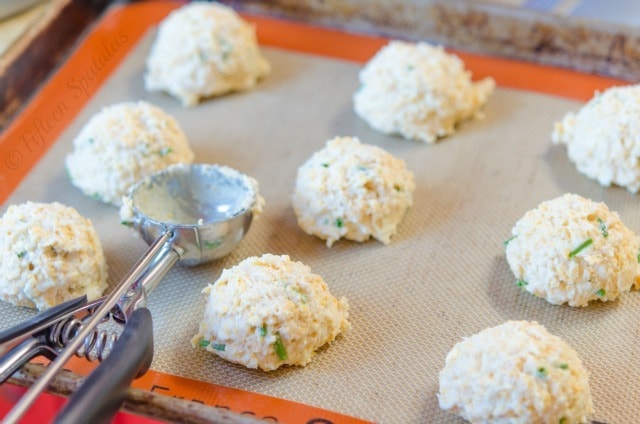
Also, I like to bake on a silicone mat or on parchment paper.
Make-ahead Option
At this point in the recipe, you could actually stop and freeze the homemade biscuits if you’d like. Place the tray in the freezer for several hours, until the scoops are completely firm. Then you can place them in an airtight freezer bag and store for up to two months. When ready to bake, bake them straight from frozen on a parchment lined baking sheet, adding 3-5 minutes to the bake time.
How Long to Bake:
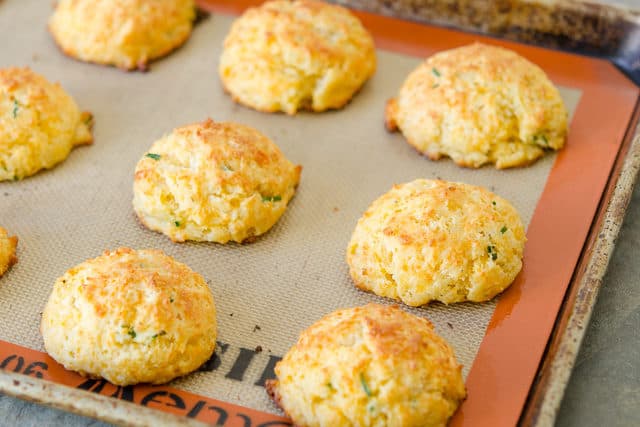
Bake your cheddar drop biscuits in a 450F oven for 15 minutes until they’re golden brown and puffed! Make sure to bake in the middle position of the oven, so everything bakes evenly. If the oven rack is set too high, the tops will get too brown, and the bottoms won’t look like this:
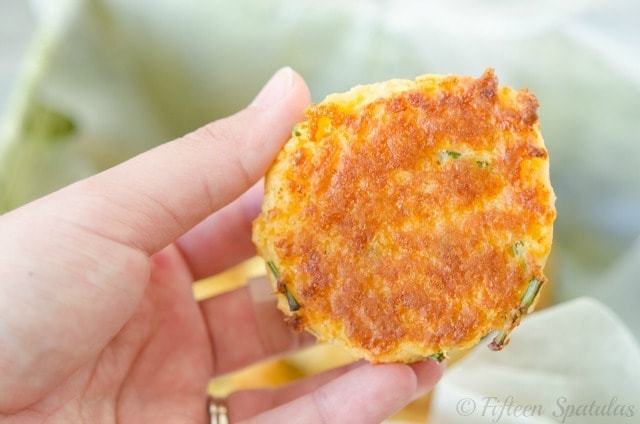
Golden brown crisp, cheesy perfection! The bottom is my favorite part.
Eat while warm, and for extra richness, brush with extra melted butter right out of the hot oven before enjoying!
How to Serve
You can’t be a warm biscuit! These easy Drop Biscuits are at their finest when they’re fresh out of the oven. They’ll be the most crisp on the outside, fluffy on the inside, and the cheese will be slightly melty.
I love pairing these with a nice breakfast of Poached Eggs and Hash Browns, or with soups like Easy Chicken Noodle Soup and White Bean and Escarole Soup. Or you can add some classic sausage gravy, which is always a great option.
This Potato Cheddar Frittata is another of my favorite cheesy recipes that’s perfect for breakfast, and also these Bacon Cheddar Waffles. Enjoy!
Recipe Tips and FAQ
Since there are no preservatives, you can only keep these at room temperature for a day or two before risking mold. If you have leftovers, let the biscuits cool completely, then I recommend freezing them fully baked. They will thaw at room temperature in 30-60 minutes. You can also store in a ziptop bag in the fridge for a week, but they are more prone to drying out. Always store in an airtight container.
Make the recipe up to the point of scooping the dough onto the baking sheet, then put the tray in the freezer for several hours, until the scoops are completely firm. Then you can place them in an airtight freezer bag and store for up to two months. When ready to bake, bake them straight from frozen on a parchment lined baking sheet, adding 3-5 minutes to the baking time.
Instead of using a food processor to cut the butter, you can use a pastry cutter (affiliate) or pastry blender.
You can either freeze them fully baked or unbaked. Instructions are above.
Microwave at 50% power in 30 second intervals, until soft and warmed through. Be very careful not to overdo it, or they will dry out. They will not be crispy with this method. You may also reheat in a 300F oven for 5-10 minutes, until warmed through.
I have not tested it and cannot recommend it.
Did you enjoy the recipe? Please leave a 5-star rating in the recipe card below and/or a review in the comments section further down the page. Or, follow me on Facebook, Instagram or Pinterest!
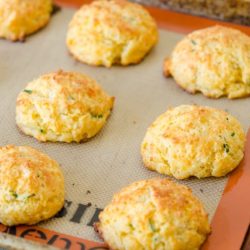
Cheddar Drop Biscuits
Ingredients
- 10 oz by weight all purpose flour (2 cups measured)
- 4 tsp baking powder
- 2 tsp sugar
- 1 tsp garlic powder
- 1/2 tsp old bay seasoning
- 1/2 tsp salt
- 1/2 cup cold unsalted butter cubed
- 6 oz extra sharp cheddar cheese grated
- About 30 chives sliced
- 1 cup whole milk
Instructions
- Preheat the oven to 450 degrees F.
- In a food processor, pulse to combine the flour, baking powder, sugar, garlic powder, old bay seasoning, and salt.
- Add the cold butter cubes and pulse the mixture about 10 times to break down the butter into small pieces and incorporate it into the seasoned flour. There should still be pea sized pieces of butter.
- Add the grated cheddar and pulse 2-3 times to distribute.
- Dump everything out into a large mixing bowl, then toss in the chives.
- Pour the milk into the bowl, using a spatula to toss the ingredients around as you pour. Think of this more as tossing to distribute the liquid, rather than stirring. In order to prevent our biscuits from getting tough, we want to use a light hand and only mix until the dry and wet ingredients are combined.
- Take a cookie scoop and portion out 1/4 cup scoops of the biscuit mixture onto a baking sheet (you should have 12 scoops).
- Bake for 15 minutes until golden brown. Enjoy!
Notes
Nutrition
Nutrition is estimated using a food database and is only intended to be used as a guideline for informational purposes.

238 Comments on “Cheddar Drop Biscuits”
Thank you
Homemade mac ‘n’ cheese!
Thanks for such a fantastic recipe!! I used my favorite gluten-free flour blend (I’m Celiac) and a heavy grind of black pepper to the dry mix, but otherwise followed your recipe to the letter and they turned out great! I love when a recipe translates so well into something gluten-free and my whole family, me included, can enjoy it. 🙂
YAY! So glad to hear it, Christa. Hope you enjoy again and again!
We loved these! I was working with what I had due to a snow storm so I used a mixed cheese blend, green onion instead of chives and my own season salt mix with a pinch of celery salt to mimic old bay. They were fantastic, I’m a terrible baker but I don’t think you can screw these up!
I look this web site. I just found it today and I am loving this great reciepes. Thanks
Can I substitute anything else for the old bay seasoning? Thank you 🙂
Hi Andrea, you can just leave it out. It’s not essential, especially if you use a flavorful cheese. Enjoy!
Once again….another amazing recipe. Just made these tonight & my family loved them. I followed your recipe exactly what you said, but mine made 18 not 12….not that I’m complaining. Next time I’m going to make them with a cheddar & ham chowder. I’m going to try your cinnamon swirl raisin bread on Friday.
That’s great Vikki! I bet these will be wonderful with your cheddar ham chowder!
My all time favorite is a very cheesy Mac and cheese
I recently figured out how to make my Mac n’ cheese pop with flavor…. Cracker Barrel Marble Cheddar cheese and a bit of shaved aged cheddar on top too. Along with cream of mushroom sauce and small chop chicken breast inside. It’s sooo good I am guilty of eating two bowls at a time.
I love biscuits!
Nachos with everything.
https://twitter.com/slehan/status/396058487072911360
I like cheddar cheese on crackers (simple & good).
Thanks for the contest.
Fried mozzarella sticks!
I love to snack on buffalo chicken dip, made with cream cheese and cheddar cheese.
I really enjoy making (and of course eating) “The Lady’s Mac & Cheese” which I make from a recipe in one of Paula Deen’s cookbooks. I sometimes use 2-3 different kinds of cheese though, and add my own special touches. Lay on that cheese though, that’s what makes it so darned good!
tweet https://twitter.com/ChelleB36/status/396013440528949248
tbarrettno1 at gmail dot com