Chocolate Truffles
These homemade Chocolate Truffles are rich, dense, and ethereally creamy, and they couldn’t be easier to make! They can be flavored, coated, and customized with all sorts of ingredients. They make for a great edible gift, especially for special occasions and holidays like Christmas and Valentine’s Day!
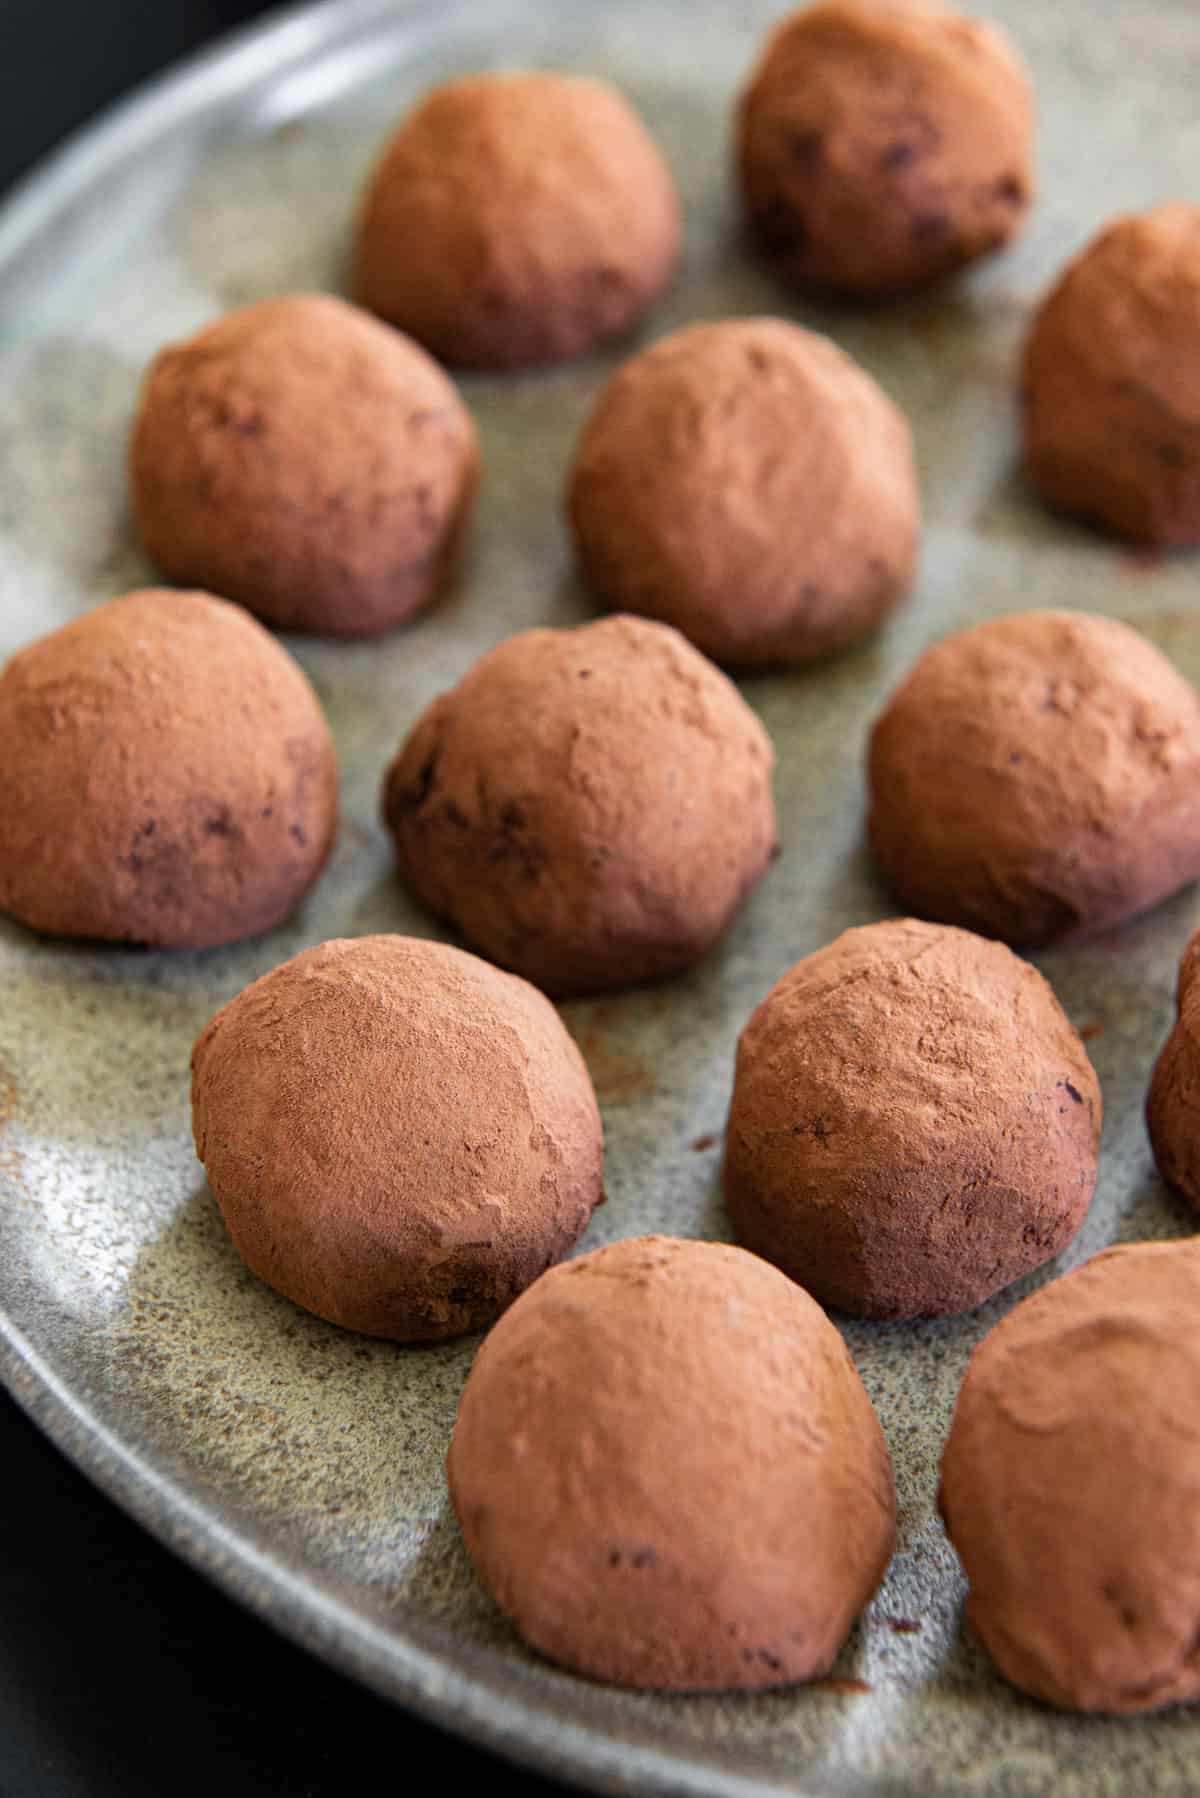
I have given these chocolate truffles as gifts to several of my friends, and they have been described as “TheBomb.com” and as having healing powers 😂 I mean, when you combine cream and chocolate, and add all sorts of spices and liqueurs, it’s bound to be amazing, right?
I have made truffles many times over the years as one of my favorite edible holiday gifts (also see 12 shipping-friendly food gift ideas for Christmas and beyond), and have seen tons of variations.
Some recipes include corn syrup, some mix bittersweet and semisweet varieties, some heat the cream in the microwave, some melt the cream and chocolate together in a double boiler, and on and on and on.
I truly think this is the easiest way to do them.
The Two Ingredients You’ll Need
When I was a kid, I remember eating these during the holidays and wondering, what is a chocolate truffle, exactly?
A chocolate truffle is just a ball of chocolate ganache, which is a 1:1 combination of chocolate and heavy cream. It’s surprisingly simple!
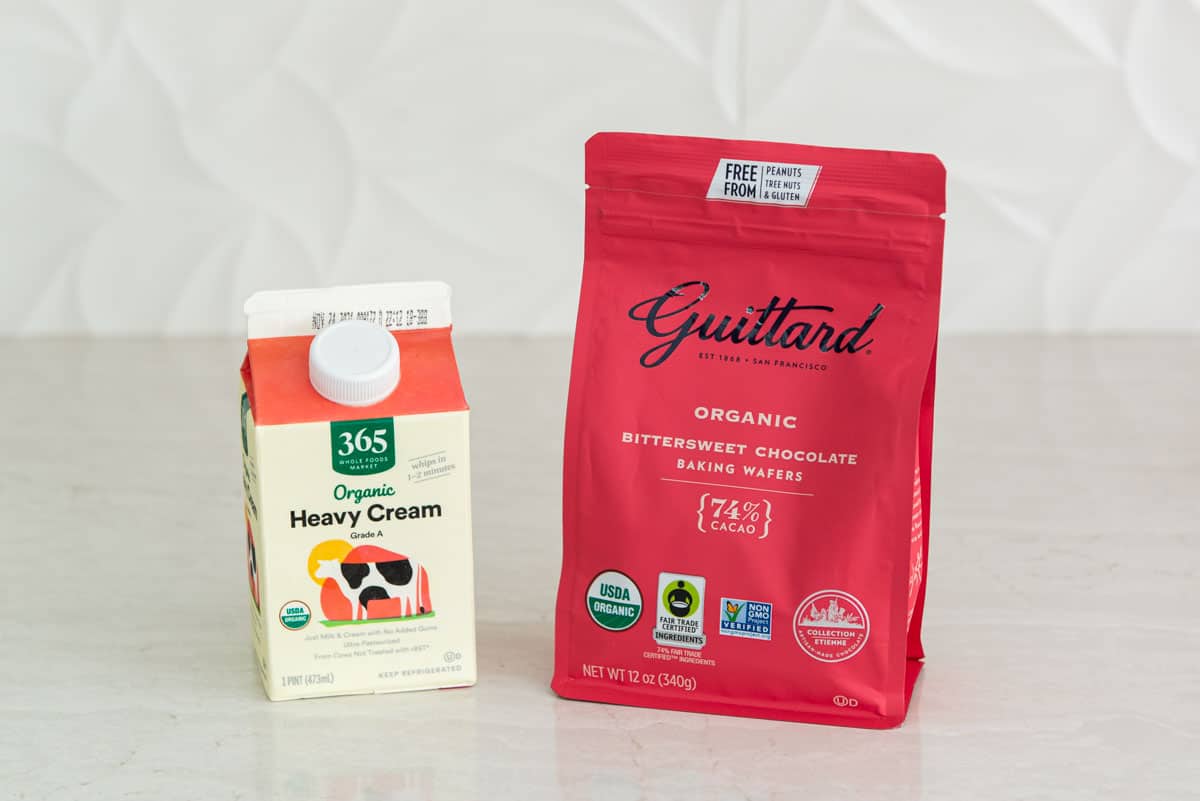
If you want to stick with simply a quality chocolate and cream, that’s great.
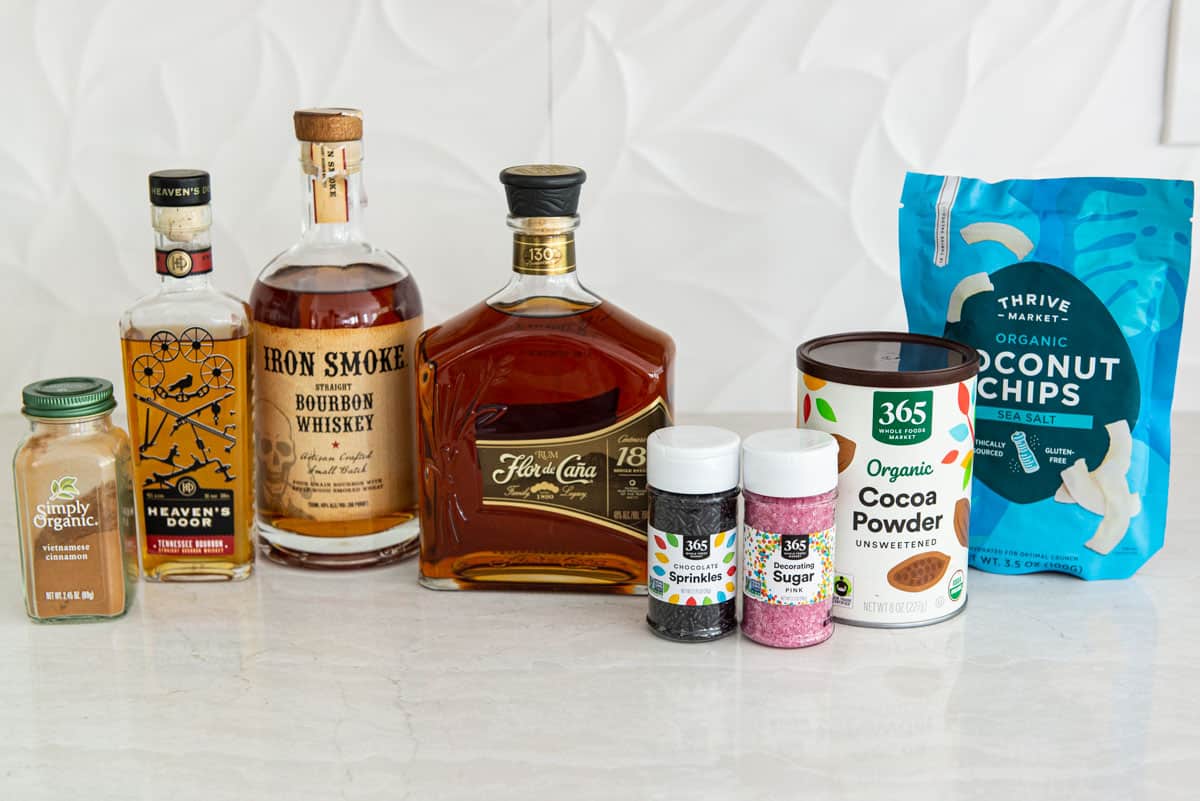
Personally, I love to play with flavorings and coatings. You can add extracts or spirits, spices, sprinkles, unsweetened cocoa powder, nuts, coconut, and so much more. Here are a few ideas:
Flavoring Ideas
A few simple ingredients can really elevate your delicious chocolate truffles. This is what I’ve tried:
- Extracts – Vanilla is classic, but also try almond, orange, or peppermint.
- Spirits – Anything goes here, just make sure it’s good. I like rum, whiskey, frangelico, amaretto, etc.
- Spices – All of the sweet spices are fun here. Cinnamon is great, especially with cayenne pepper.
- Cookies – Try adding crushed cookies like Oreos or Nutterbutters.
In addition to customizing the inside, you can change the flavor and texture of the outside too.
Coating Ideas
This chocolate truffle recipe is very simple, and is wonderful with outside coatings for flavor and texture. These are my favorite suggestions:
- Cocoa powder – This is classic, and is nice for a dramatic cocoa flavor with a slight bitterness to offset the creamy ganache.
- Chopped nuts– Chop any nut you’d like, such as pecans, almonds, pistachios, macadamias, hazelnuts, etc.
- Coconut – Make it toasted sweetened coconut, or coconut flakes.
- Sprinkles – All varieties work nicely, as long as they’re not too big. Chocolate sprinkles blend nicely in color.
- Hard shell – You can dip the dark chocolate truffles in chocolate to form a hard outside shell.
- Crushed candy canes – Finely crush candy canes and use during the holidays.
Important: Use a High Quality Chocolate!
Because this is really just equal parts chocolate and cream, it’s incredibly important to use a good chocolate here.
As I discuss in my Homemade Chocolate Bark post, do NOT buy chocolate bars from the candy section that are meant for eating and snacking.
For best results, I recommend going to the baking section and picking chocolate chips or bars that are meant to be melted. Guittard is my favorite brand, but Callebaut, Vahlrona, Scharffen Berger, and Ghirardelli are all great too.
Step by Step Overview:
The process is quite simple, and boils down to the following steps:
- Heat the cream.
- Pour the hot cream over the chocolate.
- Stir until combined.
- Refrigerate the ganache.
- Scoop and roll the truffles.
Heat the Cream
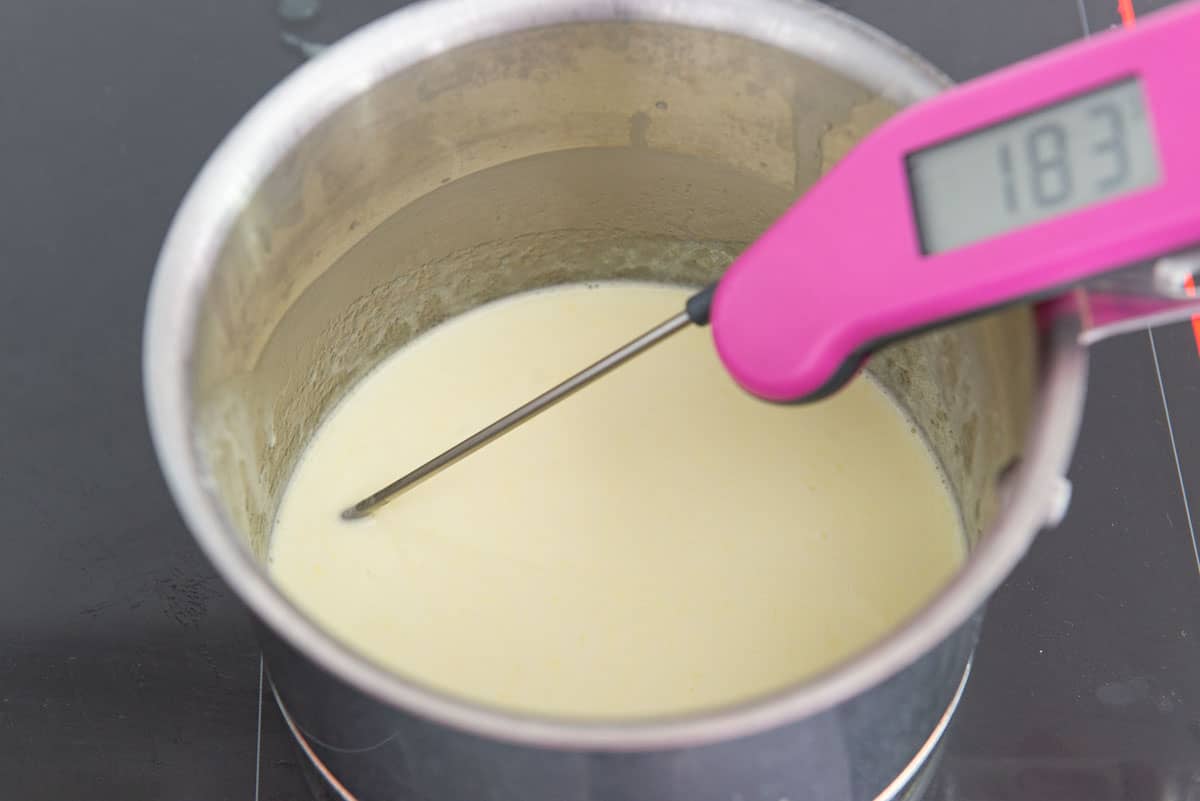
Place heavy whipping cream in a saucepan and bring it to a scalding temperature, but not to a full boil. I personally monitor this using a thermometer, and bring it to about 180F, but if you don’t have a thermometer, a scald is just before a boil, when you start to see small bubbles forming on the side of the pan.
Let the cream melt the chocolate
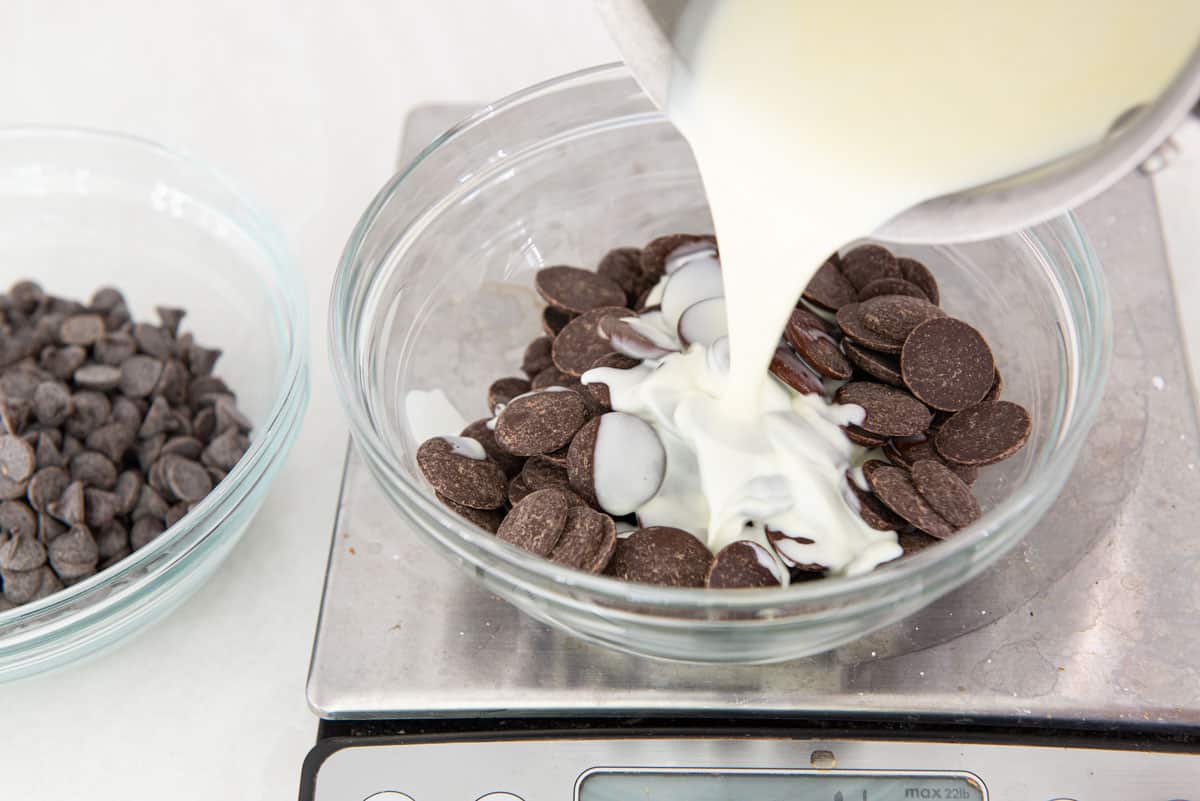
Pour the hot cream over the chocolate of your choice in a small bowl. It can be however dark you like. I usually do some bittersweet around 74% cacao, and some at around 50% cacao, in the form of disks or chips. Chopped chocolate is also fine.
Stir until smooth
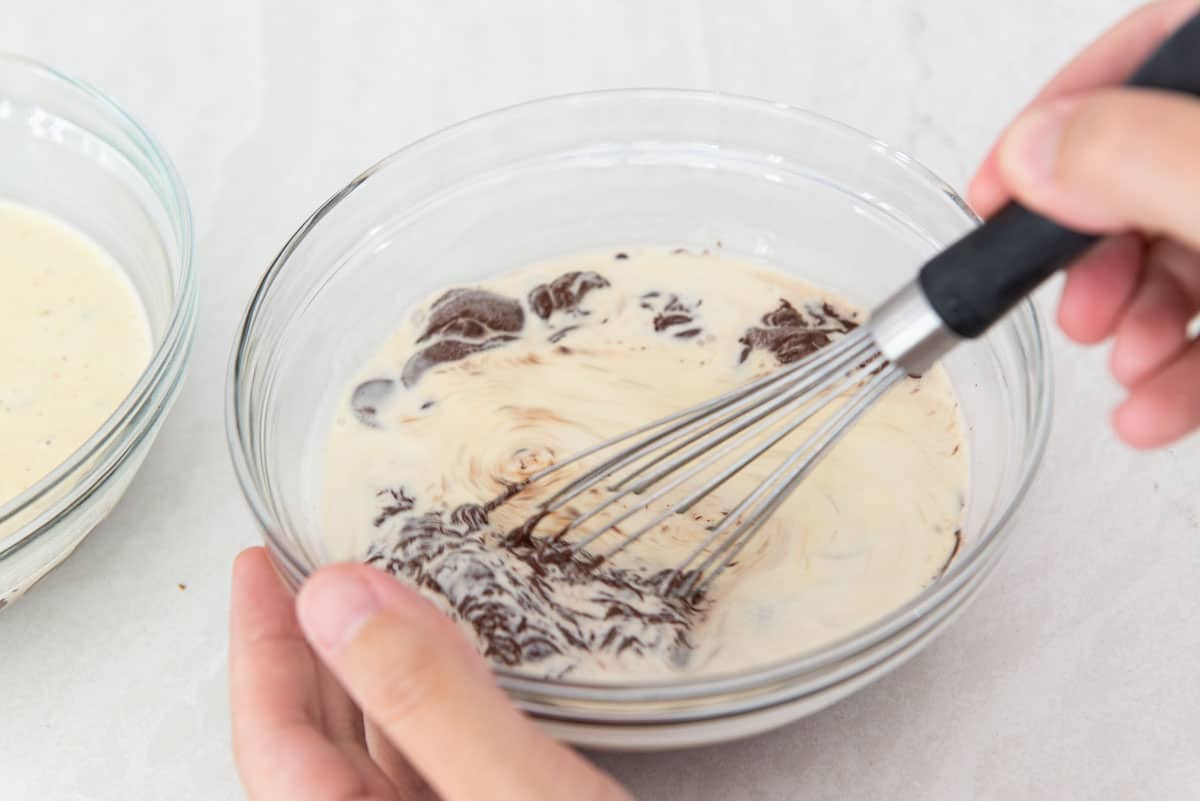
After the cream has sat for about 30 seconds, begin whisking it all together.
Optional: Add flavorings
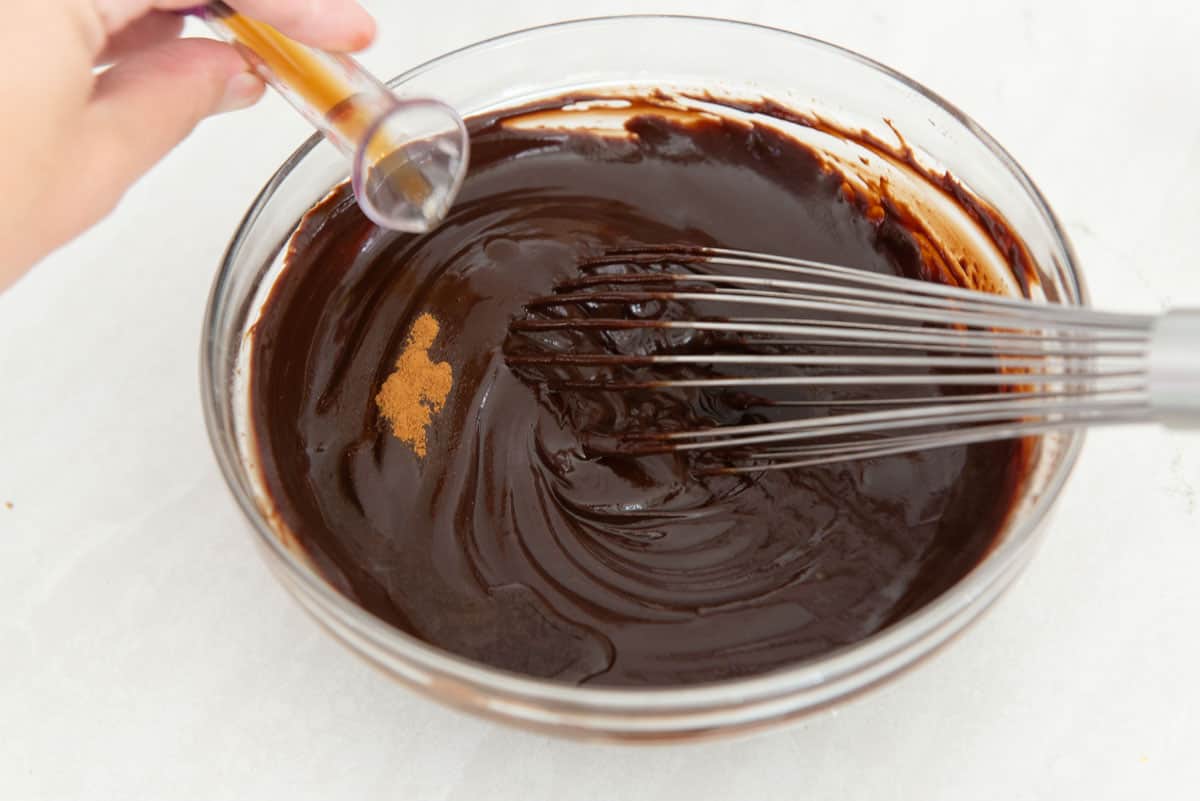
Once the ganache mixture is smooth and glossy, add any flavorings you desire. Here I did a little bit of ground cinnamon, and vanilla extract.
Refrigerate the Ganache
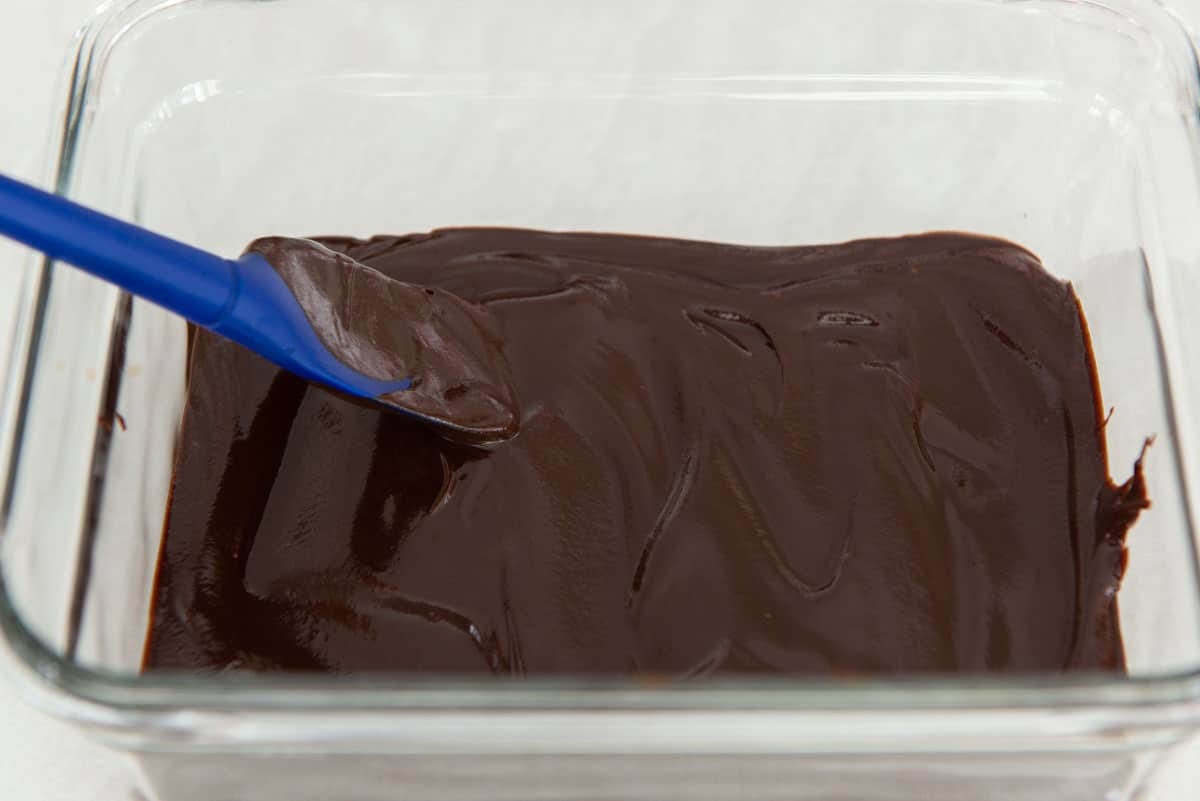
Spread the melted chocolate mixture in a flat dish for refrigeration. This is better than using a bowl, because the mixture firms up more evenly. It will take about an hour to chill enough for shaping.
Optional: Roll In Coatings Of Your Choice
I love rolling the chocolate truffles in various coatings.
Cocoa powder is classic, but I also do sprinkles, nuts, coconut, and more. You can also dip the homemade truffles in another layer of pure chocolate, so it has a hard shell on the outside.
Use a small cookie scoop to portion the firm ganache directly into the desired coatings.
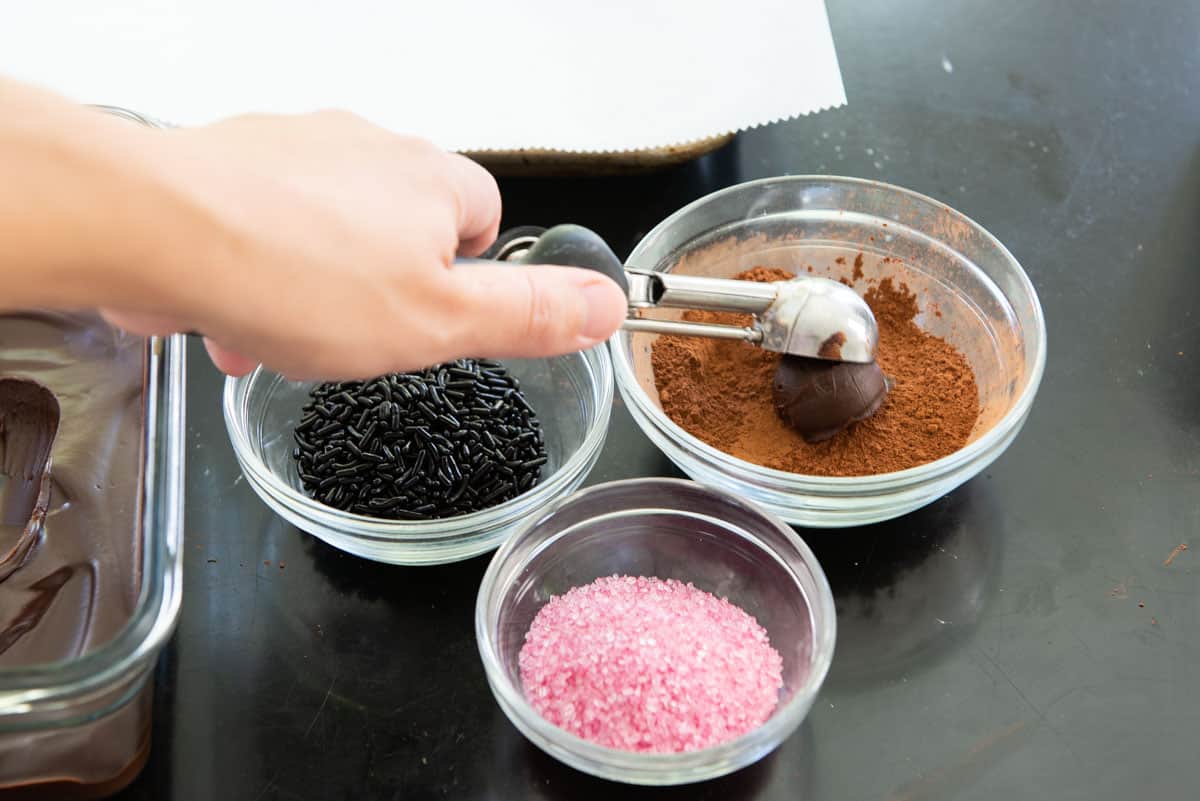
Coatings prevent sticking
An extra bonus to coatings beside the texture and flavor, is it allows you to handle the chocolate truffles without it melting all over your hands. Rolling the truffles can be messy, because the heat from your hands melts the ganache.
You need the chocolate truffle mixture to be malleable enough from the fridge that you can roll it into a consistent ball shape, and coating it in cocoa or sprinkles or nuts allows you to do that without making a sticky mess.
If you are not using any coatings, I suggest wearing latex gloves to keep the heat of your hands from melting the chocolate excessively.
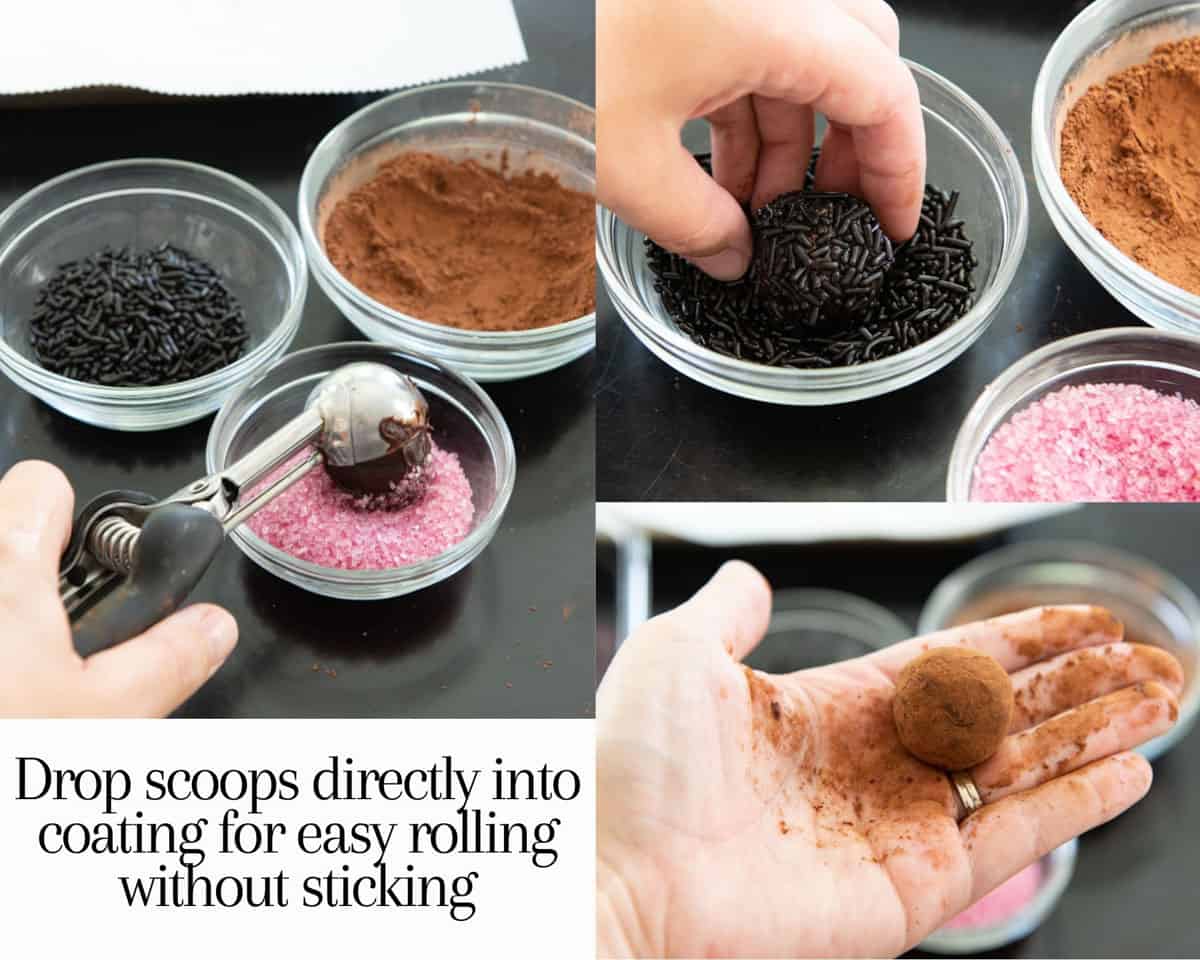
As you roll each of the small pieces of ganache, place the finished truffles on a parchment paper lined baking sheet.
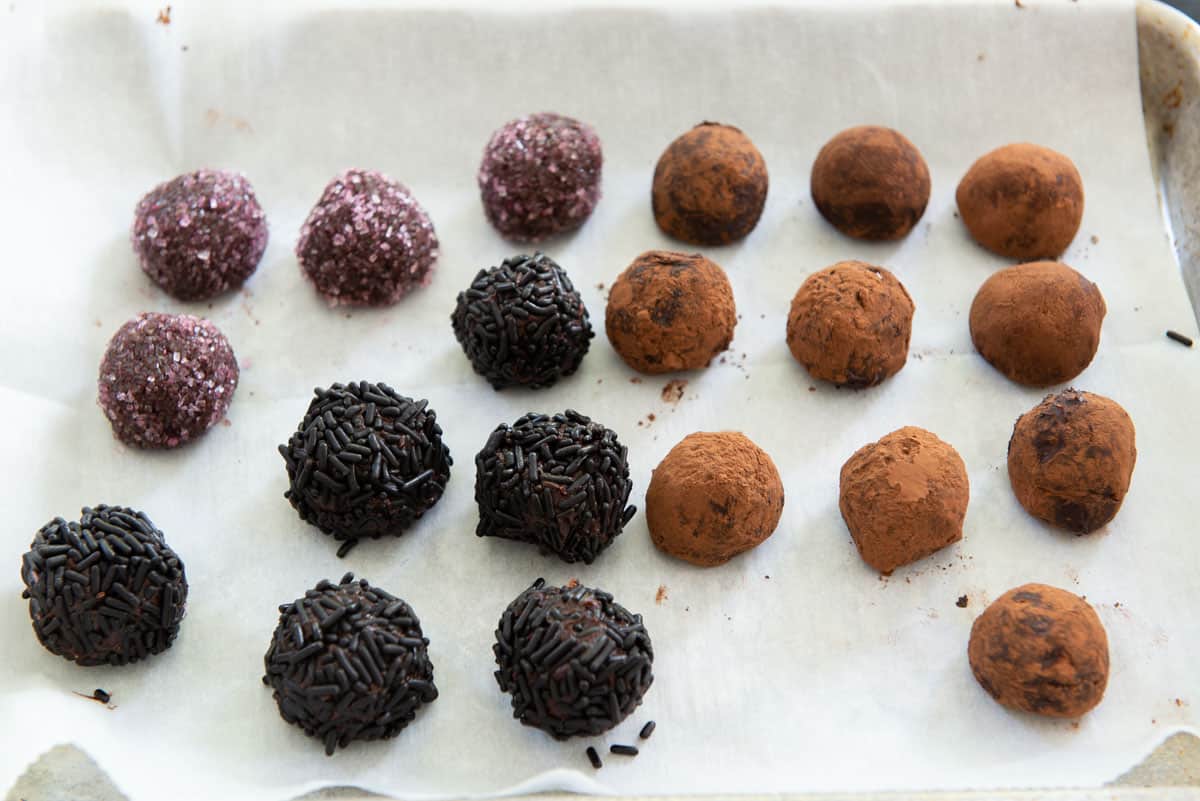
Refrigerate and Roll Again for a Flawless Coating
If you want the best chocolate truffles in terms of cohesive shape and coating, refrigerate them for another 30 minutes, then roll them a second time.
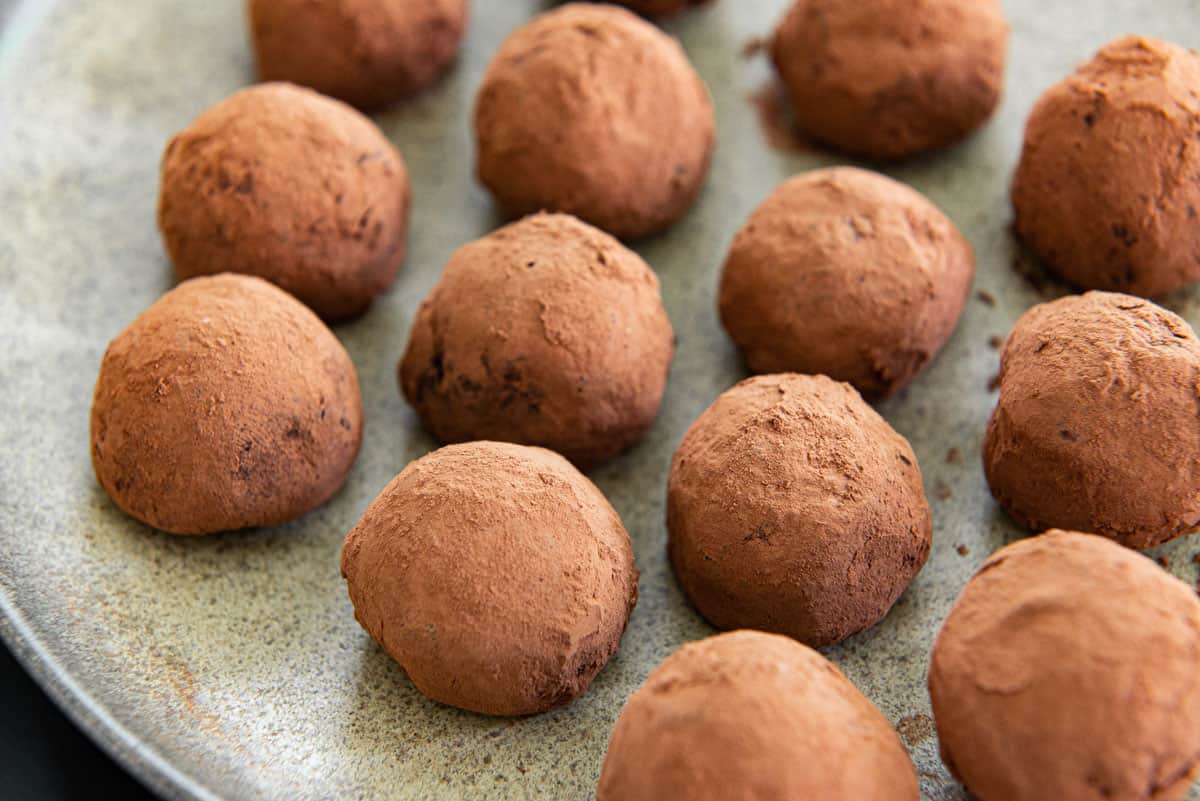
For more homemade candy recipes, Peanut Butter Balls and Peanut Brittle are a few of my other favorite giftable treats. I also like Pecan Praline Candy. Enjoy!
Recipe FAQ and Tips
Keep at room temperature for up to 1 week, or in the refrigerator for up to 3 weeks.
Yes, in an airtight container for up to 2 months.
You can use anything and everything, from bittersweet chocolate to Ruby to semisweet chocolate to milk chocolate to white chocolate. Just know that the less cacao that’s in it, the softer it will be.
Did you enjoy the recipe? Please leave a 5-star rating in the recipe card below and/or a review in the comments section further down the page. Or, follow me on Facebook, Instagram or Pinterest!
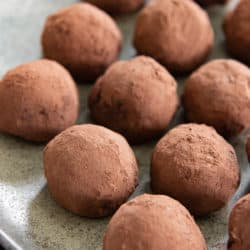
Chocolate Truffles
Ingredients
- 8 ounces bittersweet chocolate wafers *
- 1/2 cup heavy cream **
- 1 tsp vanilla extract optional
- spices optional. You can use 1 tsp cinnamon, cloves, allspice, etc.
- liqueur or spirits optional. Add up to 2 tbsp of Frangelico, Amaretto, Grand Marnier, Brandy, Whiskey, etc.
- cocoa powder for rolling***
Instructions
- Place the bittersweet wafers into a heatproof bowl.
- Scald the cream on the stovetop in a small saucepan over medium high heat. If you have a thermometer, this means bringing it to about 180F. If you don't have a thermometer, the scalding point is just before a boil, when you start to see steam rising and bubbles forming around the sides.
- Pour the hot cream over the chocolate, and let it sit for 30 seconds. Next, whisk until it together until it becomes smooth in texture. If for whatever reason the chocolate pieces are too big and don't melt, microwave in 10 second intervals, erring on the side of caution. The mixture will seize if you overheat it.
- Spread the ganache out into a flat dish for even chilling, then refrigerate for about 1 hour. You want to refrigerate the ganache enough so that it's firm enough to shape, but you don't want to chill it so long that it's no longer pliable and easy to work with. The time needed depends on the temperature of your refrigerator and how thinly spread your ganache is. Start checking the consistency after 45 minutes, but it will likely be closer to an hour of chill time. If the ganache gets too firm, leave it out at room temperature until you can work with it again.
- To shape the chocolate ganache into truffle balls, use a small cookie scoop or spoon to scoop out the chocolate, and drop it into the coating of your choice, such as cocoa powder. The cocoa powder will keep the chocolate from melting in your hands as you roll it into a ball. Place each ball onto a parchment paper lined tray as you work.
- Once you shape out all your truffles, refrigerate them for another 30 minutes, to help set the shape. If desired, you may roll the truffles in the cocoa again after they've firmed, for a prettier presentation.
- Enjoy the truffles at room temperature or chilled.
Notes
Nutrition
Nutrition is estimated using a food database and is only intended to be used as a guideline for informational purposes.
Post updated with new photos and copy in November 2021. Originally published January 2011.

10 Comments on “Chocolate Truffles”
Love these truffles so easy to make!
So happy to hear that, Diane.
Well thank you. My older sister actually took this recipe from me after I made them! Off to make your fortune cookies….lets see if she steals them from me too!
Hey! I’m in 7th. grade and I made this and they are fantastic!!! They are super easy and delicious! I just coated them in hot cocoa powder and they were awesome! Thanks so much for this and I can’t wait to try out your other things!
Hi Danielle, YAY! Sounds like you’ve got some great cooking skills, and I’m so impressed you made these in the 7th grade. Please keep me updated on your cooking adventures and enjoy the chocolate truffles!
I just made these and they are DIVINE! Suggestion: for a spice add a smidge of coffee and they are soo soo yummy! Keep up the tasty work Joanne!
These look delicious and, thanks to your detailed instructions, the even seem easy to make. I love the tip for scooping them out
I absolutely love truffles (who doesn’t, right?) but have been too intimidated by the thought of trying to make them myself. Loved your post and helpful tints — makes me think I might be able to tackle a truffle project myself someday!
Hi Meg! I’m so glad you like my post! Truffles are not really hard per se…it’s just they have a small window of the right temperature to roll them into balls. If you wanted to make it really easy you could just spoon the chocolate right into a chocolate mold (I actually got one for Christmas, and it’s nice not having to worry about shaping the truffles). Truffles are so worth it!
I really need to make me some of these truffles. I always see them being made on TV and they look so delicious and relatively easy! :-p Thanks again for the inspiration!