Chocolate Bark
This homemade Chocolate Bark recipe is great for holiday gifts, party favors, dessert trays, or simply for snacking! It’s incredibly easy to make, and I share 15 flavor combinations and ideas in the post.
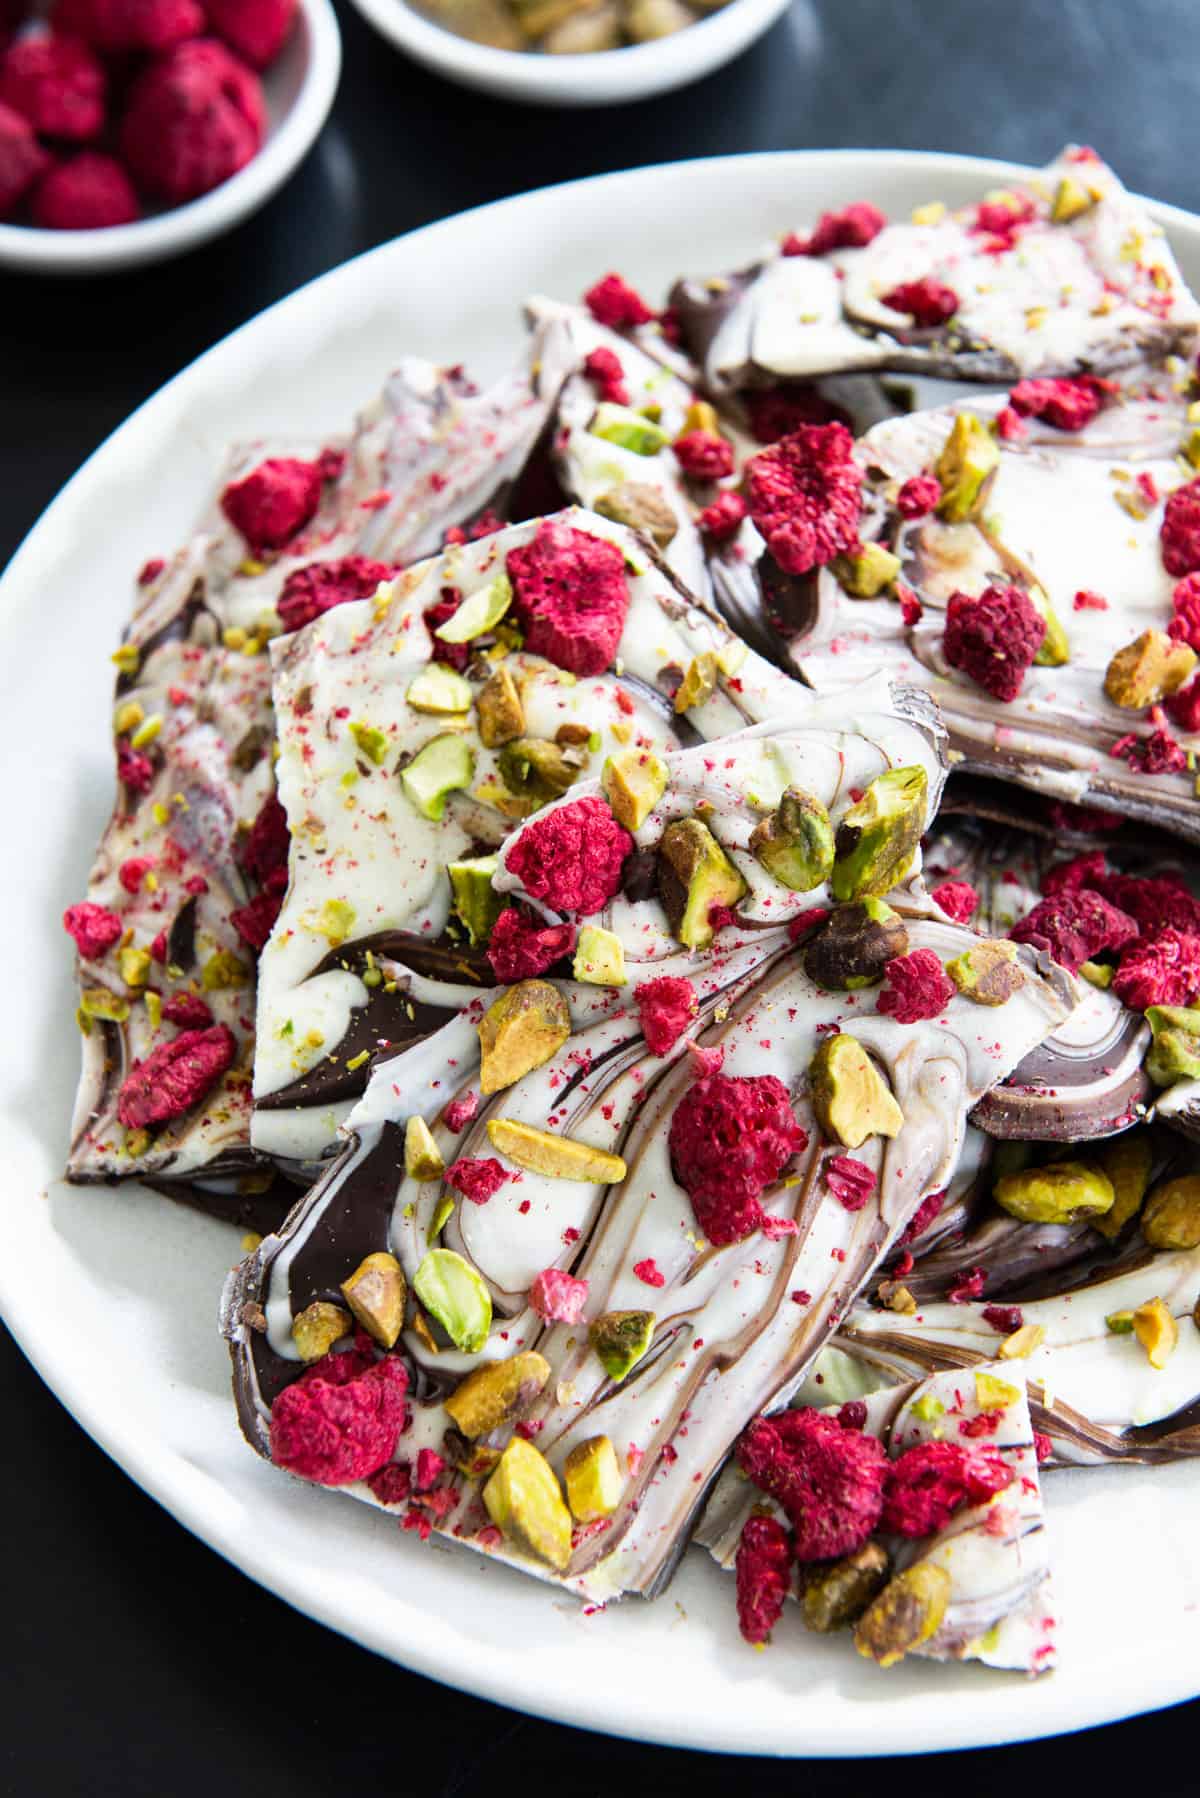
Chocolate bark is one of those things where everyone seems to oooooh and ahhhhh and swoon over it, but it’s absurdly easy to make.
It’s a great low-stress gift during the holiday season, or as a make ahead dessert for parties and gatherings any time of year.
What’s Great About This Recipe
Foolproof instructions – I’ll share how to melt the chocolate so it doesn’t get grainy or break, and also how to get the perfect swirl if you’re mixing multiple types together.
Make ahead friendly – This is no worse a week after you make it, so it’s a great treat to make ahead of time.
Shipping friendly – It’s also shipping friendly, and sturdy enough to be packed into tins and put in the mail. It’s one of the items on my Shipping-friendly Food Gifts list, and one of the economy mail options for less pricy fees.
Customizable – The sky is the limit with flavor combinations you can try, and I share 15 ideas below. If you’re making this for someone as a gift, it’s the perfect opportunity to make it personal by putting their favorite ingredients on it.
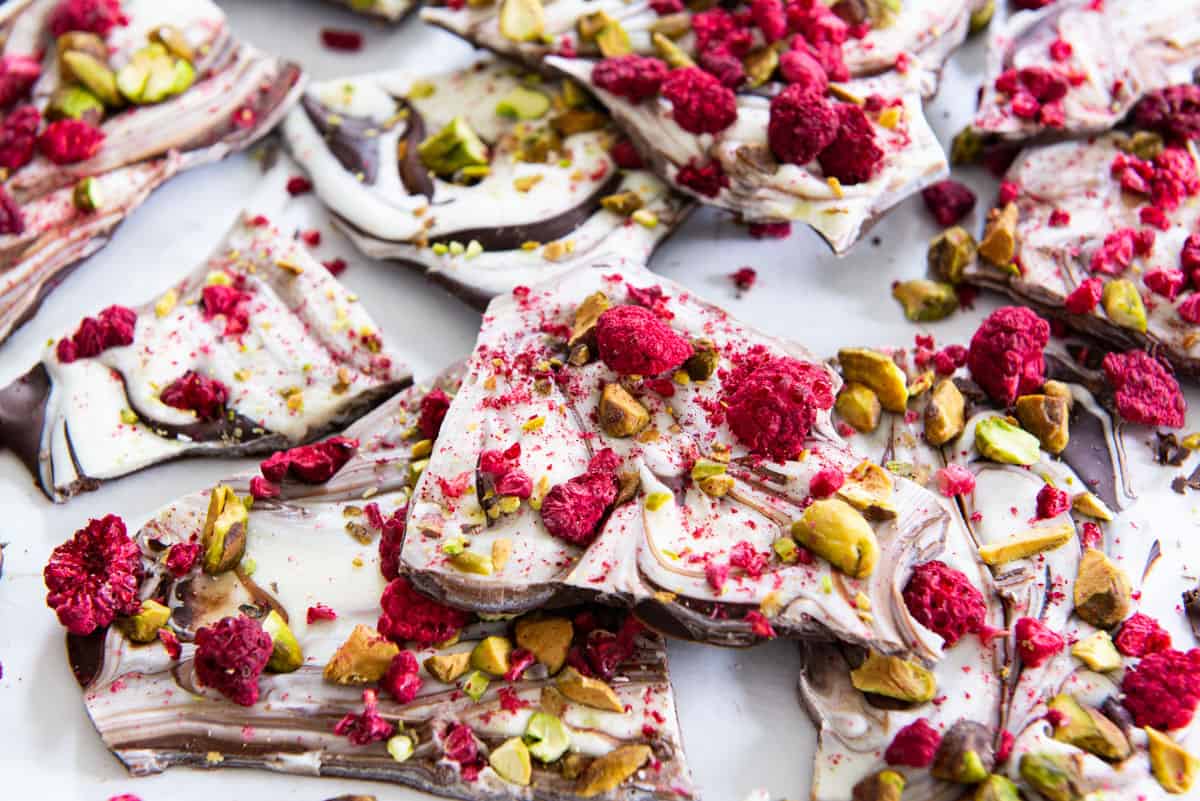
While making chocolate bark is very simple, there is an art to pairing the flavors properly. It is an incredible treat when you nail a harmonious mix of complimentary flavors.
Toasted pistachios with freeze dried raspberries is magical together, but here are some more ideas. The sky is the limit, and you can get creative with it.
I also like to mix up the chocolates. Solely dark chocolate bark can be too bitter, while white chocolate bark can be sickeningly sweet. Swirling the two makes it extra beautiful and also varies the sweetness in a pleasing way.
More Flavor Combination Ideas
There are so many different chocolate bark recipes you can try, but if it’s your first time, I recommend trying one of these combinations before experimenting further. Here are my favorite toppings and flavor combinations.
- Peanut Butter Banana Bark – Dark chocolate base + peanut butter chip swirl + freeze dried bananas or banana chips on top.
- Strawberry Pecan – Dark base + freeze dried strawberry slices + Candied Pecans or Maple Pecans
- Candy Bar Bark – Milk chocolate base + chopped peanut butter cups + chopped Snickers bars
- Holiday Peppermint Bark – Bittersweet base + white layer + crushed candy canes
- Munchies Bark – Milk base + potato chips + pretzels
- Trail Mix Bark – Dark base + chopped almonds + M&M’s + dried cranberries + pumpkin seeds
- Cherry Apricot – White base + chopped dried apricots + dried cherries
- Birthday Bark – White base + crushed vanilla wafers + rainbow sprinkles
- Cookies and Cream Bark – White base + dark swirl + crushed oreo cookies
- Coconut Macadamia Bark – White base + toasted coconut flakes + chopped macadamia nuts
- Spicy Orange Bark – Bittersweet base + candied orange slices + cayenne pepper sprinkle
- Cereal Bark – Crispy rice cereal + Cinnamon Toast Crunch + Lucky Charms
- Almond Toffee Crunch Bark – Milk base + chopped almonds + chopped toffee bits
- Nutty Bark – Dark base + chopped hazelnuts + chopped peanuts + chopped pecans
- Rocky Road Bark – Dark chocolate base + marshmallows + chopped almonds
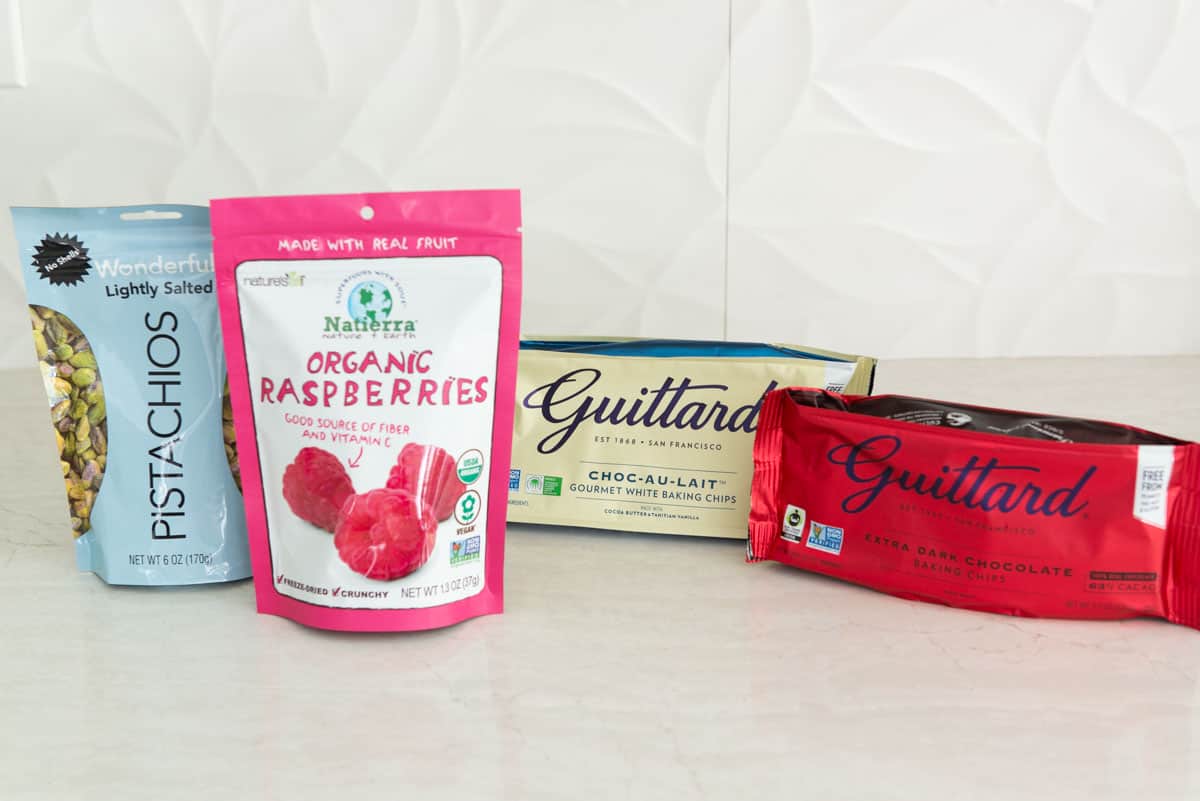
Make sure to buy the right ingredients
Do NOT buy chocolate bars from the candy section that are meant for eating and snacking.
I recommend going to the baking section and picking baking chips or bars that are meant to be melted.
Guittard is my favorite brand, but Callebaut, Vahlrona, Scharrfen Berger, and Ghirardelli are all great too. Use high-quality chocolate.
How to Make It Step by Step
Before we get started, make sure that NOTHING is wet in your setup. Make sure any cutting boards you use, any sheet pans, and even your hands are completely dry.
As I explain in my Chocolate Covered Strawberries post, chocolate is a “dry liquid,” made up of cocoa butter (fat) and dry particles of cocoa powder and sugar. If you get water in that liquid, you give the dry particles something to stick to, and they clump together.
Make sure toppings are ready to go first
Prep any ingredients you desire before melting the chocolate, because it will harden quickly.
While you can certainly keep the toppings whole, I recommend chopping the toppings into smaller pieces most of the time for a more cohesive eating experience.
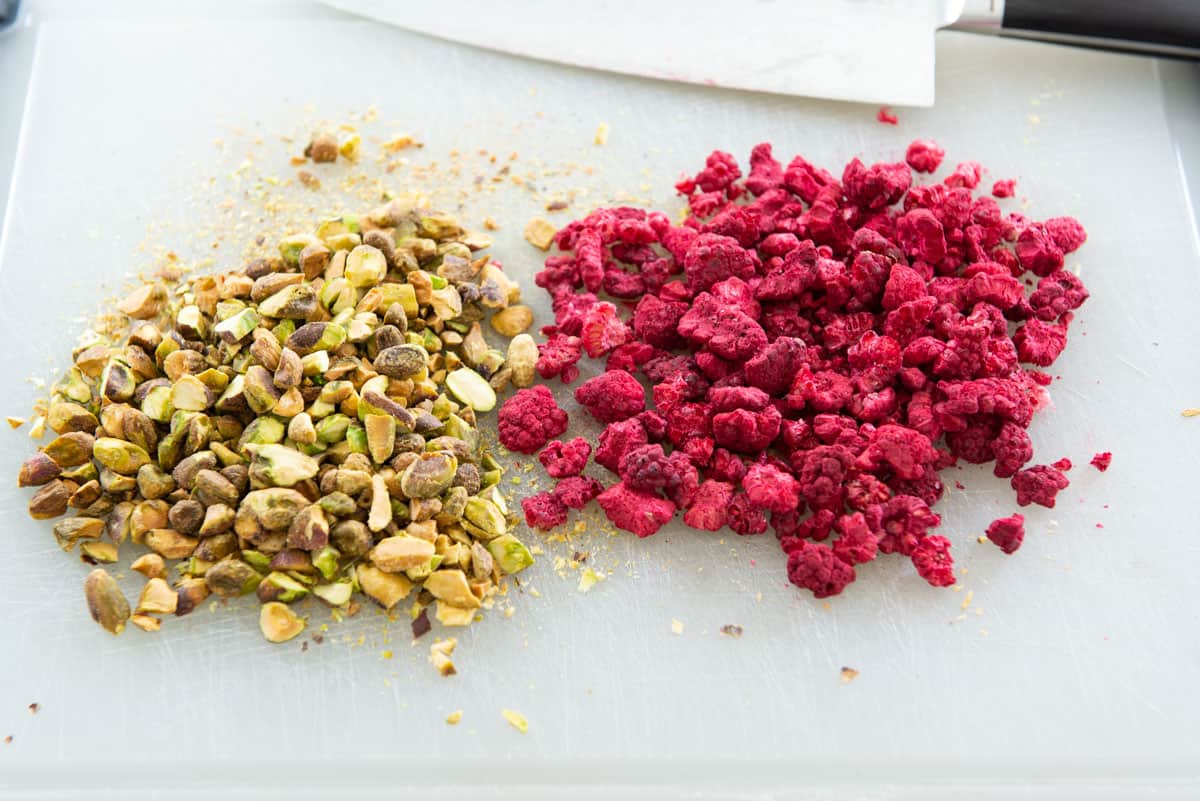
Two options for melting
1. For the most foolproof and safest way to melt chocolate, set up a double boiler, which is a heat-proof bowl over a saucepan with an inch of simmering water. Once the water is simmering, add the chocolate chips to the bowl, turn off the heat, and let the residual steam melt it all. Do not use a wooden spoon to stir, which may have moisture in it. Use a spatula. If you need more heat, turn it back to medium heat until the chocolate is all melted.
2. An easier and more convenient way to melt chocolate is to place chocolate chips into a microwave-safe bowl, and microwave at 70% power in 30 second intervals, about 3-4 times, stirring after each interval, until melted.
The only thing is you have to be very careful not to overheat the chocolate, or it may seize and turn grainy.
I stop microwaving when there are still a few unmelted chunks left, as usually there’s enough residual heat to melt the rest, and you don’t want to risk overheating.
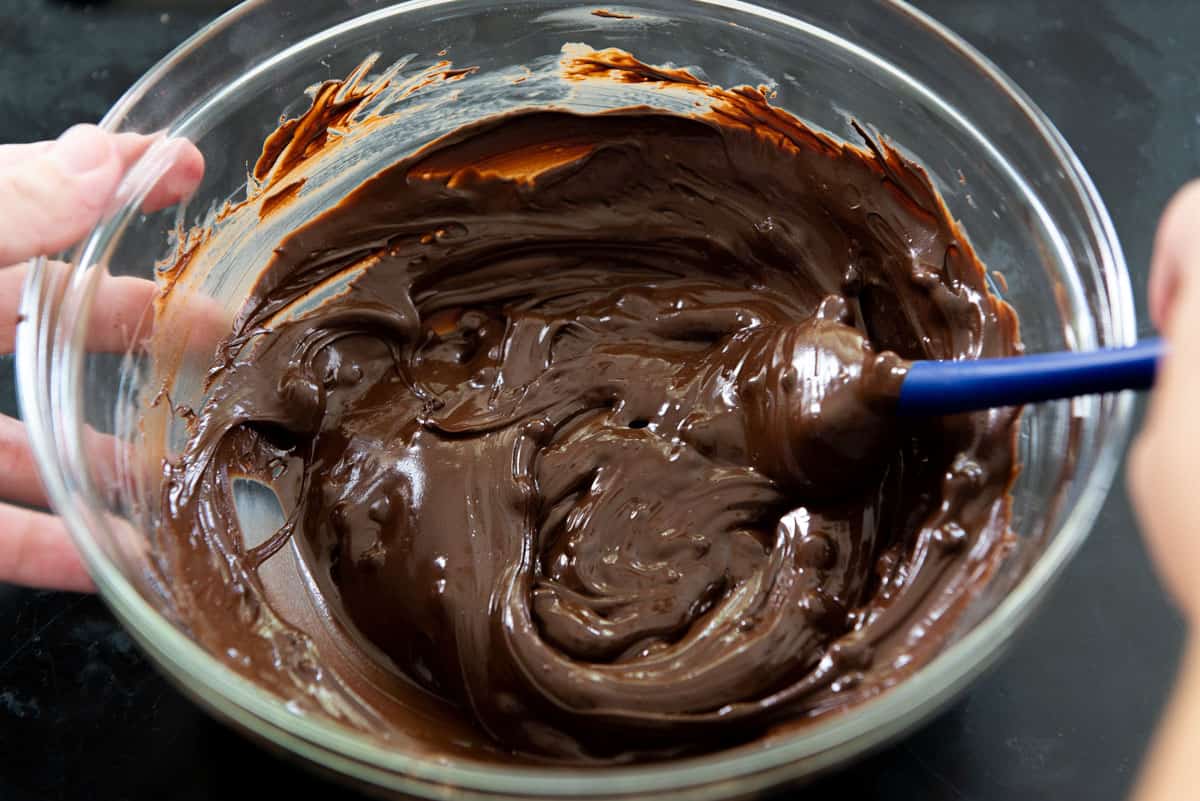
Put it all together, quickly
Spread the dark chocolate onto a piece of parchment paper or silicone mat (affiliate) set on a baking sheet to your desired thickness. Use an offset spatula if you want it perfectly smooth, but I prefer a more varied thickness.
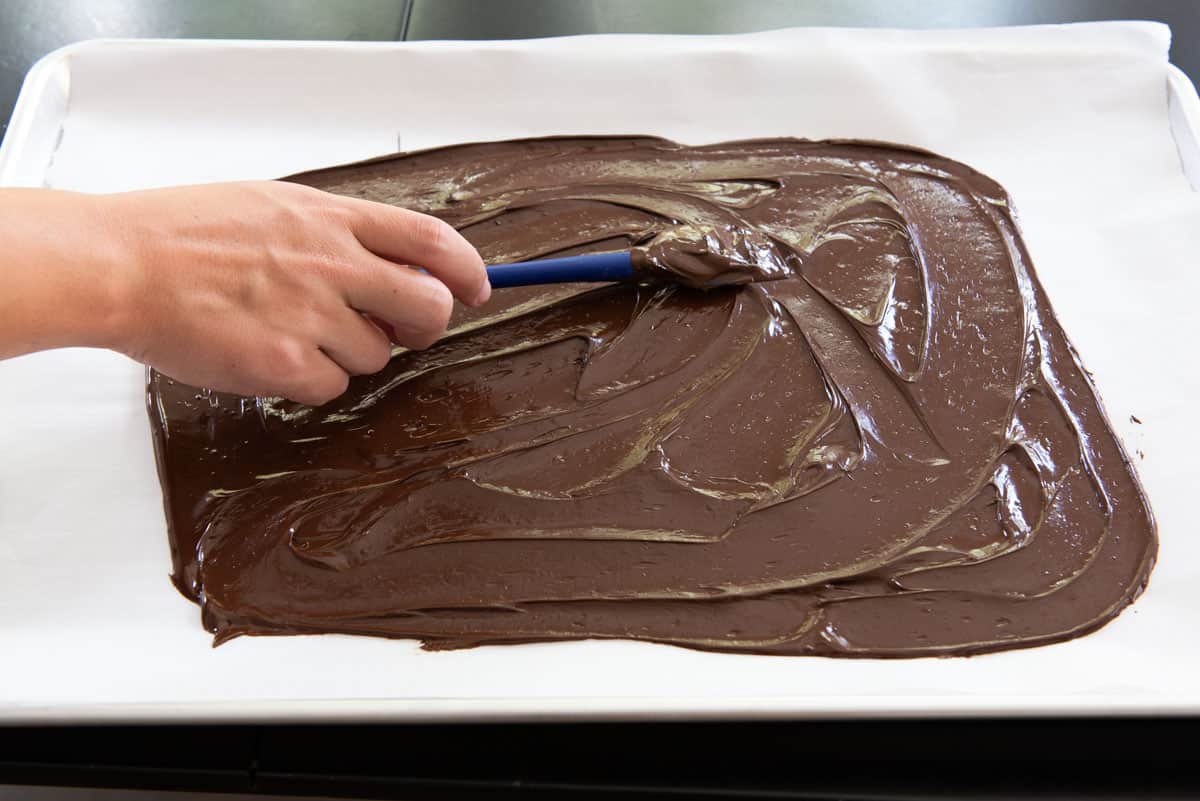
I usually do a thin layer about 1/4″ thick, but you could also do as thin as 1/8″ or as thick as 1/2″.
Promptly drop spoonfuls of melted white chocolate on top:
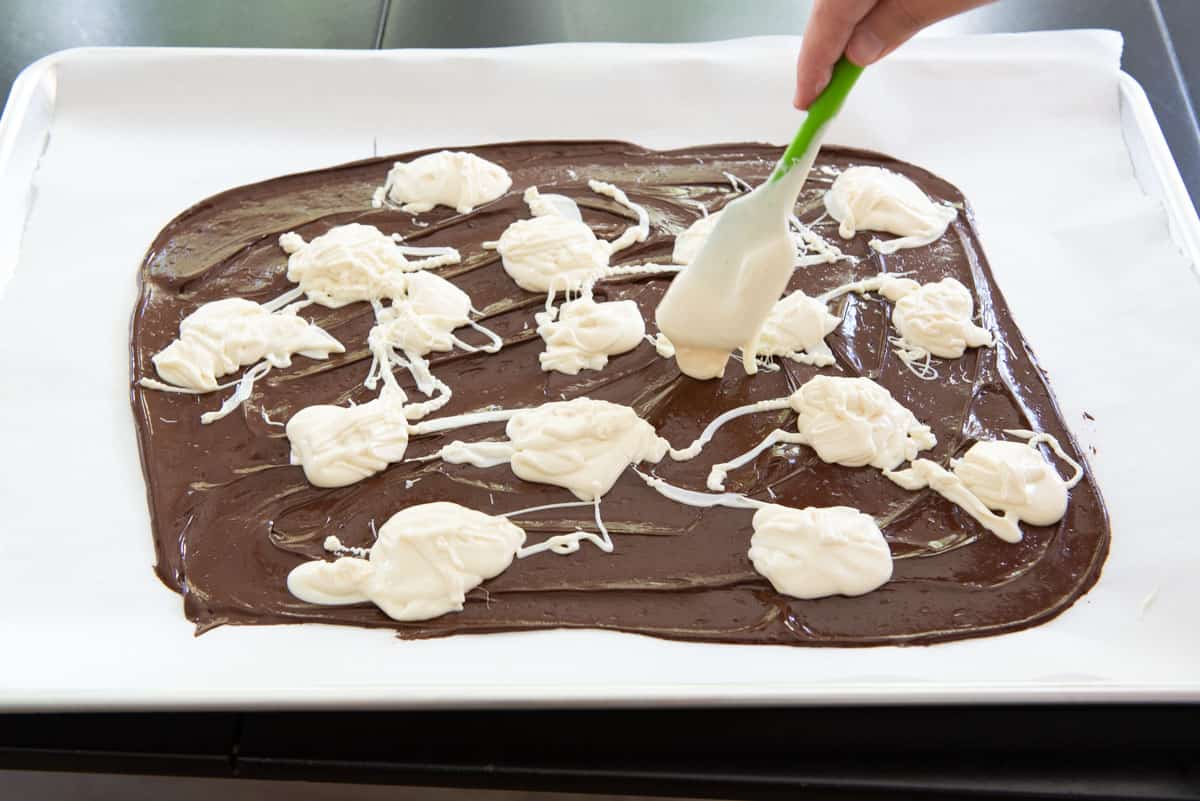
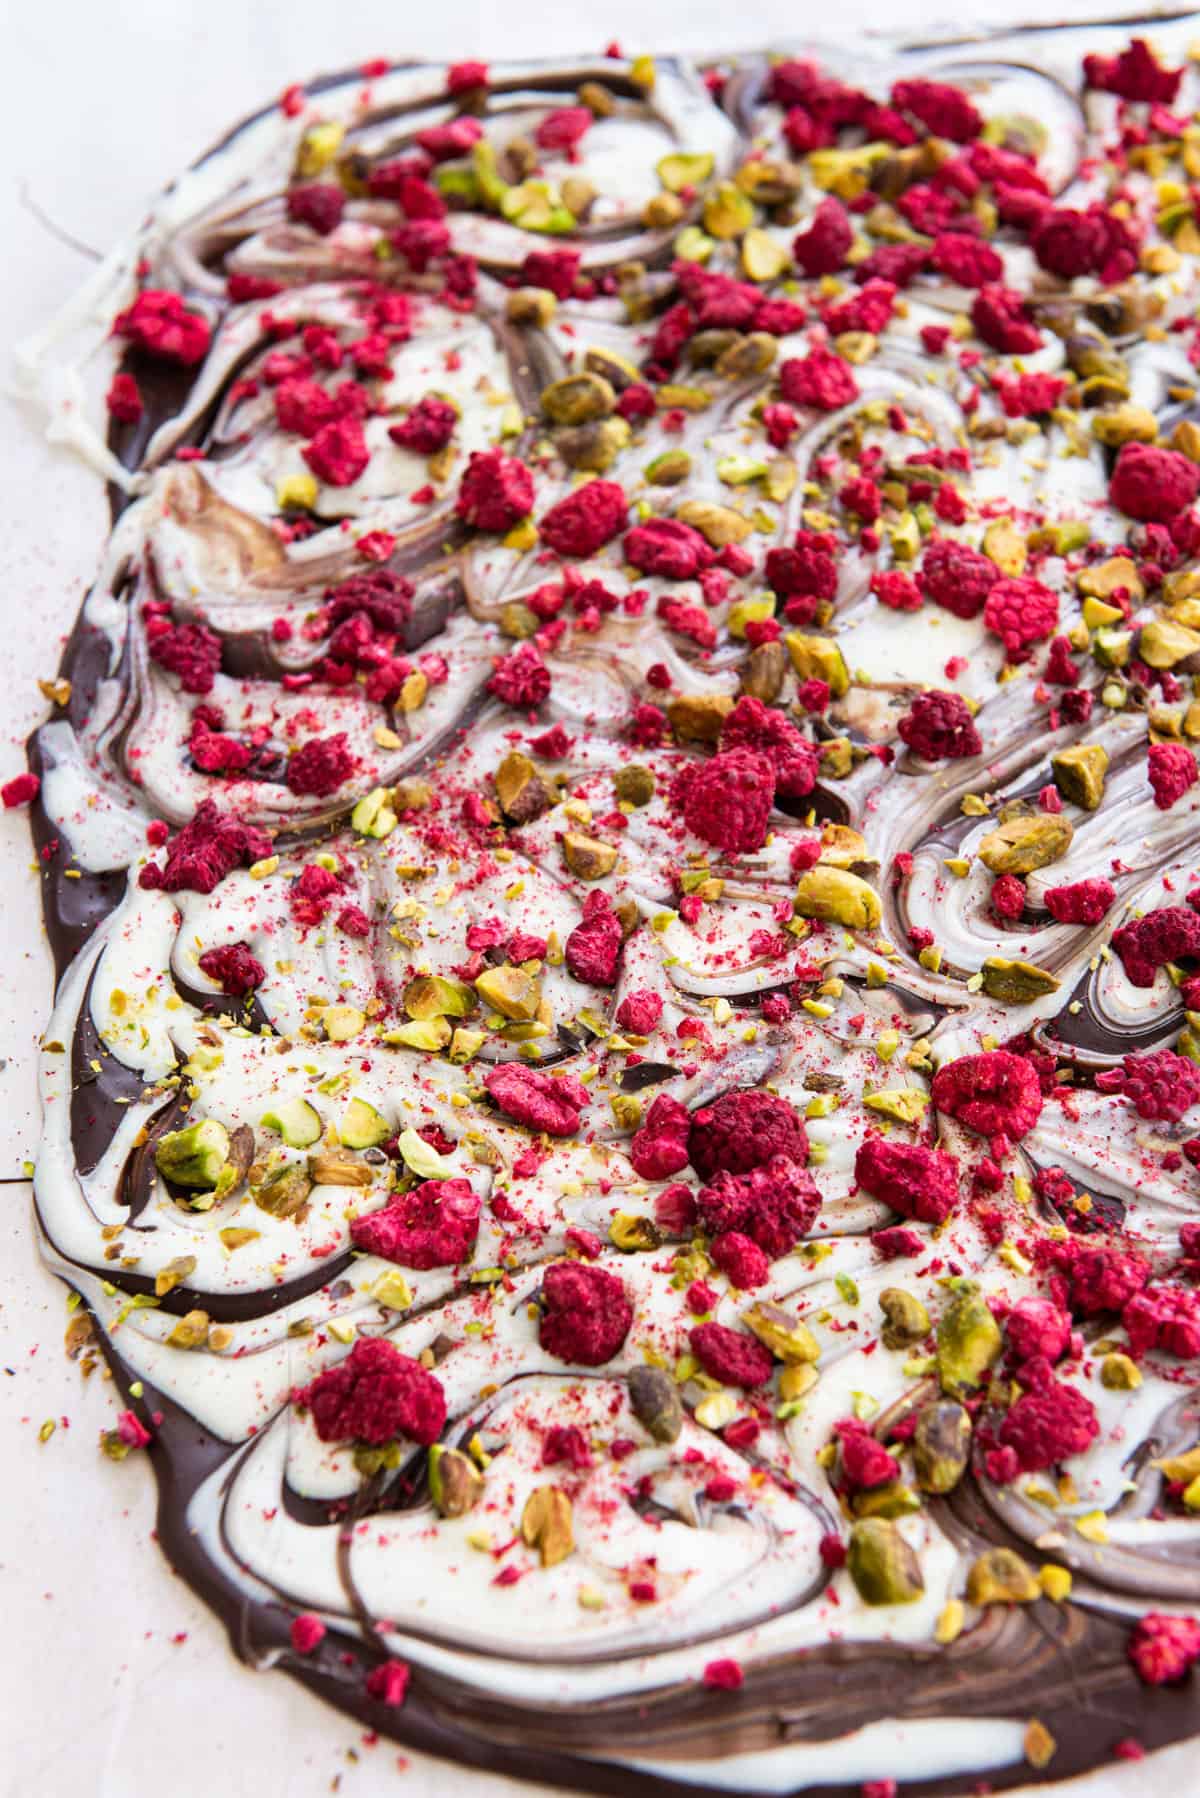
Now for the fun part! Use the tip of a spoon or a butter knife to swirl the melted chocolate together:
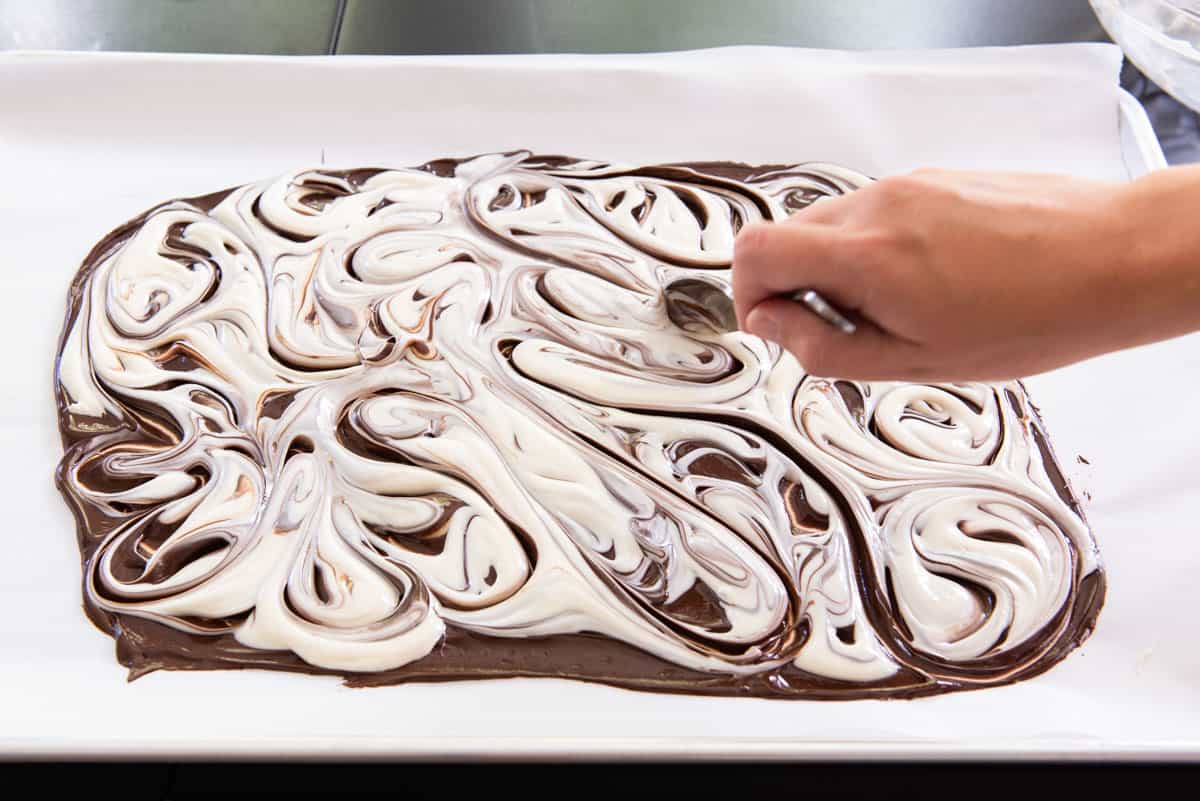
If the swirls peak too high into ridges, just drop the sheet pan on the counter a few times to flatten it together.
Finally, sprinkle on your desired toppings, while the slab is still soft.
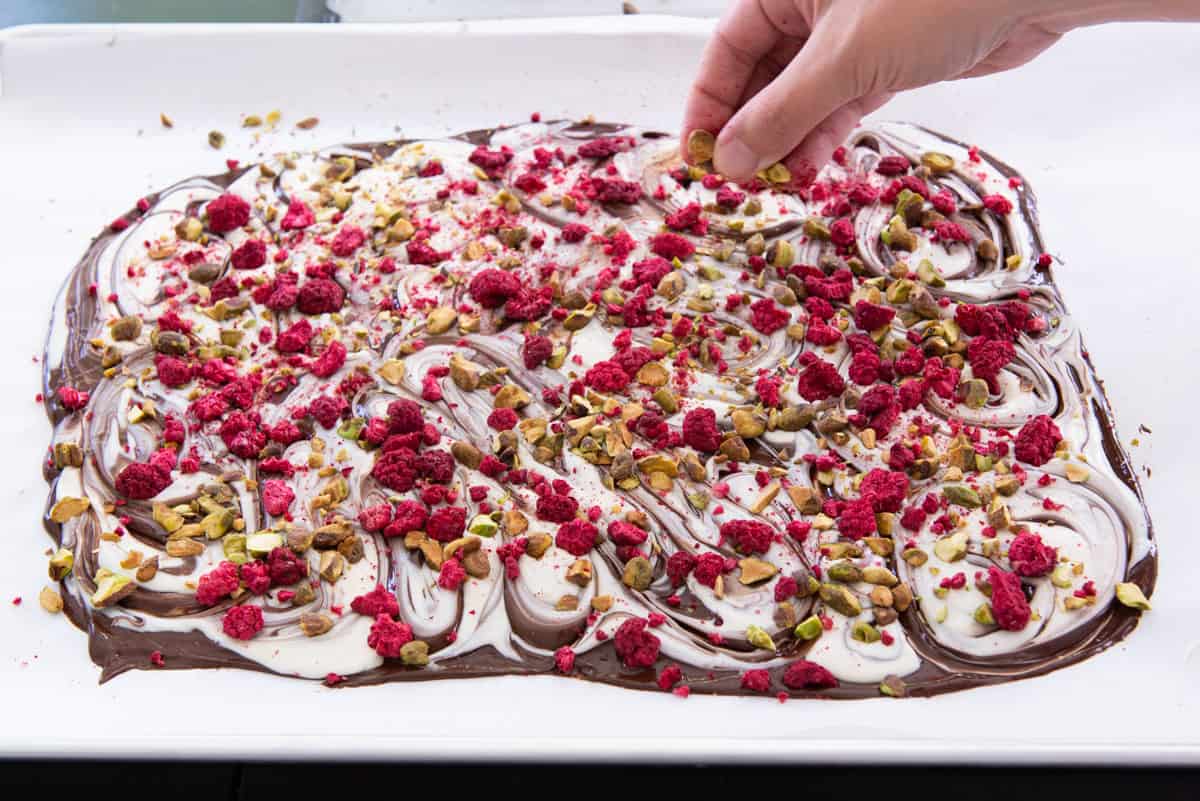
Here I’m doing freeze dried raspberries and pistachios. Dried fruit is also great, but raspberries specifically are hard to find in a dried state.
Let it firm up
The bark will need to firm up before breaking into small pieces. You have three options here:
Room temperature (preferred, because no condensation) – If you leave it at room temperature for an hour, it should be firm enough. If room temperature is quite warm, it may take up to 2 hours.
Fridge – Refrigerate for about 20 minutes, to harden. Don’t leave too long or excess condensation will build up, and the bark may absorb off flavors.
Freezer – Freeze for 5 minutes until firm. Don’t leave too long or excess condensation will build up.
Cut or break into pieces
It’s purely a stylistic choice, but decide if you’d like to use a sharp chef’s knife to cut shapes of your choice, or simple break it with your fingers. The pieces shown below are broken by hand. I love the irregular shapes.
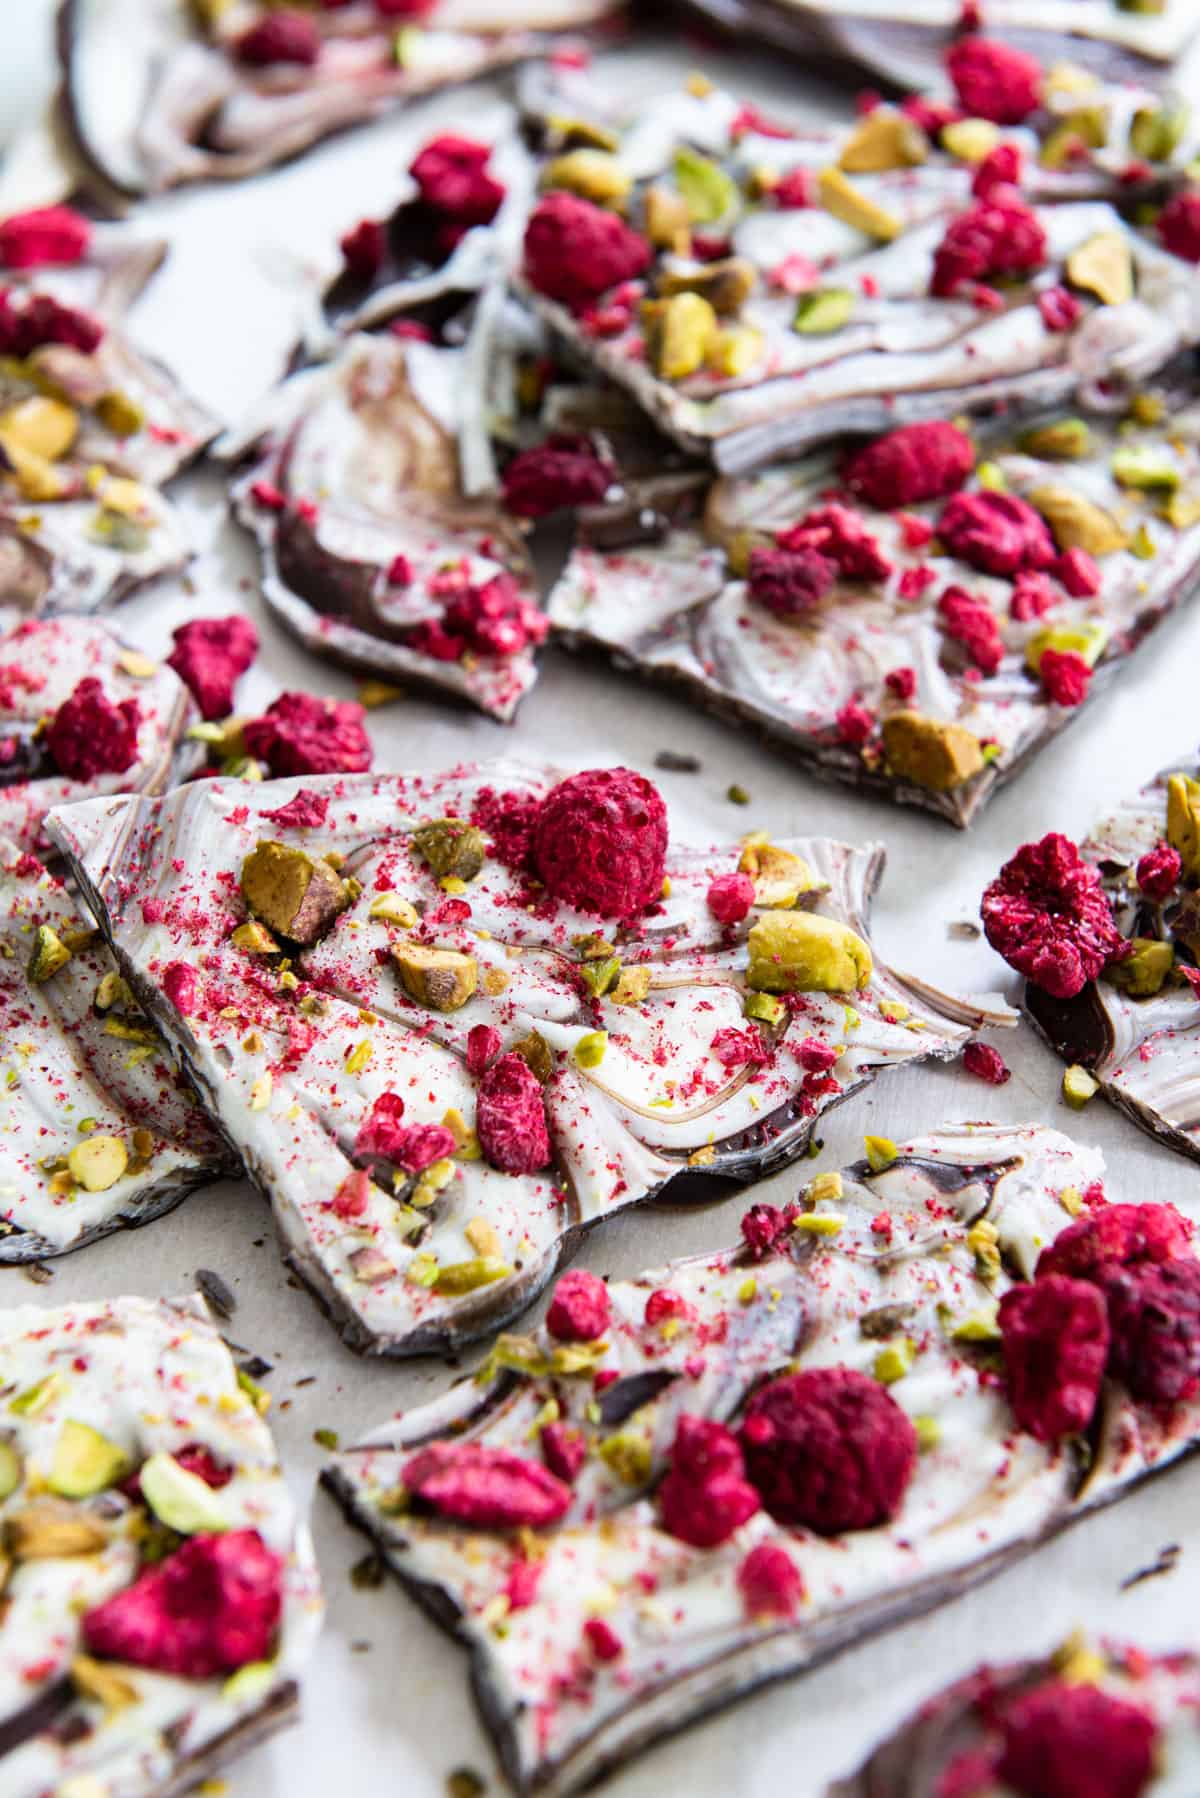
The pieces look really great wrapped up in cellophane and tied with a ribbon, or packed into a decorative tin for the perfect gift. This is especially great for Valentine’s Day and other holidays.
For more sweet treats, try Pecan Praline Candy, Chocolate Peanut Butter Balls, or Peanut Brittle. Enjoy!
Recipe FAQ and Tips
Store in an airtight container at room temperature for up to 1 month.
Yes, in an airtight container for up to 4 months.
This happens when the chocolate is overheated. The standard recommendation is to whisk in boiling water 1 tsp at a time until it smooths out again, but I prefer to use melted cocoa butter.
I like Guittard most, but Callebaut, Scharffen Berger, Ghirardelli, and Vahlrona are all great too.
Did you enjoy the recipe? Please leave a 5-star rating in the recipe card below and/or a review in the comments section further down the page. Or, follow me on Facebook, Instagram or Pinterest!
Chocolate Bark
Ingredients
- 12 oz bittersweet chocolate chips*
- 10 oz white chocolate chips*
- 1/2 cup chopped toasted pistachios
- 1/2 cup chopped freeze dried raspberries
Instructions
- Place the two types of chocolate into two microwave-safe bowls, and microwave in 30 second intervals at 70% power, stirring after each time, until melted. It should take 3-4 intervals. Be very careful not to overheat the chocolate. Stop microwaving if only little bits of chocolate are left, as there should be enough residual heat to melt the rest.
- Spread the dark chocolate into a large rectangle on parchment paper or a silicone mat to your desired thickness. I like it about 1/4" thick.
- Drop the melted white chocolate in piles on top of the dark chocolate. Using the tip of a spoon or a butter knife, swirl the two together. If high peaks remain from swirling, drop the tray on the table a few times to flatten it together.
- Sprinkle on the chopped pistachios and freeze dried raspberries while the chocolate is still melted.
- Let the bark harden completely before breaking into squares. You can usually accomplish this by leaving it at room temperature for at least one hour, in the fridge for 20 minutes, or in the freezer for 5 minutes. Room temperature is best for preventing condensation.
Notes
Nutrition
Nutrition is estimated using a food database and is only intended to be used as a guideline for informational purposes.
Post updated in October 2021. Originally published in January 2013.

2 Comments on “Chocolate Bark”
Mmm…chocolate and cashews and dried apricot…sounds amazing! I can totally understand how all of those flavors would just meld into a wonderful taste of….well, deliciousness!! 😀
Hope your back feels better soon, Joanne!!
Love it! S’mores with Chocolate Bark is so enticing! What a splendid idea!