Grilled New York Strip Steak
I have grilled hundreds upon hundreds of steaks, and these are all the tricks I follow for making the best Grilled New York Strip Steak. Follow these tips for the most juicy, flavorful, and tender beef!
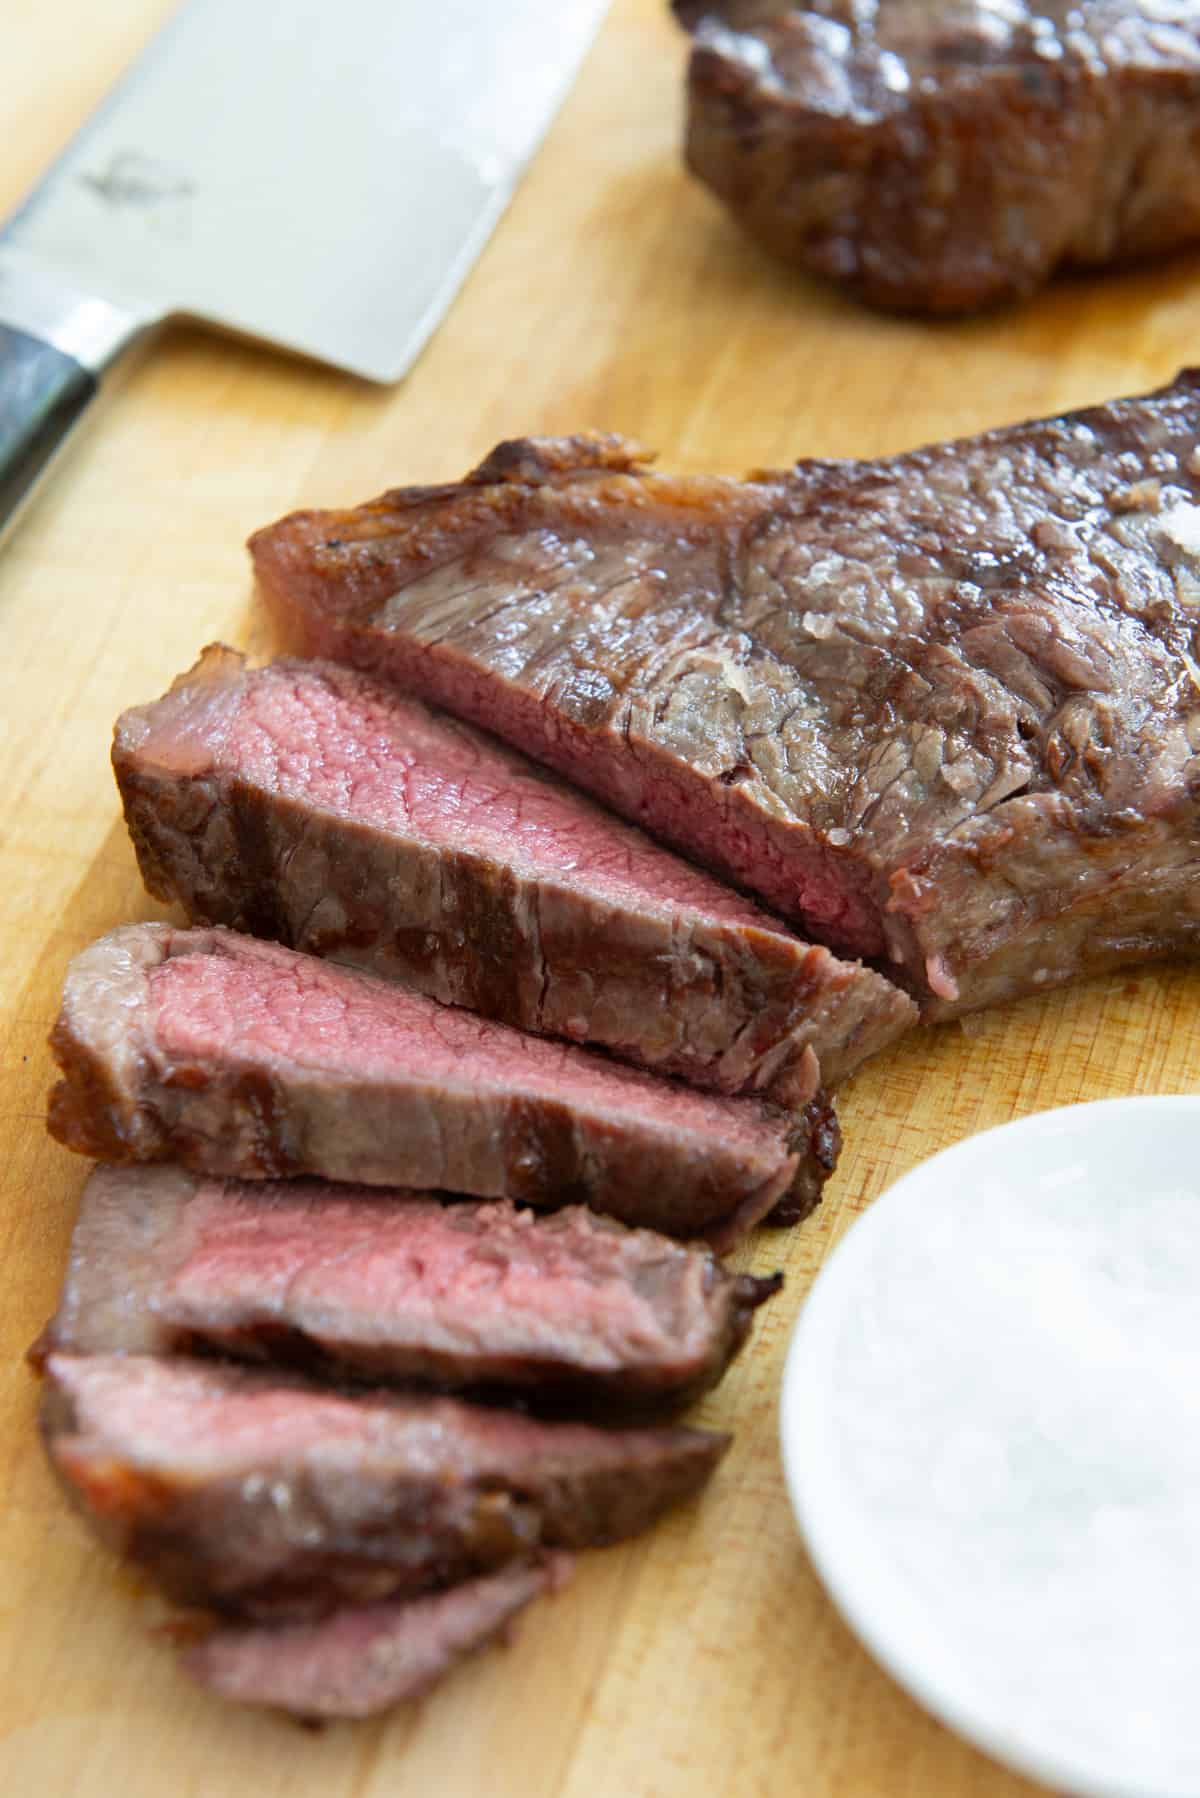
Beef is the king of all meats in my family, and we usually eat it for lunch or dinner every single day.
While I have made steaks on the stovetop (see Pan Seared Steak using a cast iron skillet) and in the oven due to cold climate limitations, I’ve been in a snow-free climate for 4 years now and grill out daily.
Grilling is hands down the best way to cook steak, and especially NY strip steak. It is also called strip loin steak because it is cut from the short loin of the cow. It is a very tender and beautiful cut of beef.
Cooking this cut is very similar to how I make Grilled Ribeye and porterhouse steaks, and typically takes less than 10 minutes. It maximizes sear on the outside, with a juicy pink interior.
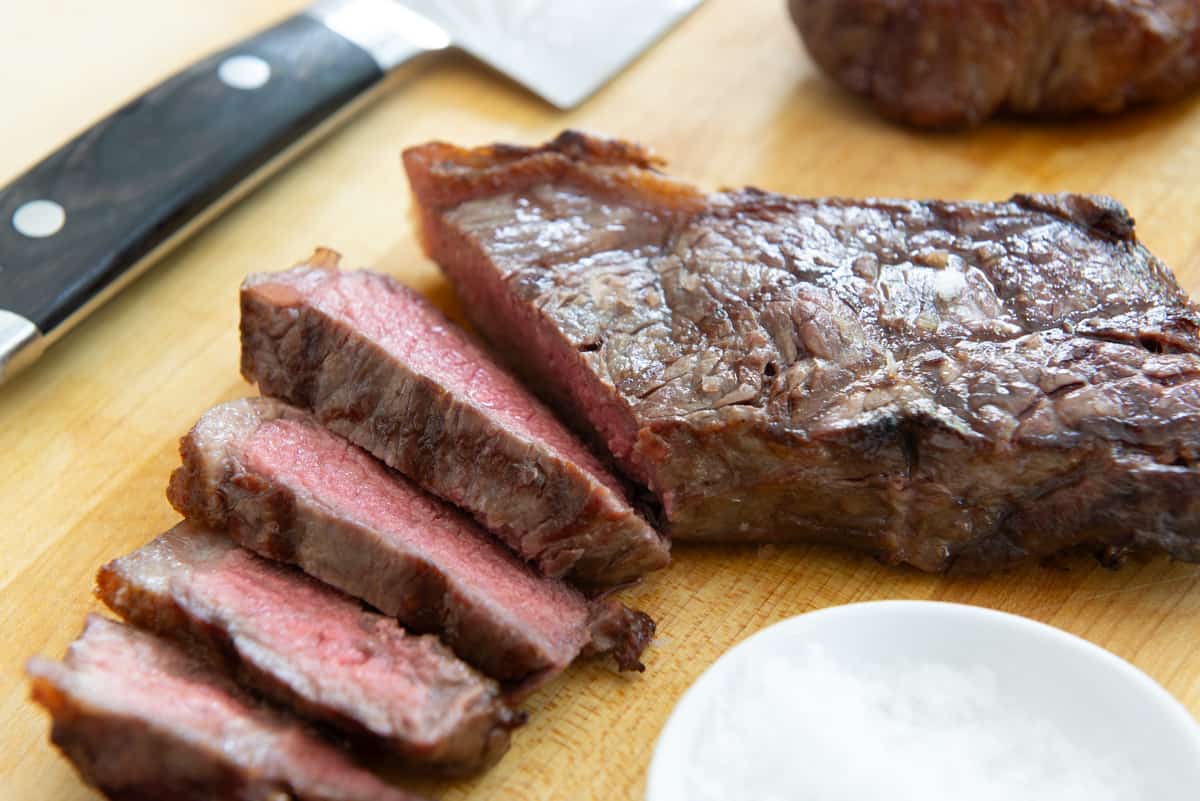
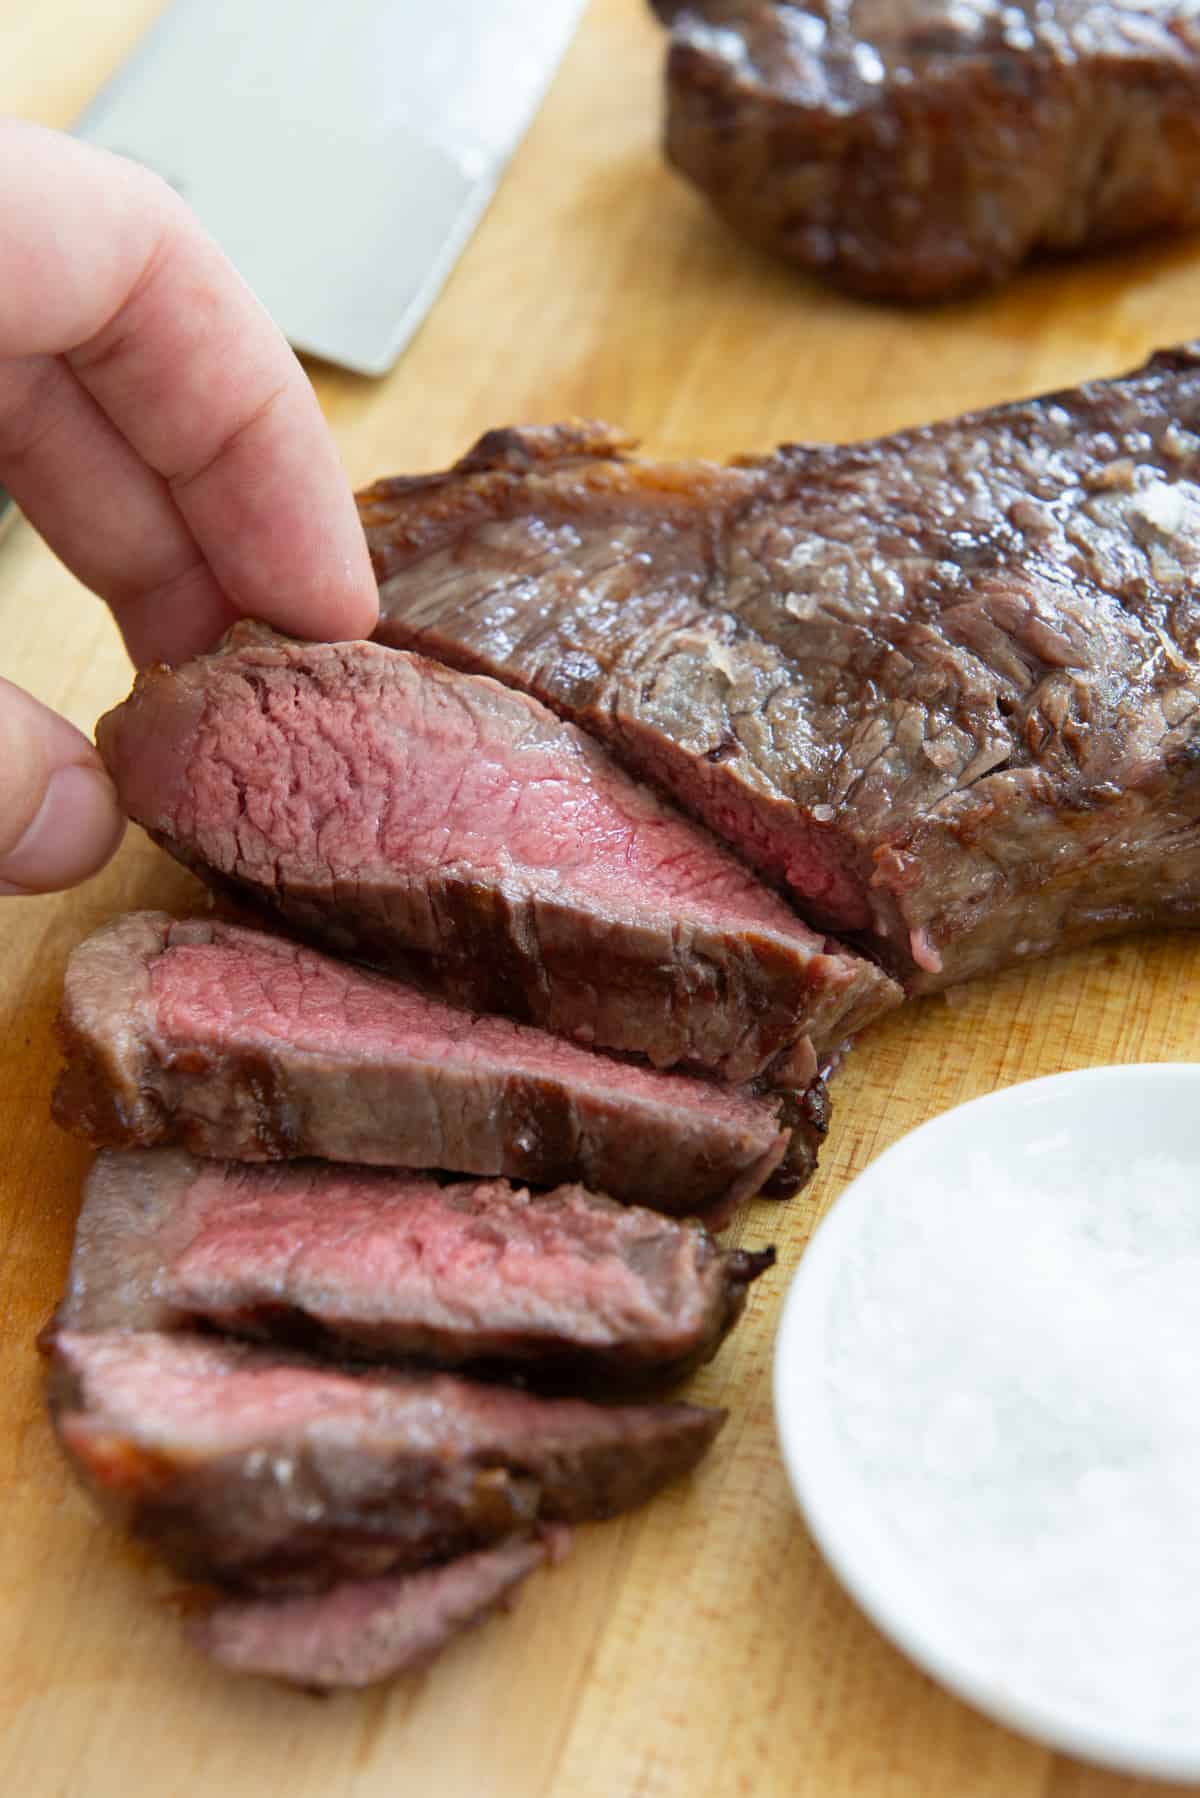
Look how gorgeously pink and tender the beef is:
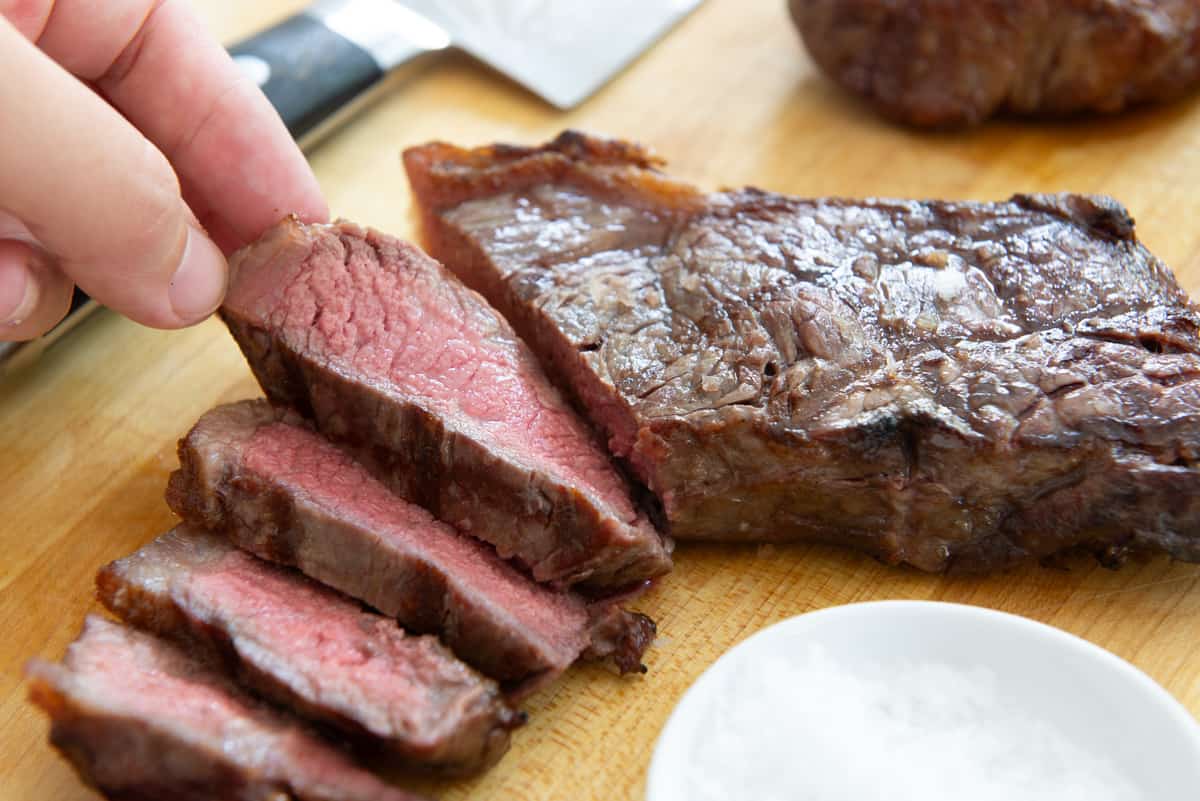
That to me, is perfect new york strip steak!
Why This Method Works
We utilize multiple heat sources on the grill for perfect cooking – While a lot of the benefit of grilling is the singe of high heat those cast iron grates make on the outside of the steak, you actually want to partially use the lid to turn it into an oven as well. This makes it so that the interior of the steak heats up without overcooking the exterior.
Incredibly tender – You’ll notice that I call for taking the beef out of the fridge at least an hour before cook time, and preferably 90 minutes. I cannot overstate what a huge difference this makes for tenderness.
Incredibly juicy – There are a few tricks that help keep the juice inside the steak, like letting the meat rest on a wire rack instead of a plate.
So good it only needs salt – I only season with salt here because the beef is truly that good, but with that said, feel free to use a simple seasoning you enjoy, whether that’s black pepper or a steak rub.
Step by Step Overview:
While the tips shared here are important, much of the battle is picking out good beef from the grocery store. Look for the most well-marbled pieces you can.
Take the beef out of the fridge 90 minutes before cooking
I know it can be annoying to plan ahead, but this makes ALL the difference for juiciness and tenderness later on.
Believe me, I have tested this many, many times, and it is essential for the best results possible.
There have been times when I didn’t get home early enough to take the meat out in advance and I cooked it anyway, and I always got drastically less tender steak.
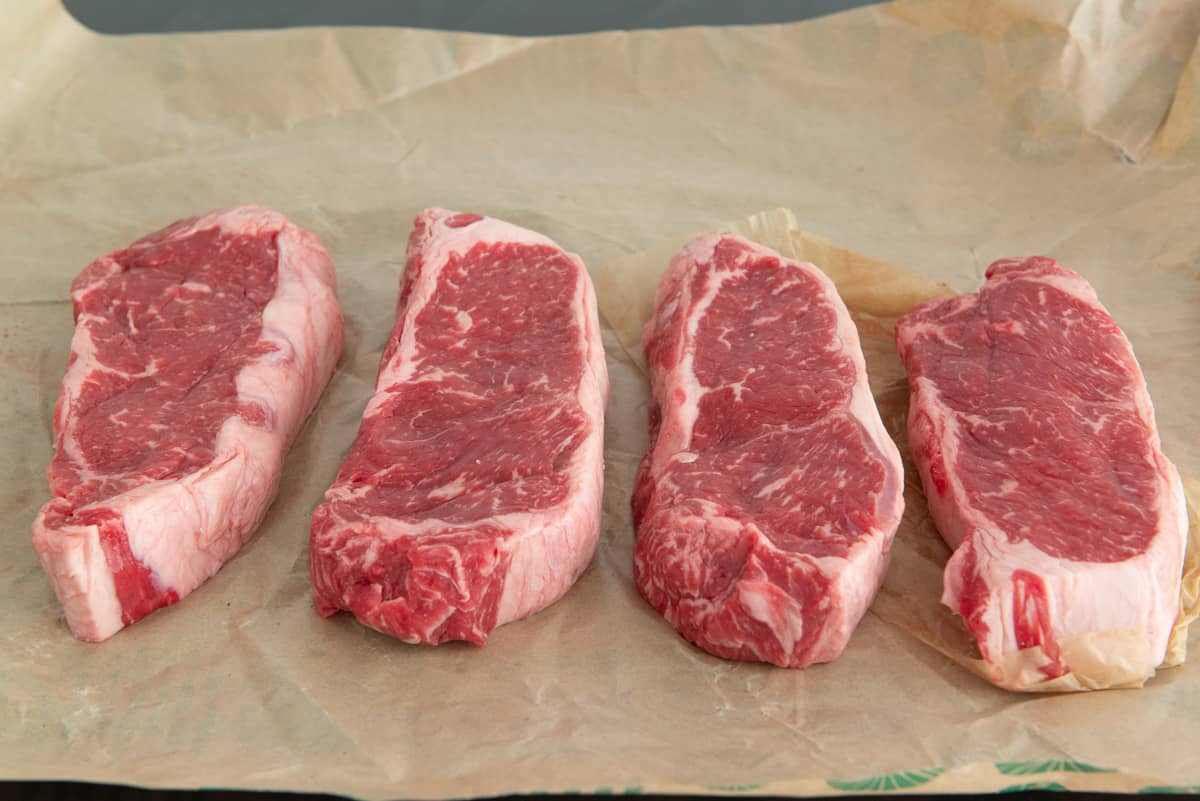
The reason why letting the steaks warm up at room temperature helps so much is you don’t have to cook the meat as long. Your starting point is a lot higher.
It’s the same idea as my Glazed Spiral Ham, which is far juicier than your average ham, simply because it needs less cook time after warming up beforehand.
Traditional vs Grass-fed Beef
I’ve cooked and eaten many different types of beef, and my preference for marbling, juiciness, and flavor is definitely traditional beef. Buy Choice at a minimum, or USDA Prime, if you can afford it.
If you prefer grass fed steak, you can absolutely use this recipe. Just make sure you keep an eye on doneness, as grass fed beef cooks faster and is less forgiving if you overcook it.
Also, if the steaks look excessively wet, blot them dry with paper towels.
Season liberally with salt just before cooking
Season the ny strip steaks all over with kosher salt, and not just the bottom and top, but also the sides of the steak.
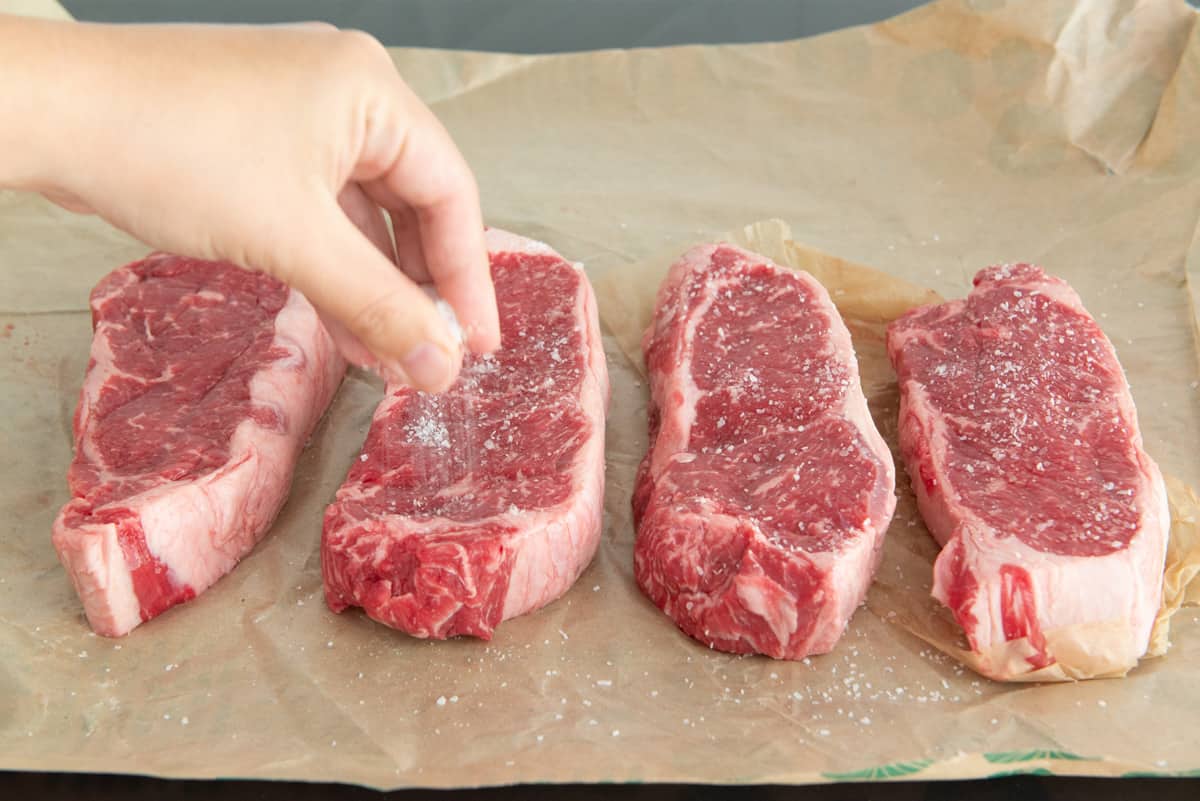
As a guide, I do 3/4 tsp of kosher salt for each 1-lb steak.
Note: If it’s a good steak, all I use is salt, so I can appreciate the flavor of the beef. However, if you want to add any other spices or a favorite dry rub, now is the time. There is no need to rub the outside with olive oil or anything else, just rub the spices into the meat.
Preheat the grill and get your rack ready
I have learned this the hard way, but you never want to get your meat on before having your rack or plate ready and standing by on the side of the grill.
If for some reason you happen to have a flare up, or if the steaks are done, you want to have a place ready to get your precious meat off the fire immediately.
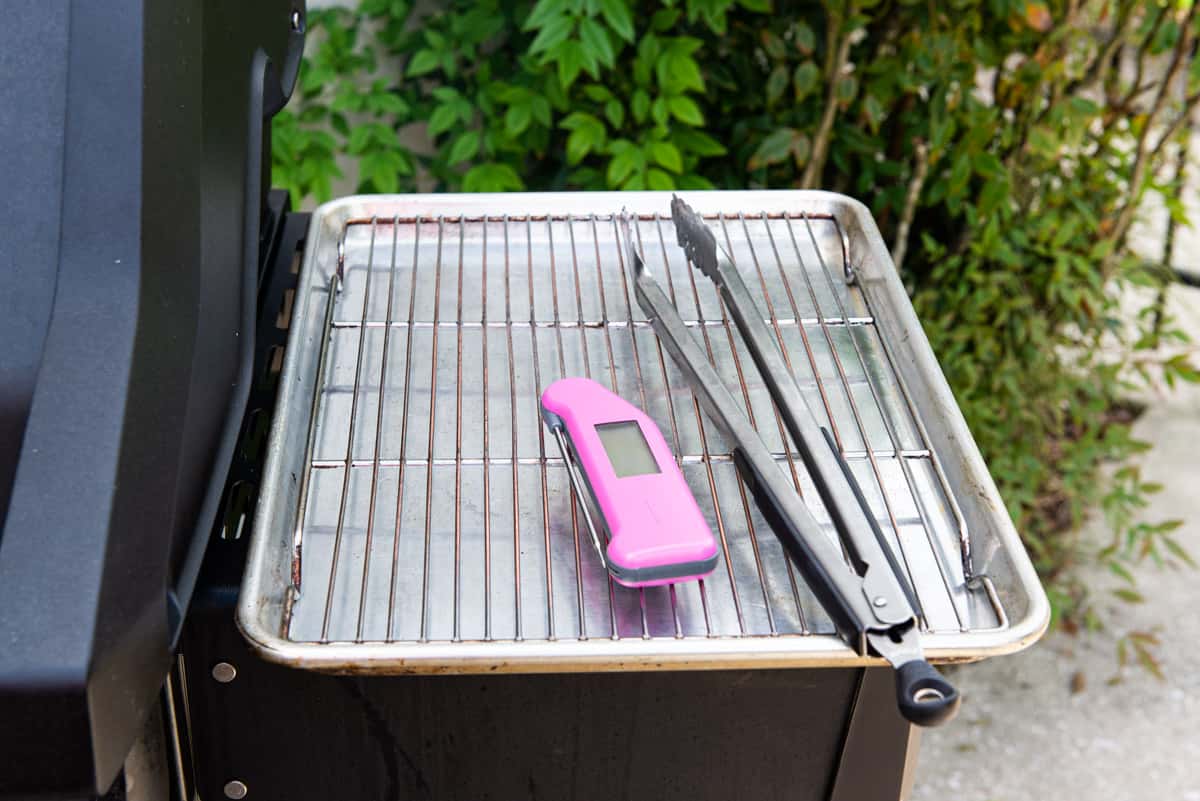
For preheating, make sure to preheat your outdoor grill for at least 10 minutes. I have a 3-burner gas grill, and I only heat 2 burners, which preheats the internal temperature to 550F or 600F.
When I actually begin cooking and have the lid opening and closing every couple minutes, the temperature hovers around 450F, a medium heat for most grills, which is perfect.
The other bonus to only using 2 of the 3 burners, is that if the surface of the steak gets too dark from flareups (which can often times mean you need to clean your grill), you can always move the steaks over and let them keep cooking with indirect heat.
Time to grill!
After preheating the grill, place steaks side by side, at a slight angle. Make sure you hear the meat sizzle when it hits the grates, as this indicates it’s truly a hot grill.
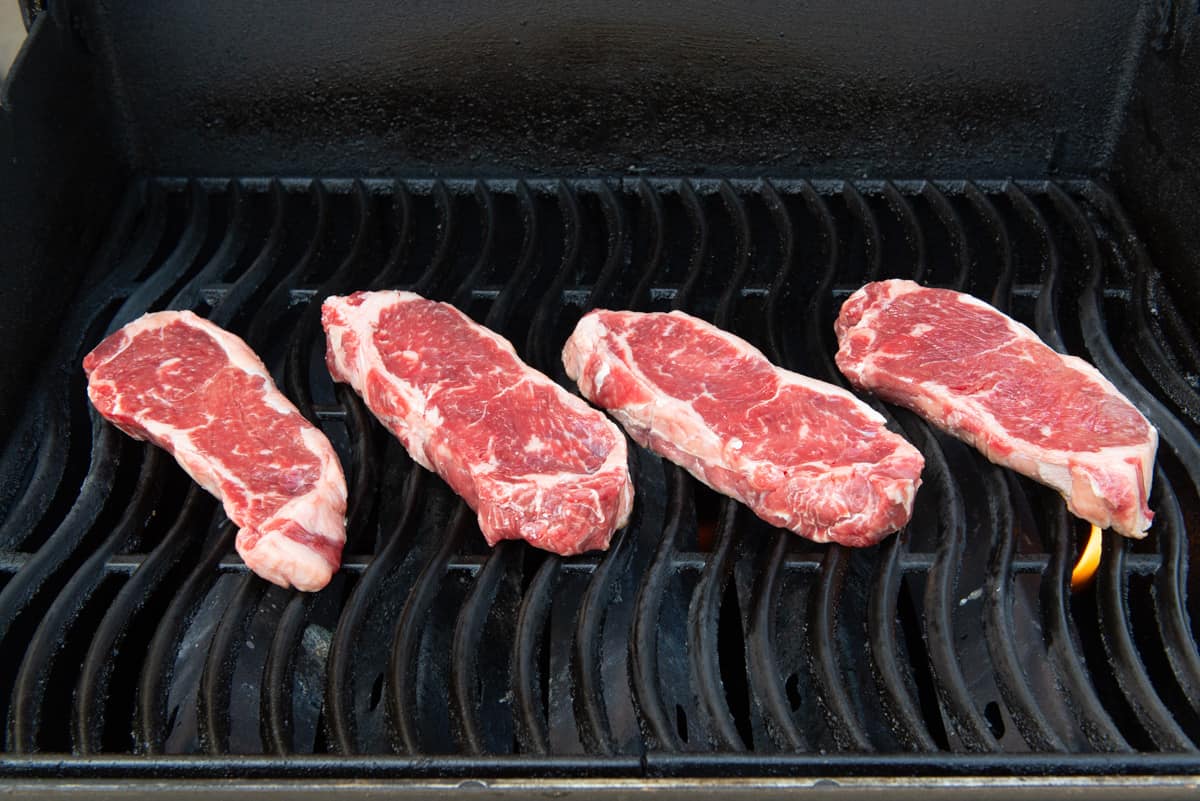
Close the lid and let cook for 2 minutes, then open the lid and check if there are some good grill marks on the underside:
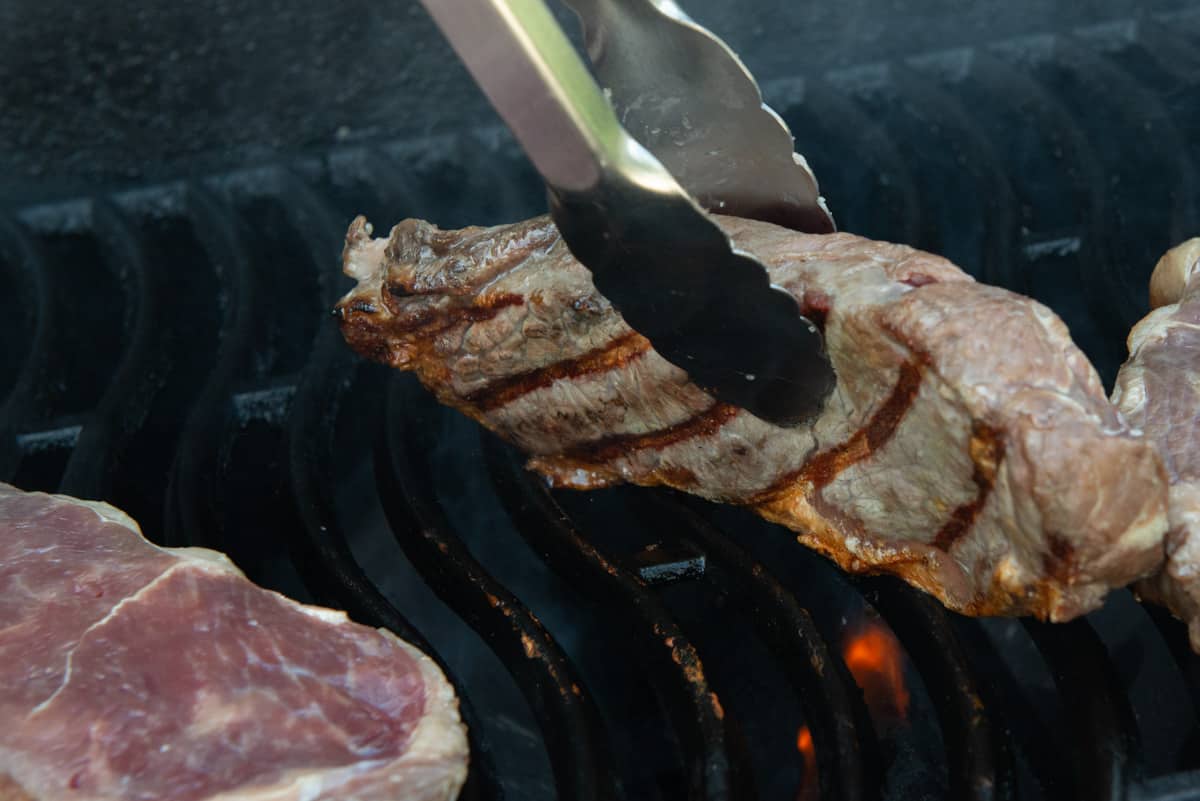
Turn the meat 90 degrees
Now turn the meat the other direction, so that you get even more grill marks going the other way.
You are still grilling on the SAME side, just getting even more caramelization on the meat. Close the lid again for 2 minutes.
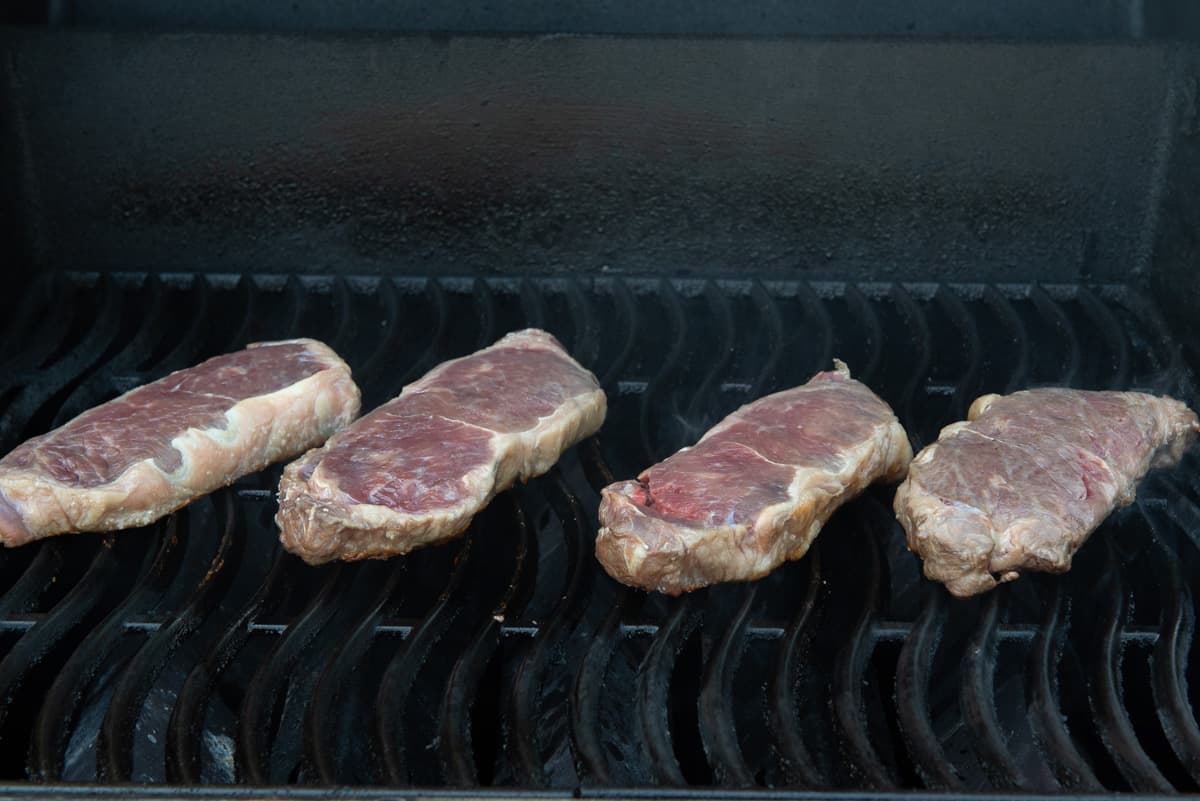
I acknowledge the meat looks ghastly in color in the above photo, but it shouldn’t look as dramatic in person, and it certainly won’t look like that in the end after flipping.
Flip!
Check again that you’ve got nice grill marks from that 90 degree turn:
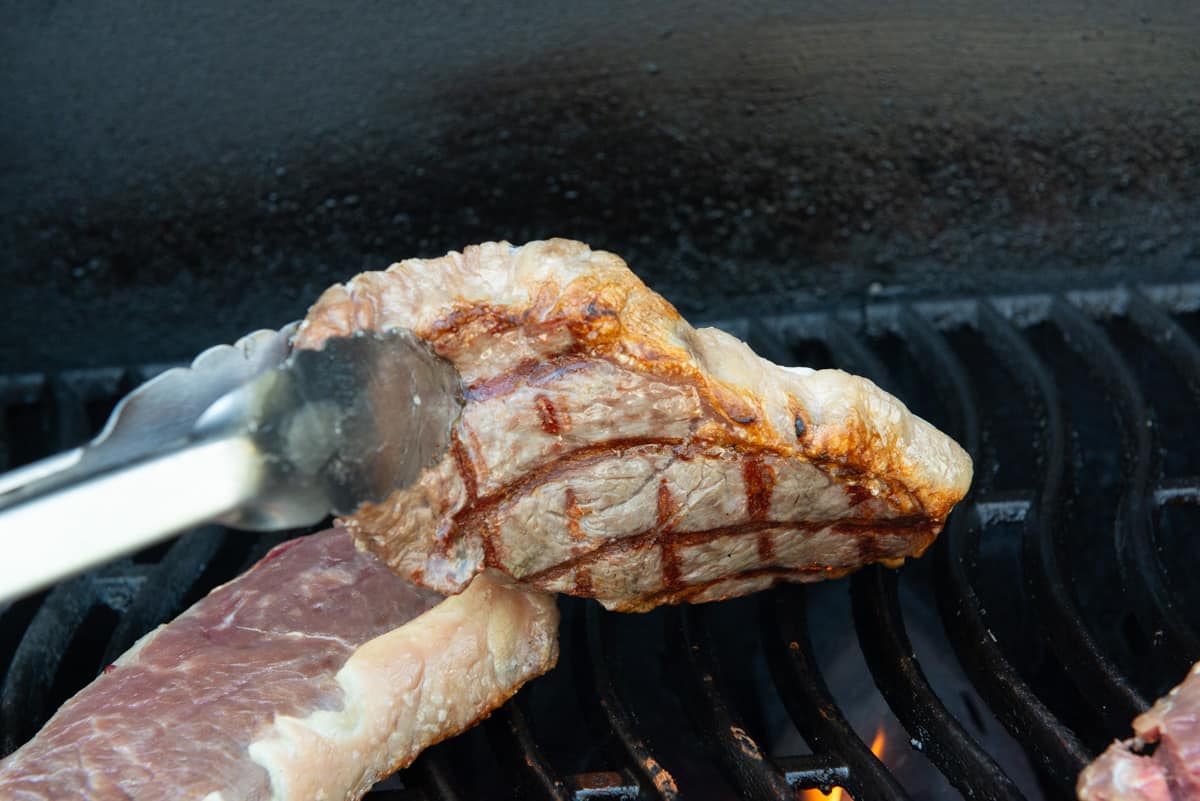
Then flip the steaks over entirely. Close the lid again for 2 minutes.
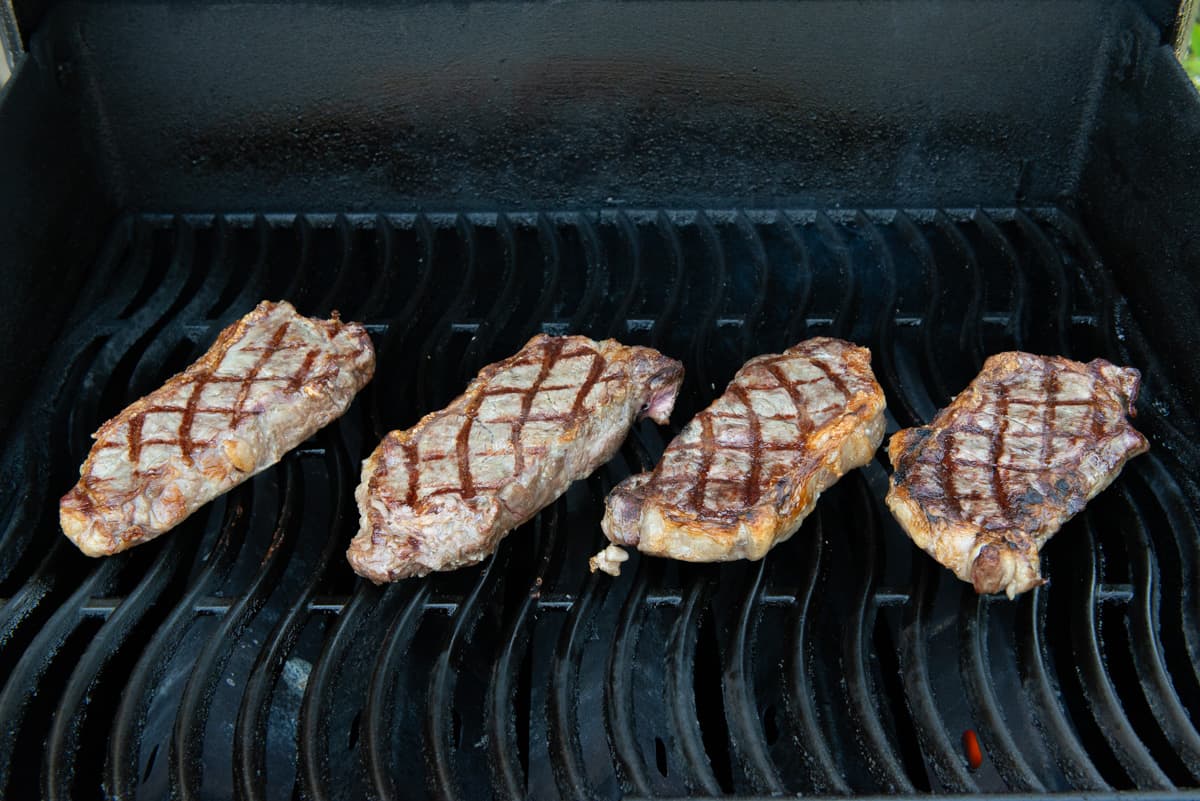
Then do another 90 degree turn, and 2 more minutes.
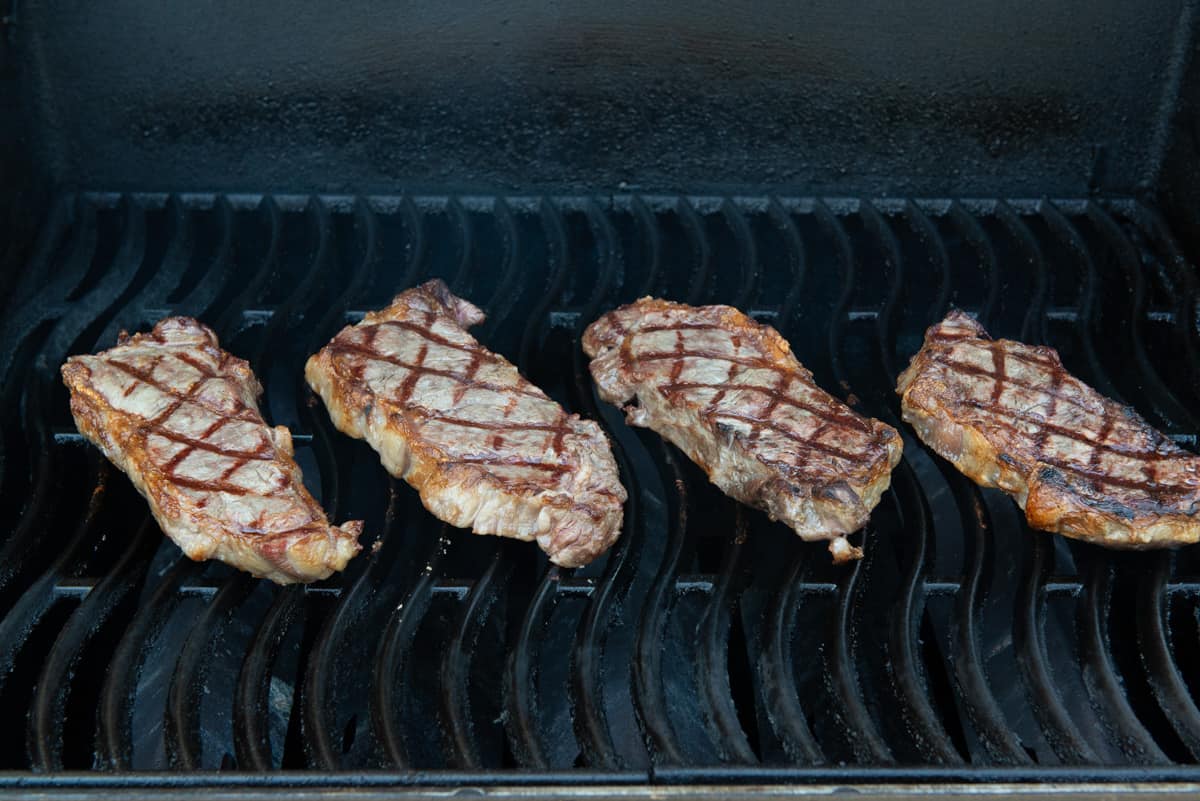
You’ll notice that we did about 8 minutes of cook time here, which I find is pretty reliable for a 1.25″ thick steak for not going past rare at the very least.
If you have a 1-inch steak, you may want to do 6 minutes, for example. Make sure you do not cook by time alone, but also by signs of outside doneness and a thermometer. A thermometer is a must (affiliate), because exact grill time varies depending on how hot your grill is.
You can see below that I’ve got a reading of 121F, which is about perfect for my target of rare to medium-rare doneness.
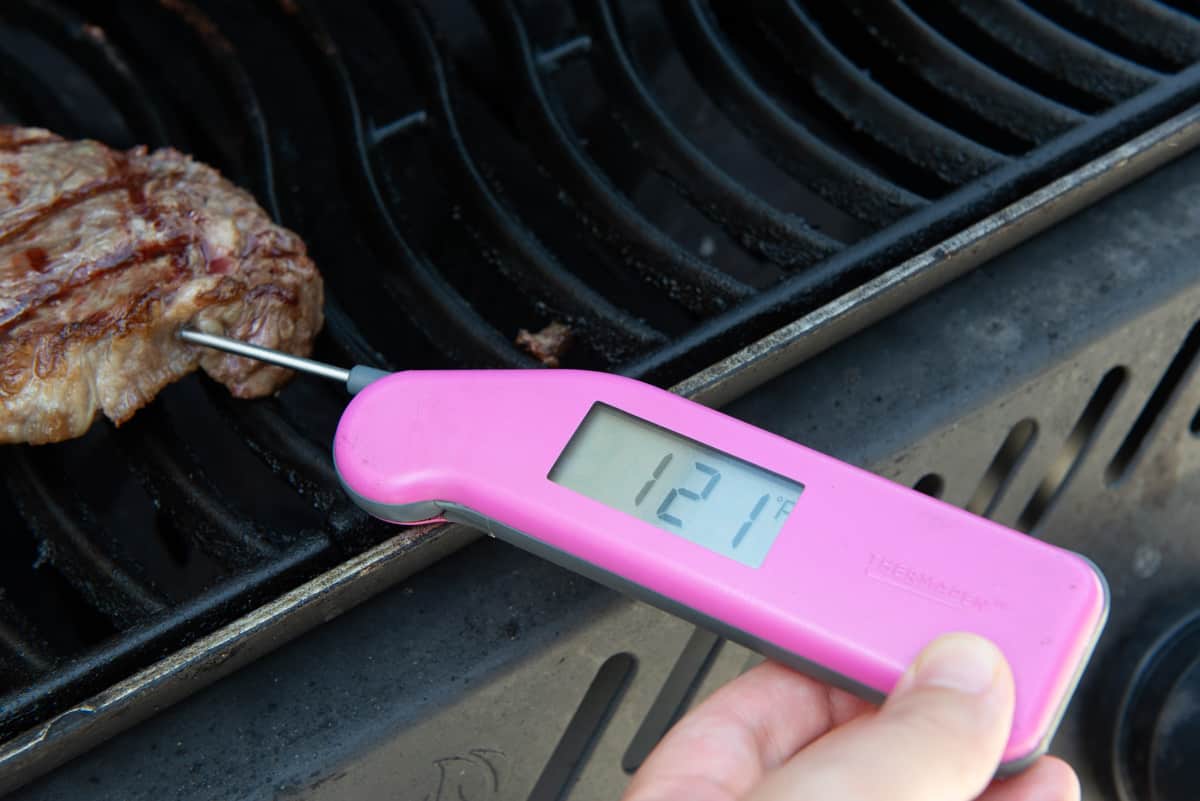
The beef will always go up another 5 degrees or so from carryover cooking, even after it’s removed from the heat.
Temperature Guides for Doneness:
Keep in mind that steaks will “cook” another 5 degrees F from carryover cooking after you remove them from the heat, so always pull them a little early to get your desired doneness.
- Rare – 125°, very red inside, cool interior
- Medium rare – 135°, red inside and warm
- Medium – 145°, pink inside and warm
- Medium well – 150°, slightly pink inside and warm
- Well – 160°, no pink inside
I like my beef cooked rare, but most people enjoy a medium-rare steak, and this is standard at most restaurants. This ultimately depends on personal preference.
Make sure to use an instant-read thermometer for accuracy, inserting into the thickest part of the steak. My favorite meat thermometer is made by Meater, but Thermoworks is great too.
Rest the beef (don’t skip this step)
Let the steak rest on the wire rack for 5 minutes. This is essential for having the most juicy steak possible. You may also cover the steaks loosely with aluminum foil if desired.
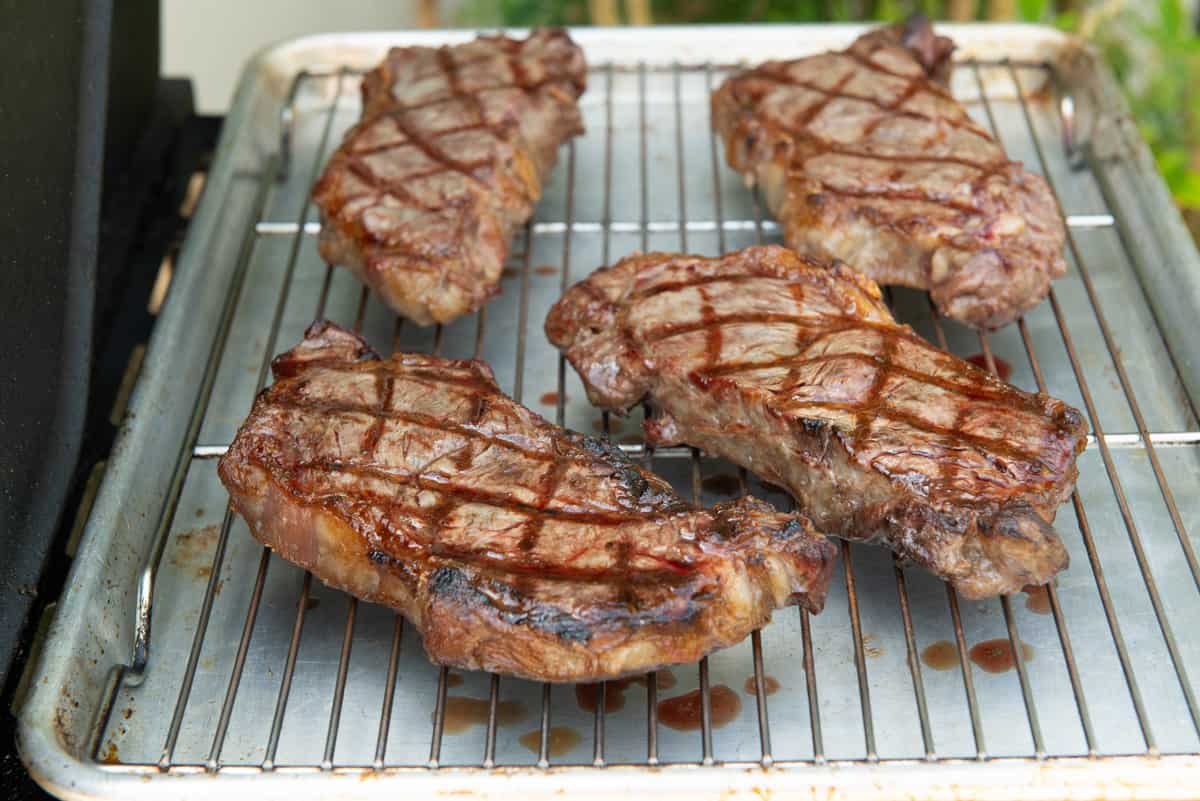
Look how little juice leaves the steak when it’s rested on a rack like this. I learned this trick from Chef Rob Magee of Q39 restaurant in Kansas City, and as someone who used to put my steak on a plate that inevitably pooled with juices, it’s a great trick.
Serve!
Your steaks are now ready to be savored. If desired, you can slather the top with a little butter, or even a compound butter made with garlic and herbs.
You can also add a little salt on top, such as a fancy Maldon sea salt.
Suggested Side Dish Pairings
If you’re looking for some complementary pairing, this new york strip steak recipe goes beautifully with the below side dishes:
- Potato Gratin – This is a classic side for beef and it’s really hearty
- Crispy Smashed Potatoes – Potatoes are the perfect pairing for steak, and these have a nice crispiness
- Steak Fries – These are really easy to make and cook in the oven, and have a nice “heft” to them
- Roasted Parsnips – A vegetable side that has a really nice flavor with the steak
- Maple Glazed Carrots – So classic with red meat, and has a lovely sweetness
Recipe FAQ and Tips
Store in an airtight container in the fridge for up to 4 days.
My favorite way is to throw it on the grill again for about 5 minutes, just enough to warm the interior. You may also heat it in a 300F oven for 8-10 minutes, until warmed through.
I’m a purist and like salt only, but this Sazon Seasoning is excellent if you want something more flavorful. Fajita Seasoning is also pretty good on beef.
Absolutely! The cooking is more or less the same. Try to match the temperatures I share above for the gas grill.
Yes, though because of the bone, it may take another minute or two of total cooking time. The same goes for a porterhouse, where you have both the bone and the piece of filet mignon attached.
Yes, though if you go much thinner than 1″ it will be difficult to get good caramelization on the outside without overcooking the inside.
Did you enjoy the recipe? Please leave a 5-star rating in the recipe card below and/or a review in the comments section further down the page. Or, follow me on Facebook, Instagram or Pinterest!
Grilled New York Strip Steak
Ingredients
- 4 boneless ny strip steaks each weighing 1 pound about 1.25" thick
- kosher salt
Instructions
- At least one hour before cooking, and preferably 90 minutes, take the steaks out of the fridge and leave them at room temperature, uncovered.
- Preheat a gas grill on high for at least 10 minutes. I have a 3-burner gas grill, and I only preheat two of them, which gets the internal temperature to 550F or 600F. When I begin cooking and have the lid opening and closing, the temperature hovers around 450F, which is perfect. My cast iron grill grates are so well seasoned that I do not need to grease them, but if needed, grease the rack with tallow or another high heat cooking fat. Additionally, set a wire rack over a sheet pan out by the grill.
- Season the steaks all over with salt. I use about 3/4 tsp of kosher salt for each 1-lb steak.
- Place the steaks on the grill and close the lid. Cook for 2 minutes, then turn the steaks 90 degrees so you have grill marks going the other direction. You are still cooking the steaks on the same side. Close the lid and cook another 2 minutes.
- Flip the steaks over, close the lid, and cook for 2 minutes. Open the lid and turn the steaks 90 degrees, and cook for another 2 minutes, with the lid closed.
- Check the doneness on the steak using a thermometer. The temperature at this point will vary depending on the thickness of your steak and the heat intensity of your grill, but I find it is somewhere around 120F at this point. Because the temperature of the meat will go up about 5 degrees from carryover cooking, this is the perfect time to pull the steak so I reach rare at 125F. However, if you want further doneness, close the lid and keep cooking the steak for a minute or two until you hit your target doneness. It is most important to check for temperature using a thermometer.
- Let the beef rest on the wire rack for 5 minutes, and cover loosely with aluminum foil if desired. Then serve and enjoy!
Notes
Nutrition
Nutrition is estimated using a food database and is only intended to be used as a guideline for informational purposes.

5 Comments on “Grilled New York Strip Steak”
Covered everything! Thanks!
Thanks Lance!
Unless I missed it, what temperature do you cook on the gas grill?
I do the same method that you do, however, since I replaced my Weber grill, I can’t figure out what temperature to use. Thank you.
Hi! It’s in the step-by-step: “For preheating, make sure to preheat your outdoor grill for at least 10 minutes. I have a 3-burner gas grill, and I only heat 2 burners, which preheats the internal temperature to 550F or 600F.When I actually begin cooking and have the lid opening and closing every couple minutes, the temperature hovers around 450F, a medium heat for most grills, which is perfect.”
Does that help? Do you set your grill by temperature now?
Thanks for answering, I have a new 3 burner Weber, it seems different than my old Weber. I have been playing with the temperature when cooking beef. I always preheat the grill.
The last steak I grilled I did it on medium with 2 burners. I kept the top down. I will try your method and thank you.